|
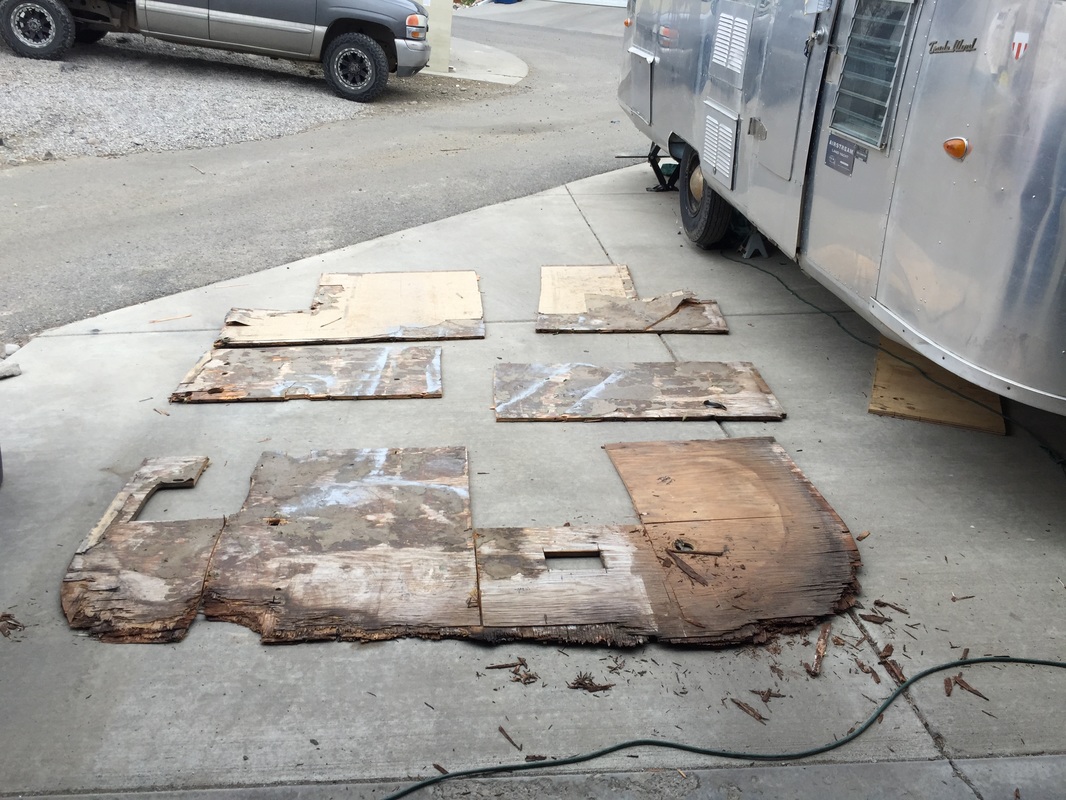
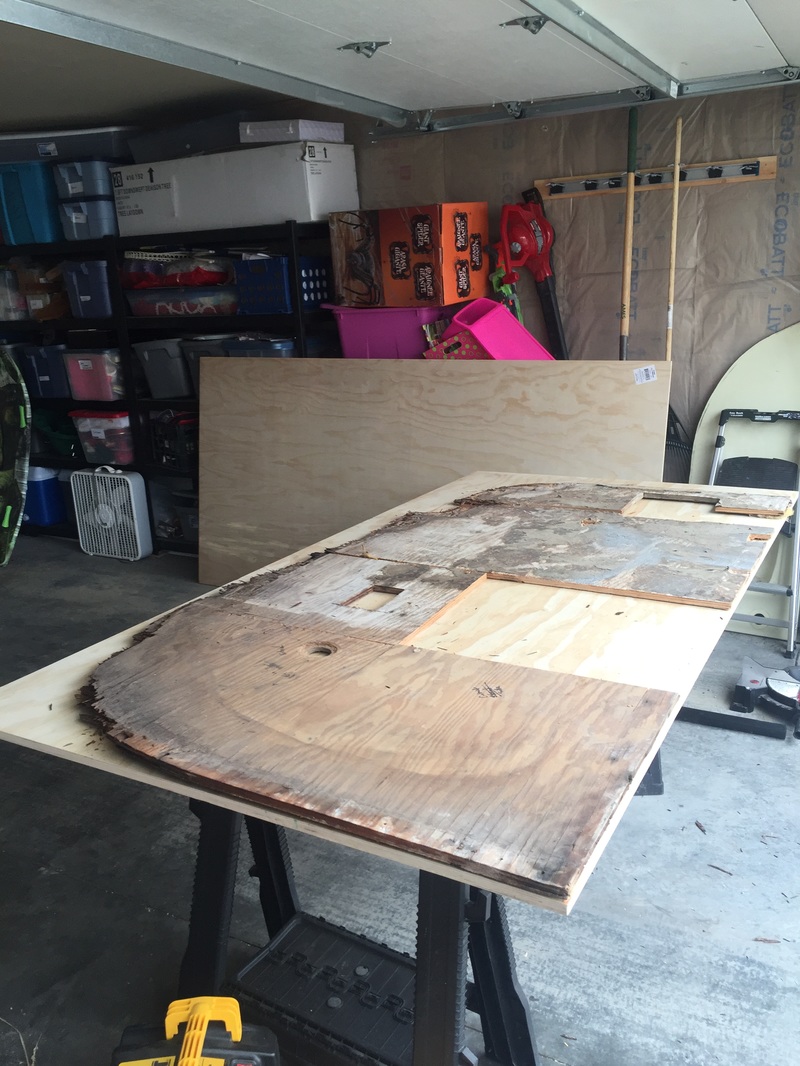
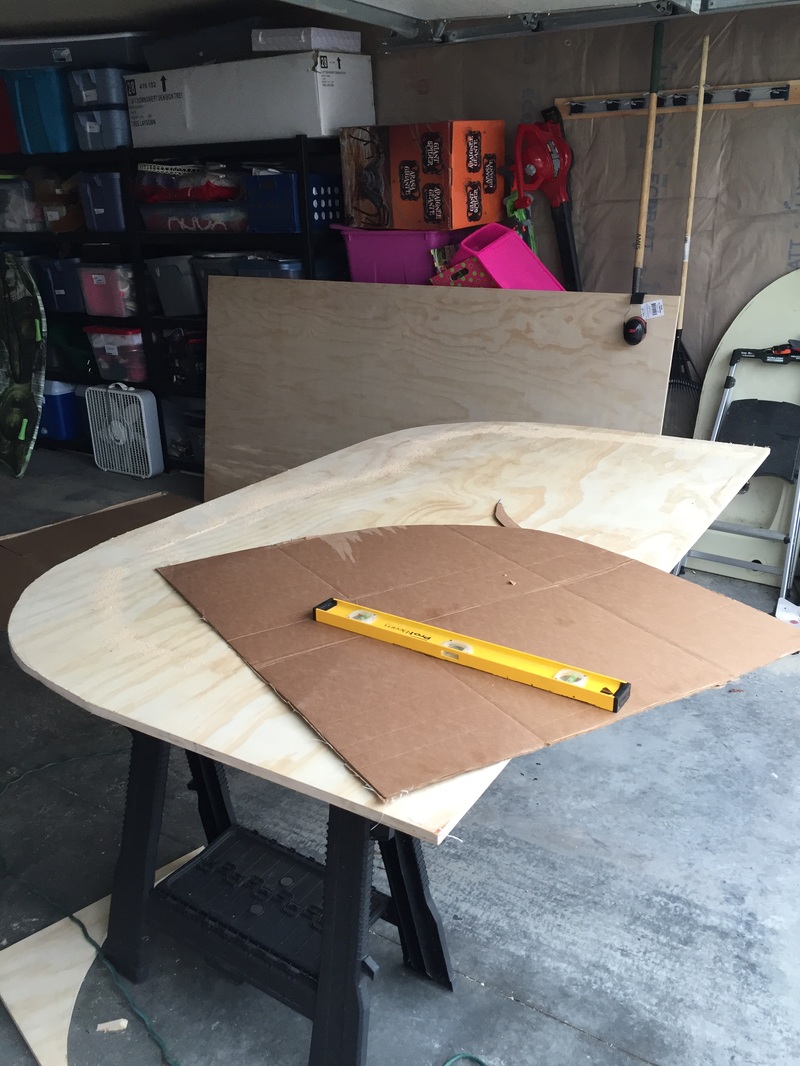
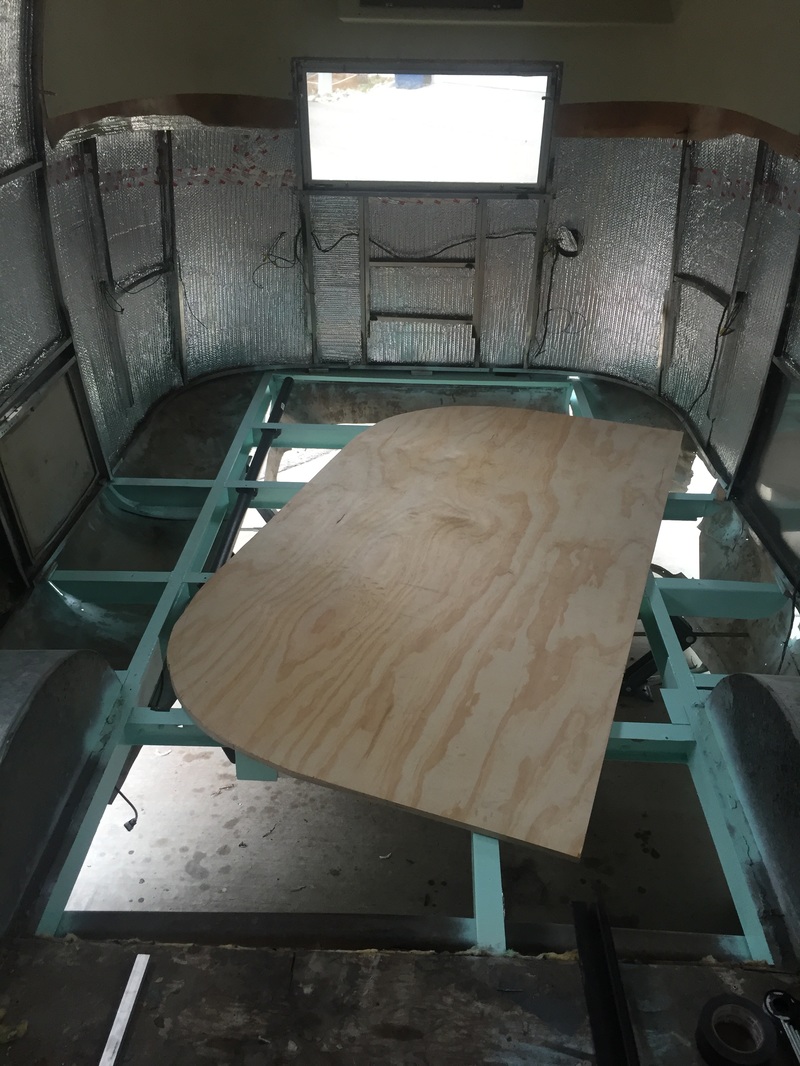
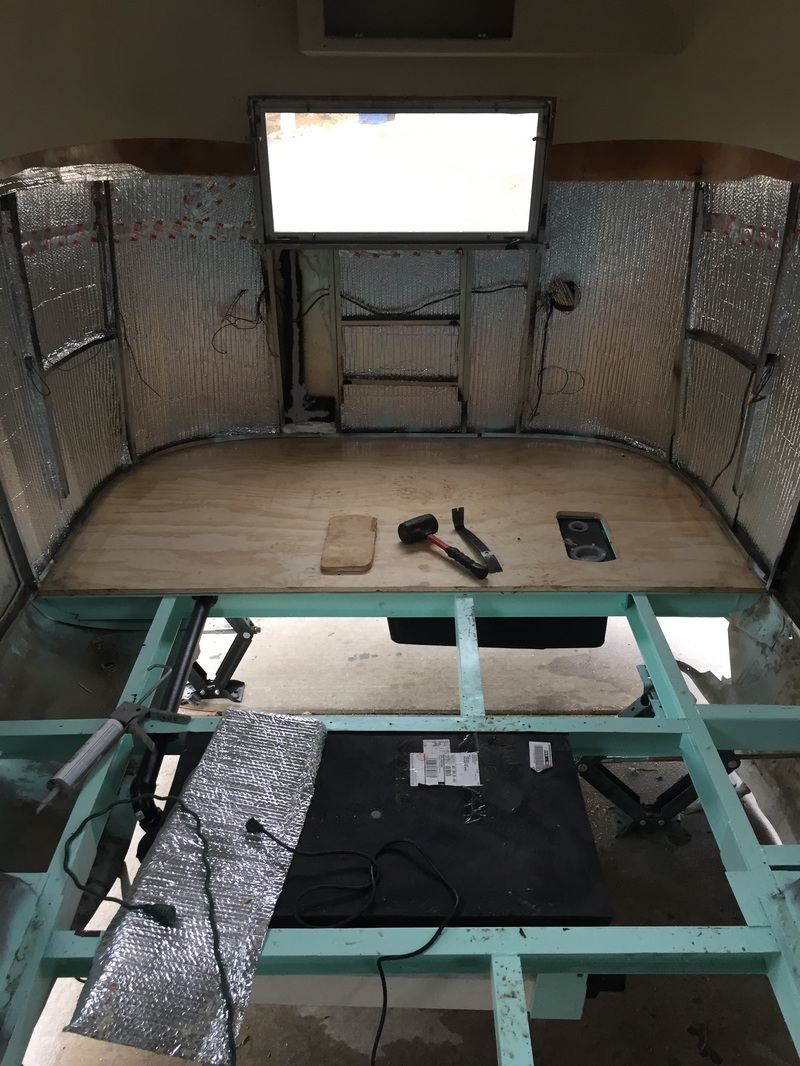
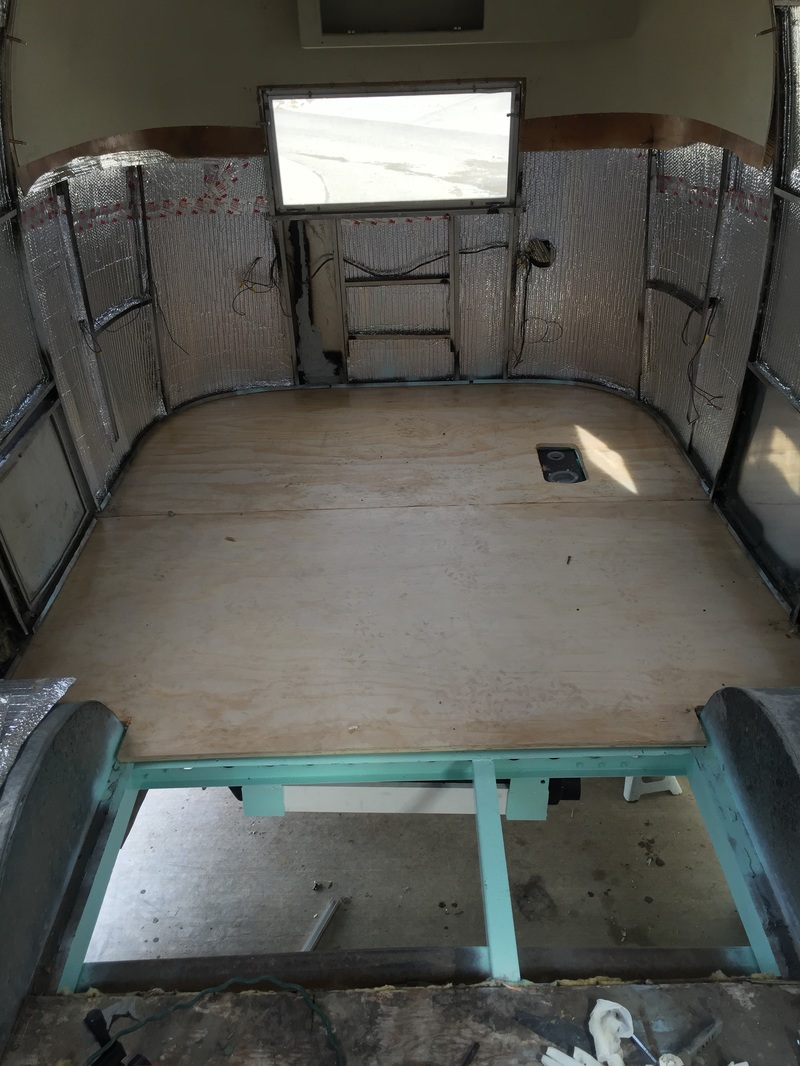
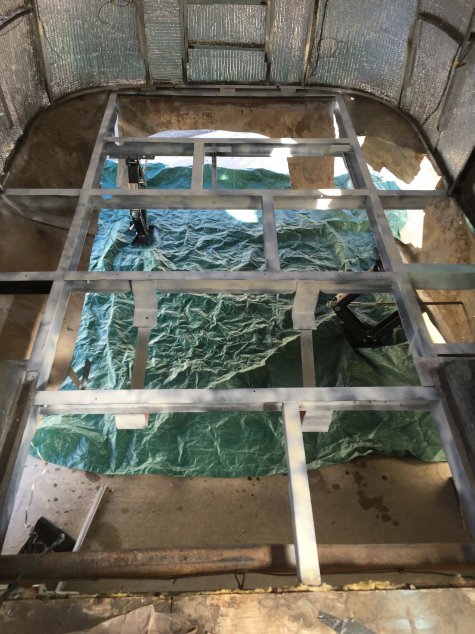
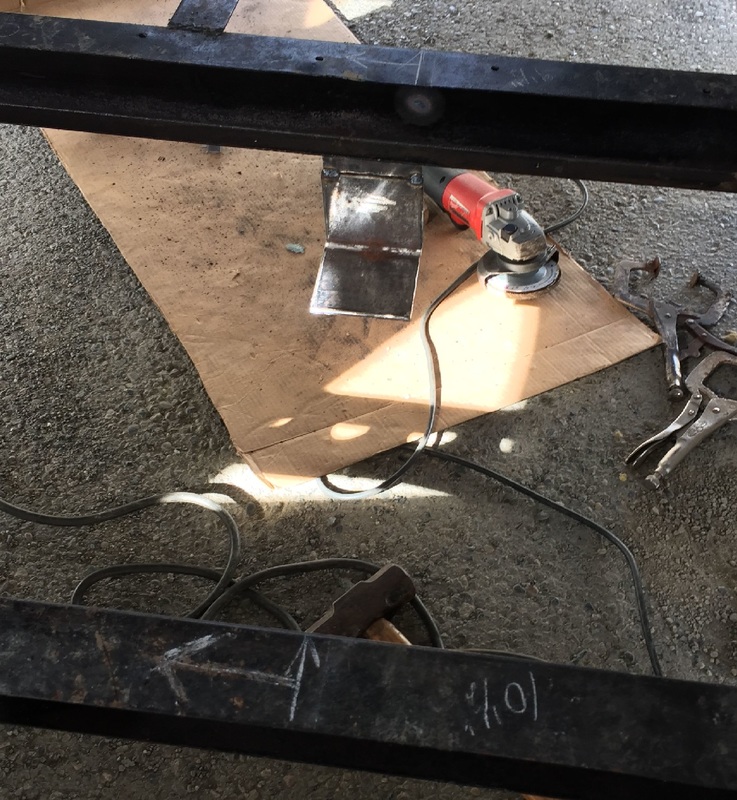
No one will see my best work so far (I hope!). This week I began reflooring. First, though, I plumbed the drain to the bathtub location. I'll get the rest of the plumbing from below. I used ABS plastic pipes and fittings. The ABS plastic is supposed to be a bit more forgiving of the bumps and bounces that happen in travel. It is lighter and cheaper, too. Next, I got the old floor out and puzzled it together. Ultimately, the only piece that mattered was the round end. I used the rotting old subfloor to help make a cardboard template on the new 3/4" plywood. I had to shave down the cardboard a few times until it fit well. Then I transferred the shape onto the wood. I almost forgot to seal the edges of the plywood, but remembered after the photos above were taken. I used triple-thick polyurethane to seal the edges against future leaks. Getting the panel installed in one piece was a feat. I had to flex the aluminum sides out about 1/2" so that the plywood could slide under the u-channels of the aluminum sides, but above the steel frame. It's like a sandwich. The plywood is like the meat; the frame and u-channel are the bread. They all get attached together and provided the actual structural strength.  Next step is to bolt down the floor and then rip out the floor on the other side! Hopefully the front side will be easier without the tanks to worry about. If I get really lucky, there won't be any welding to do at all!! <knock on wood>
5 Comments
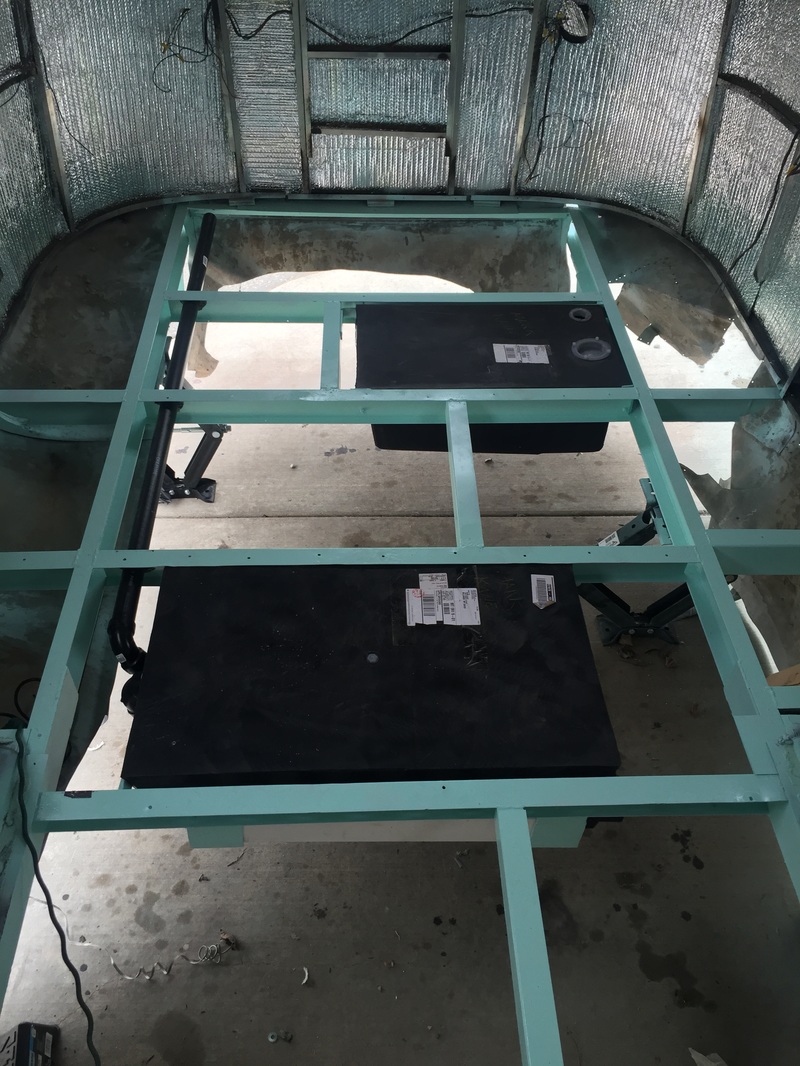
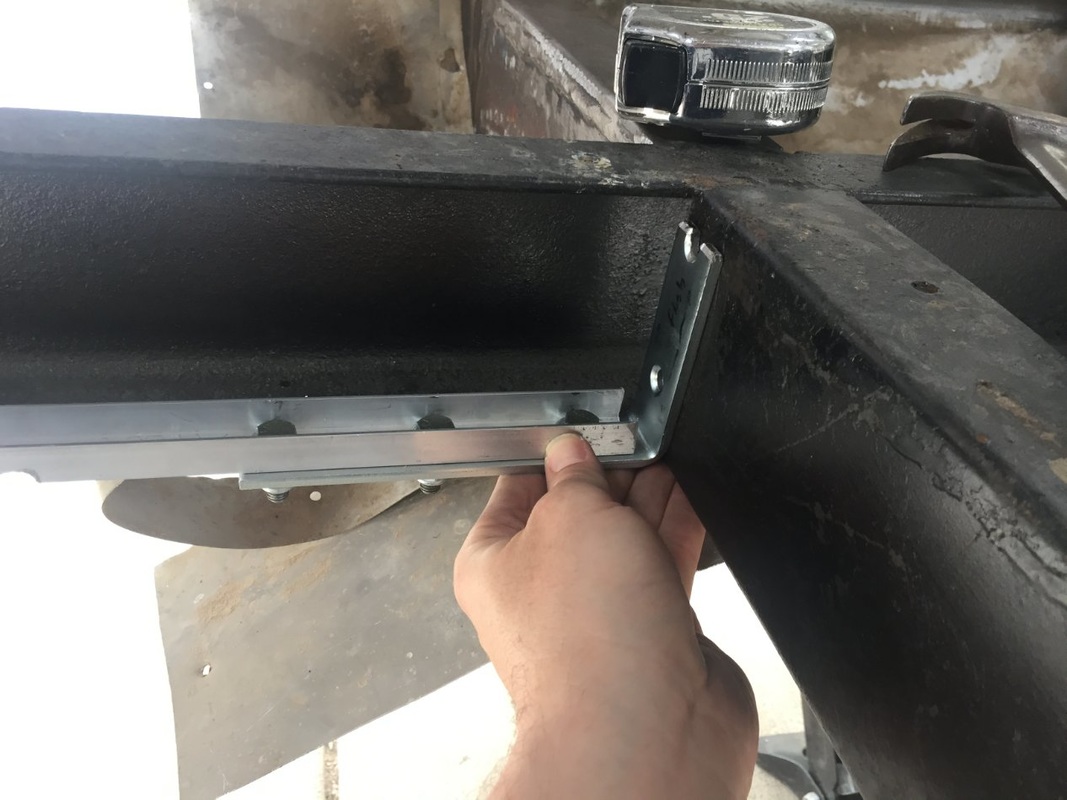
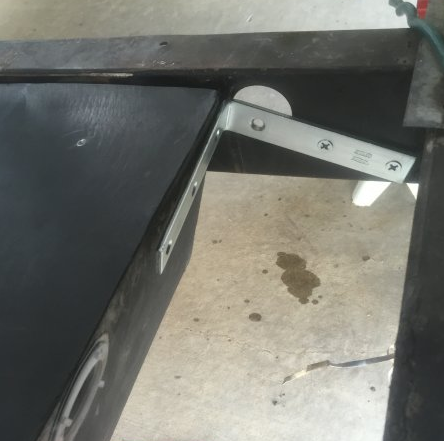
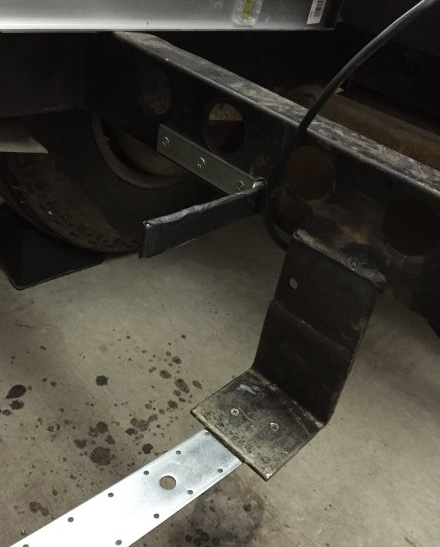
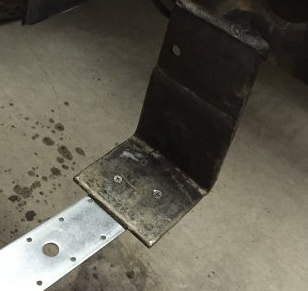
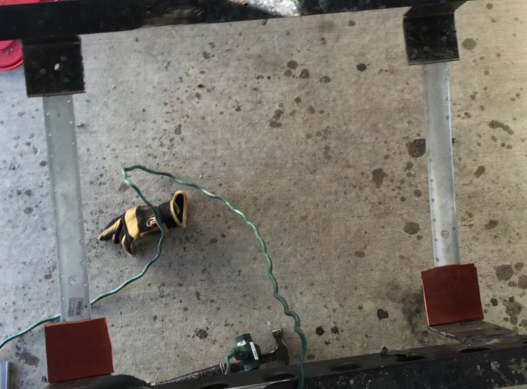
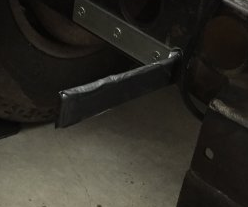
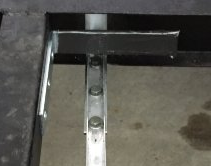
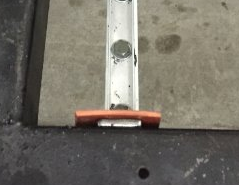
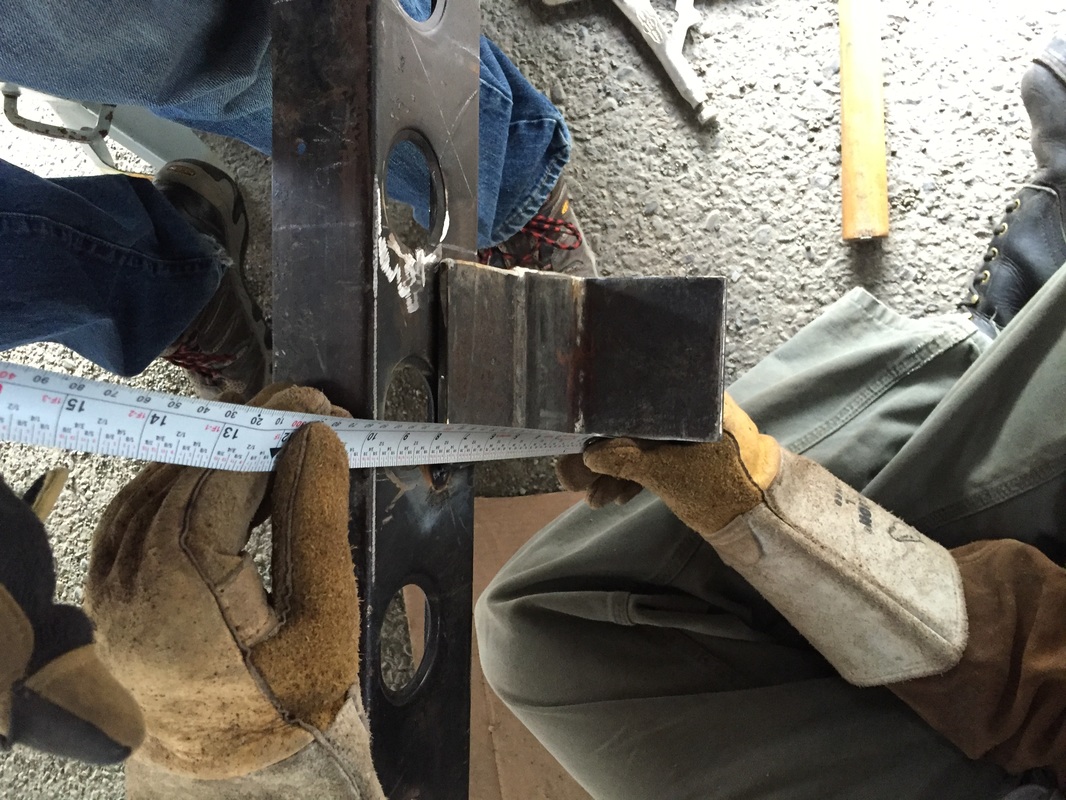
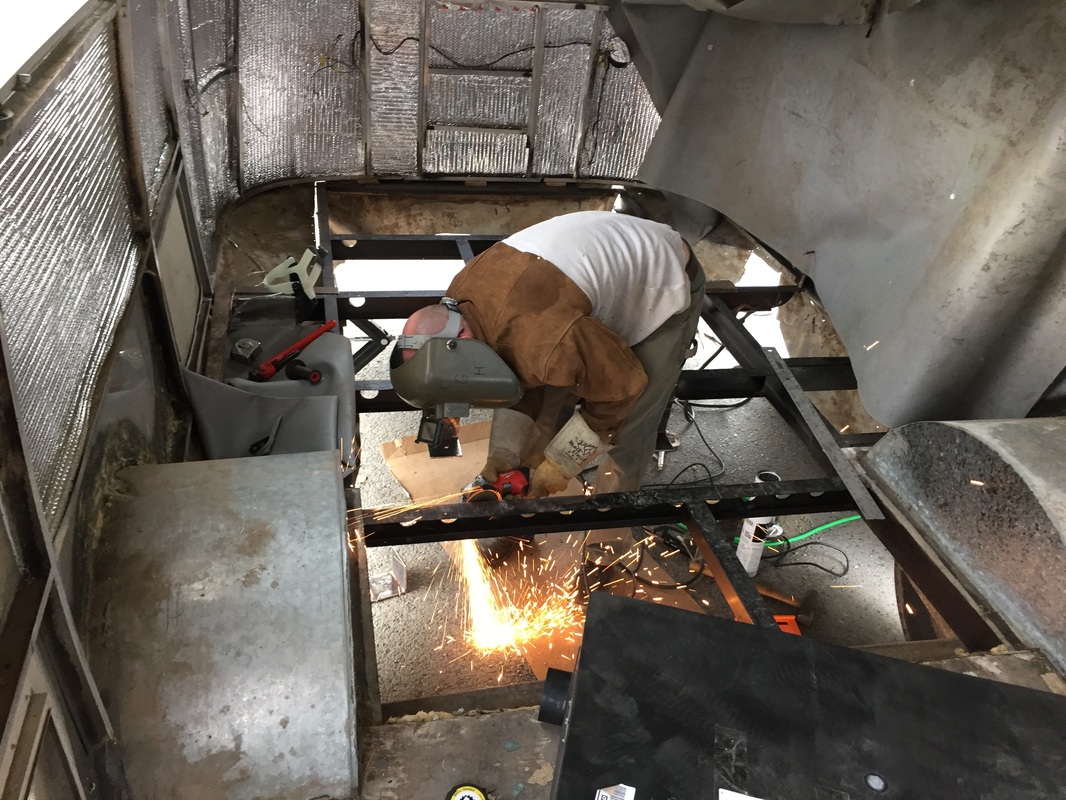
"Duct tape is not a perfect solution to anything. But with a little creativity, in a pinch, it's an adequate solution to just about everything." — Jamie Hyneman, MythBusters So the last few weeks have been frustrating, putzy work. I've been hanging the supports for the black tank, shoring up the grey tank brackets, and putting in angle brackets to keep the tanks from moving. Let me show you: In the pictures above, I had to build a rack with angle brackets and aluminum u-channel and then drill holes in the frame and secure it. In reality, I had to repeat the process several times. I'm working with tolerances of about 1/4" or less, so it was painstakingly slow. I'd be a terrible carpenter; I don't measure well. On one end, after getting it all in, the last bolt kept breaking and I realize I had measured the u-channel just wrong enough (which was right about 1/4" off) to snap the bolt. I had to take the whole thing apart and redo it. Ugh. After that was in, I built these: I had to keep the tanks from shifting sideways as the trailer moves. I used 6" steel angle brackets to hold them, like a bookend holds books. Lastly, I needed to grind the rough edges and figure out how to keep them from rubbing holes in the tanks as they bounce down the road:
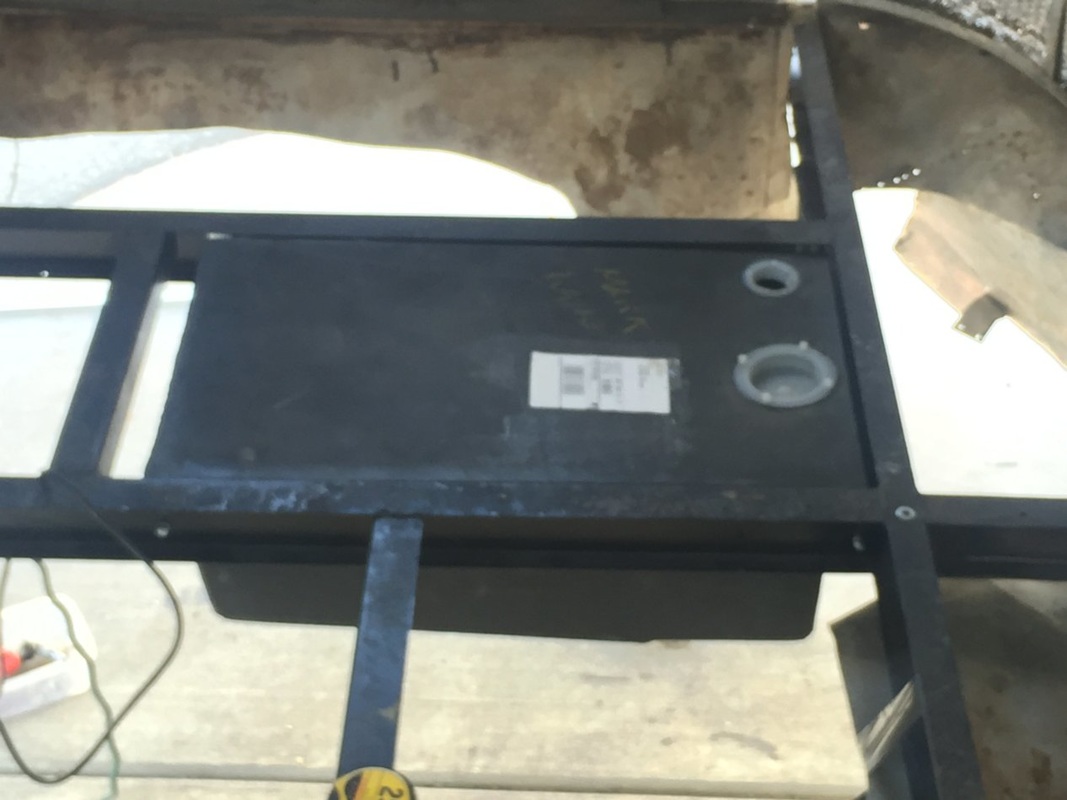
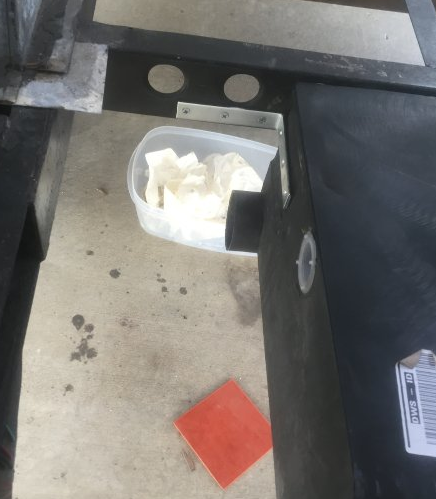
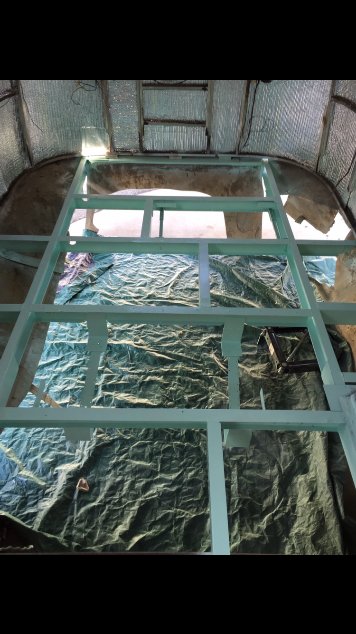
Everywhere I could, I used the orange rubber pad. But there are several places that the system was too tight. Duct tape. Lastly, I washed the frame, primed it, and painted. The color doesn't matter because if I've done everything else right no one will ever see it, but we chose it because it will eventually be the accent color of visible things. I used Corroseal rust-inhibitor, Rustoleum primer, and Rustoleum paint. The best practice of the automotive restoration industry is something called POR-15, but it is expensive and a nightmare to use. Since my frame made it this far for 50 years, I figured this work will outlast me. With the frame finished in the back (YAY!), I'll reinstall the tanks, plumb the pipes and put the subfloor back in. I'm so excited. It feels like I'm actually accomplishing this!
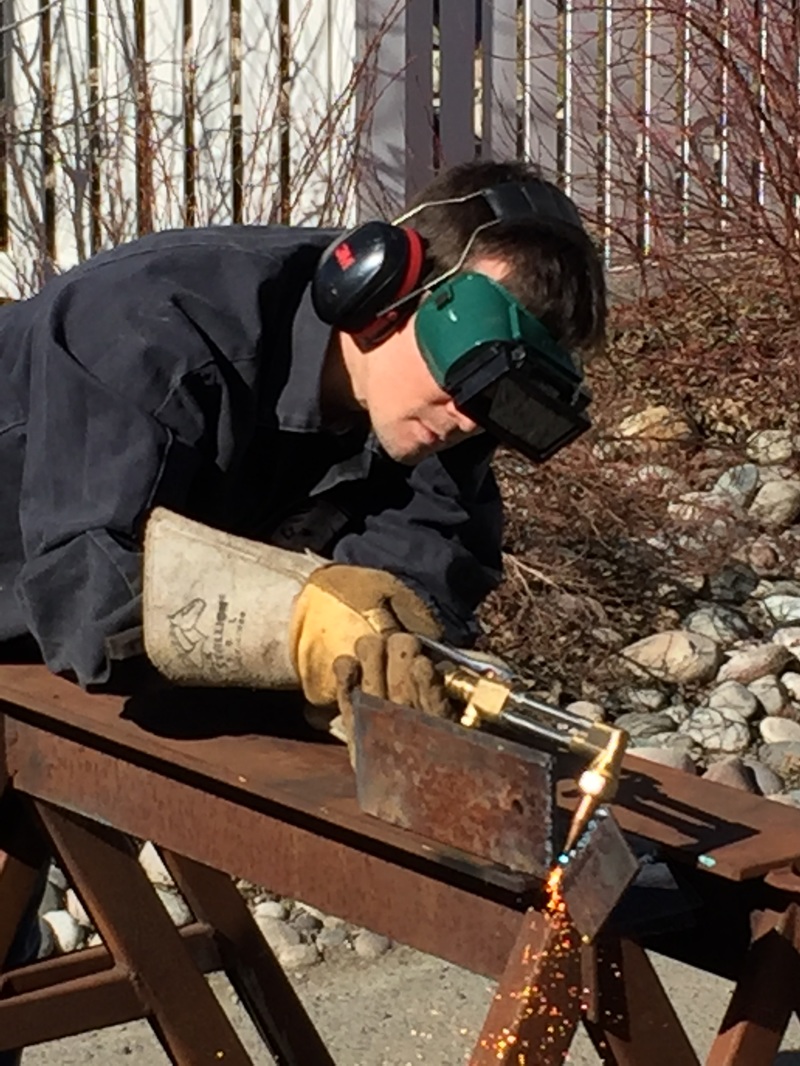
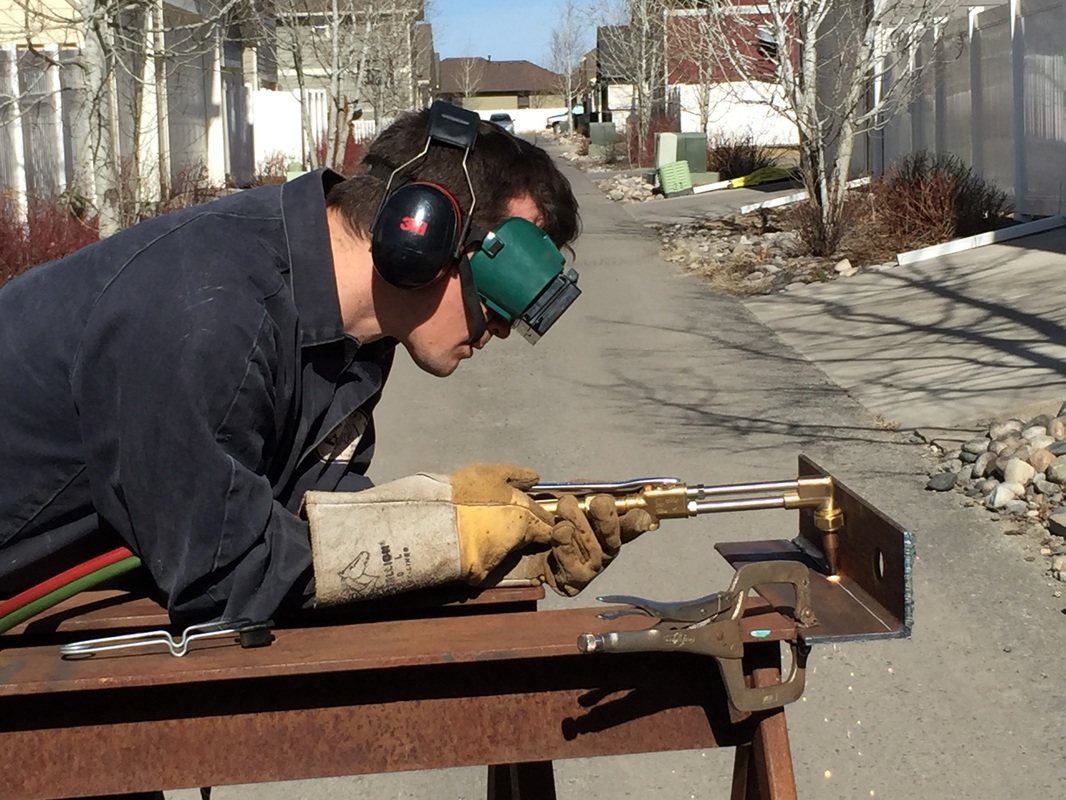
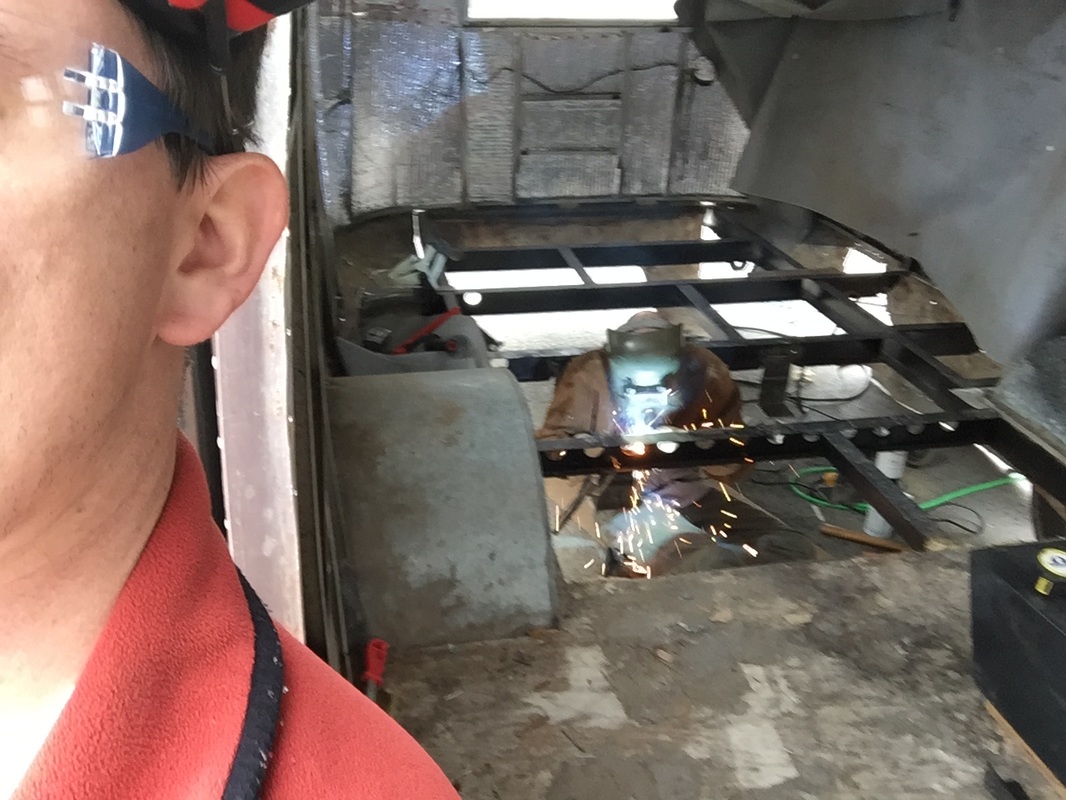
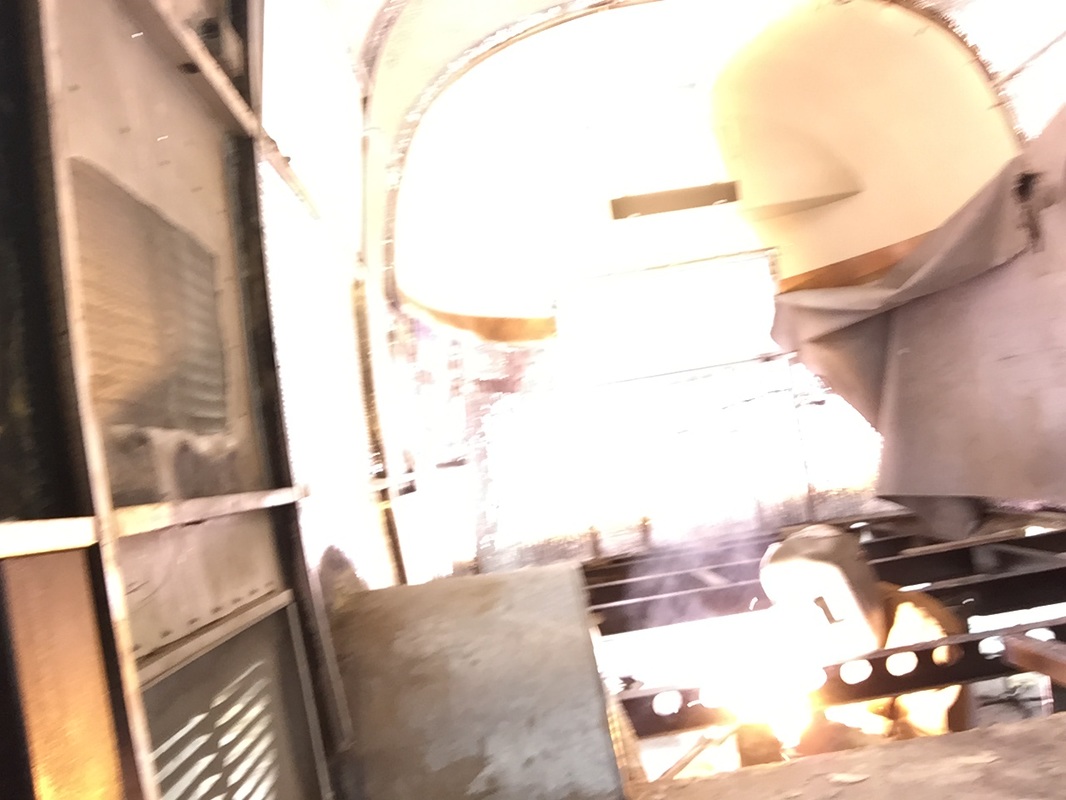
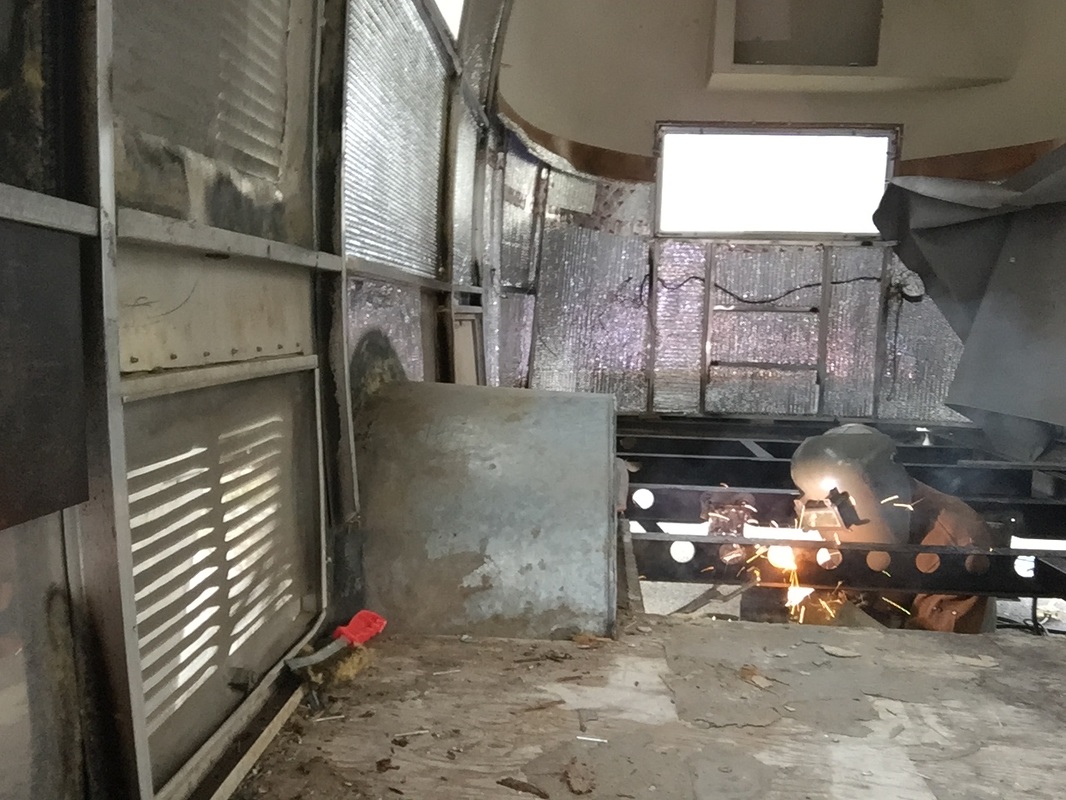
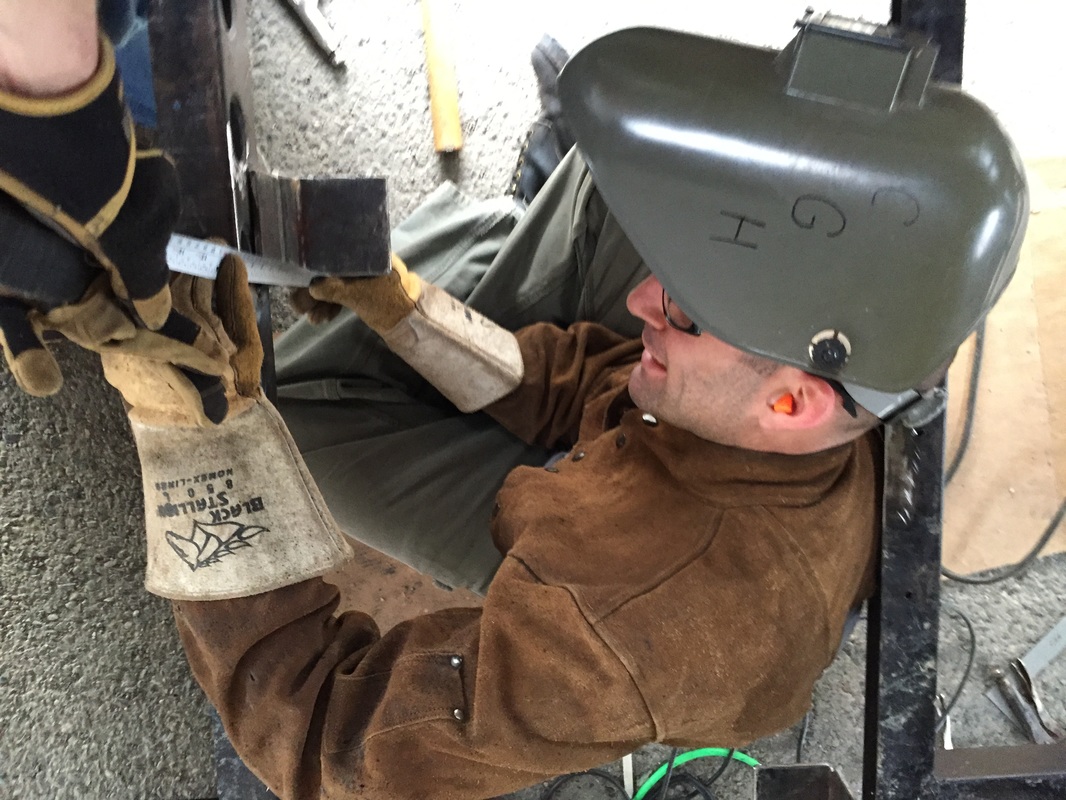
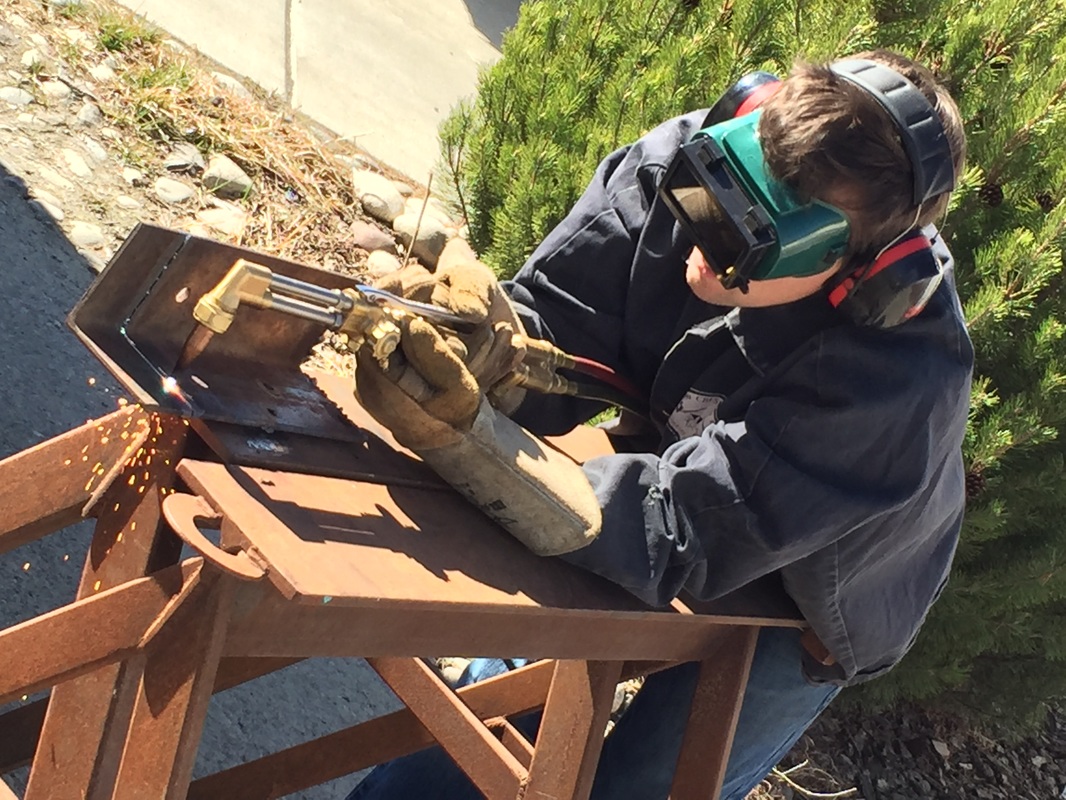 I learned to use the cutting torch and cut part of the braces we used for the grey tank. Last weekend (I'm posting about a week behind) we cleaned up the welds from the previous week and created a system of four brackets for the grey water tank. The grey water tank is the biggest of the two waste tanks and it will be the heaviest. Plus the black tank has some integrated supports that made it easier to manage. It won't need welded supports. These 4 brackets took a lot of meticulous planning. We spent almost as much time measuring as everything else. Each bracket needed to be welded on at a different height and also needed a specific slope on the horizontal. The height/slope issue comes because the bottom of the tank is sloped from all 4 corners to the drain. We do want the waste water to drain! The top of the tank will be just below flush with the floor and level with it. So Cory and I got each bracket clamped just right and Cory tacked it on a corner. Then we hammered on the opposite end while the metal was still somewhat molten and got the slope. Finally Cory tacked the other side, measured again, and finished the weld. Six hours later, we were done! One thought about the photo gallery below: I love the pic where the camera didn't auto-dim the light sensitivity on Cory welding. All the photos of welding make it look like there was only a tiny light because the camera adjusted; in reality, it was bright like the sun. I could only take the photos over my shoulder, looking at the camera screen. |
AuthorI'm not an Airstream Jedi, yet. Airstream Jedi would have sounded presumptuous, like I know what I'm doing. That couldn't be further from the truth. Padawan is a title I can hope to live up to. Favorite Links:Knots Per Hour
My friend Mike is building an airplane. Check it out. Archives
August 2018
Categories |


 RSS Feed
