|
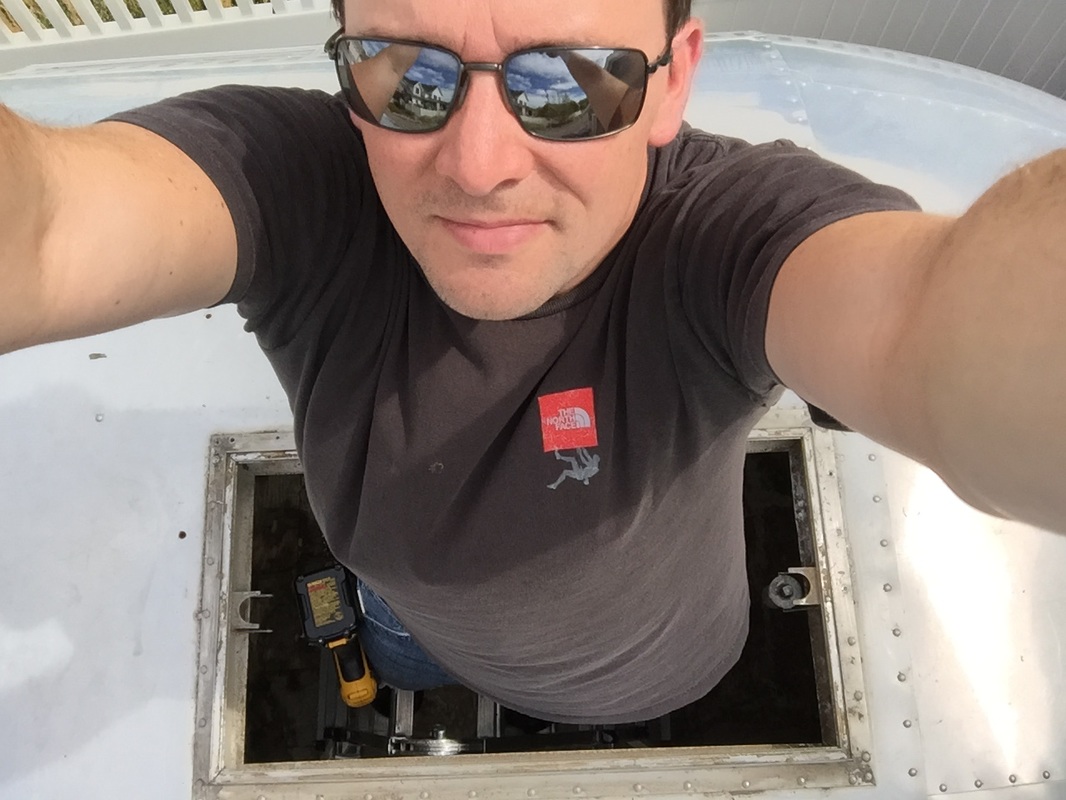
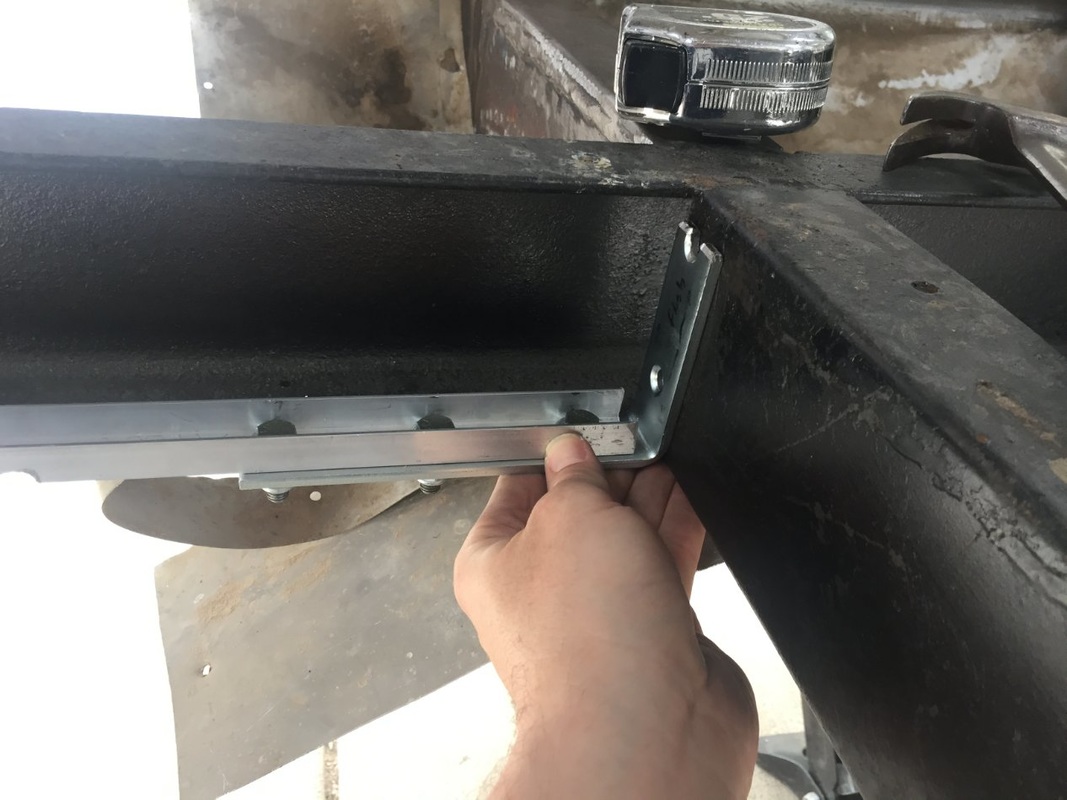
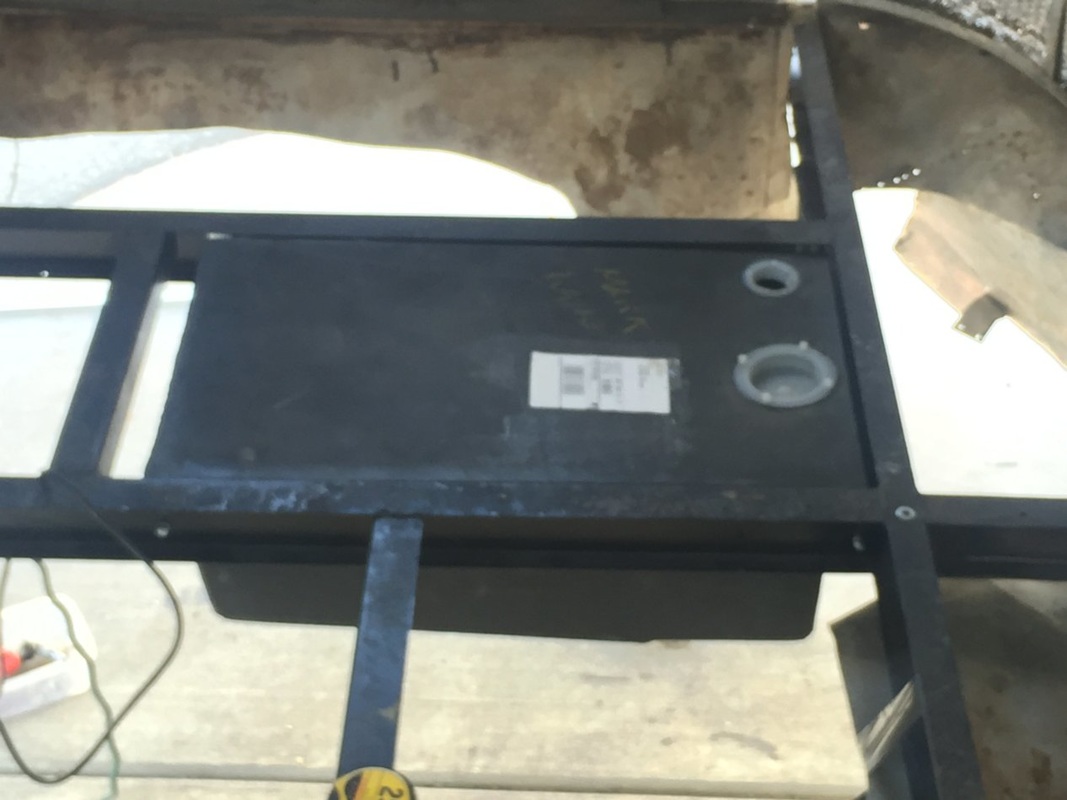
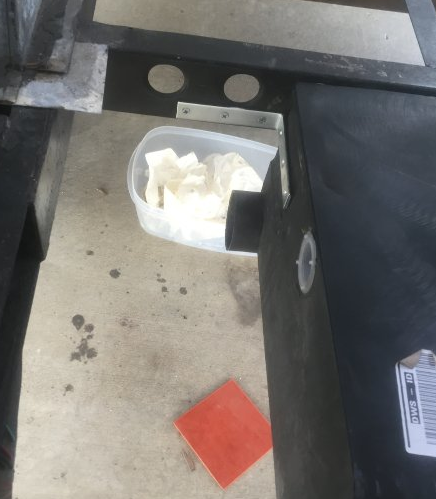
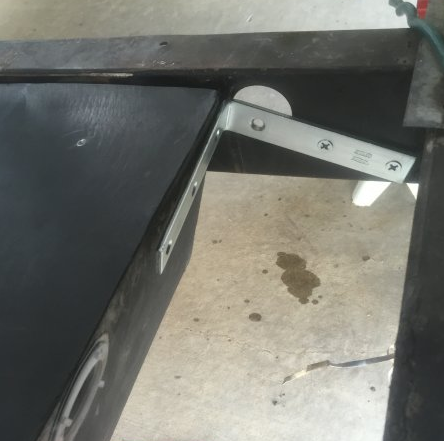
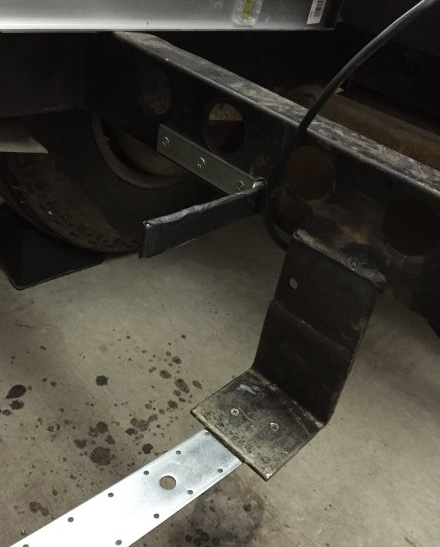
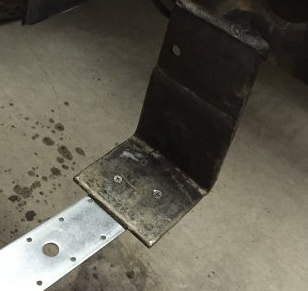
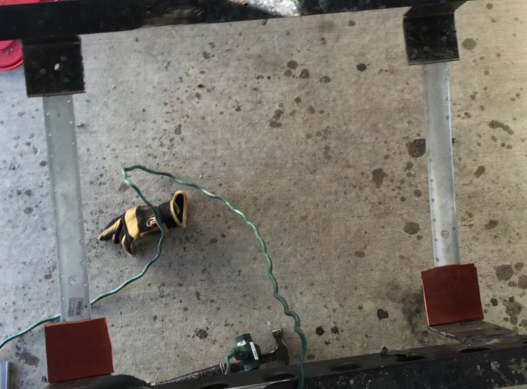
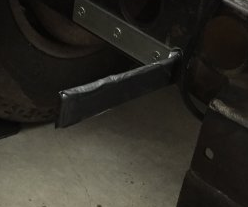
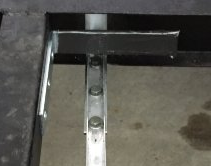
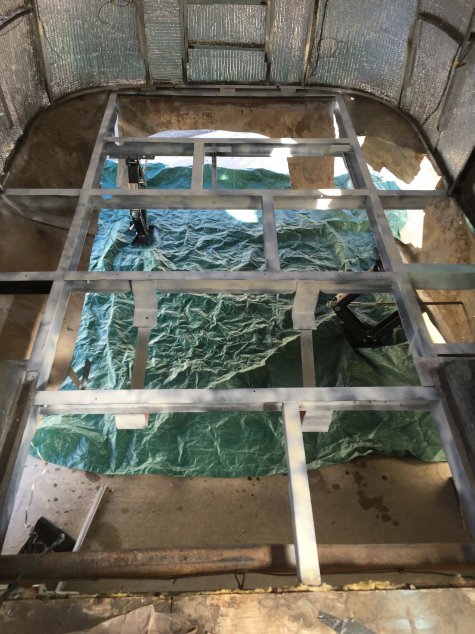
"Duct tape is not a perfect solution to anything. But with a little creativity, in a pinch, it's an adequate solution to just about everything." — Jamie Hyneman, MythBusters So the last few weeks have been frustrating, putzy work. I've been hanging the supports for the black tank, shoring up the grey tank brackets, and putting in angle brackets to keep the tanks from moving. Let me show you: In the pictures above, I had to build a rack with angle brackets and aluminum u-channel and then drill holes in the frame and secure it. In reality, I had to repeat the process several times. I'm working with tolerances of about 1/4" or less, so it was painstakingly slow. I'd be a terrible carpenter; I don't measure well. On one end, after getting it all in, the last bolt kept breaking and I realize I had measured the u-channel just wrong enough (which was right about 1/4" off) to snap the bolt. I had to take the whole thing apart and redo it. Ugh. After that was in, I built these: I had to keep the tanks from shifting sideways as the trailer moves. I used 6" steel angle brackets to hold them, like a bookend holds books. Lastly, I needed to grind the rough edges and figure out how to keep them from rubbing holes in the tanks as they bounce down the road:
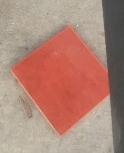
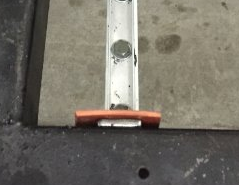
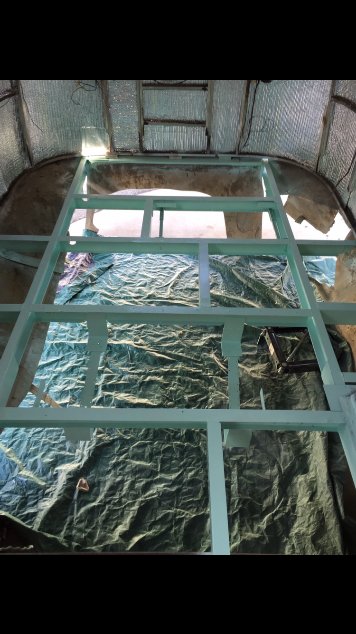
Everywhere I could, I used the orange rubber pad. But there are several places that the system was too tight. Duct tape. Lastly, I washed the frame, primed it, and painted. The color doesn't matter because if I've done everything else right no one will ever see it, but we chose it because it will eventually be the accent color of visible things. I used Corroseal rust-inhibitor, Rustoleum primer, and Rustoleum paint. The best practice of the automotive restoration industry is something called POR-15, but it is expensive and a nightmare to use. Since my frame made it this far for 50 years, I figured this work will outlast me. With the frame finished in the back (YAY!), I'll reinstall the tanks, plumb the pipes and put the subfloor back in. I'm so excited. It feels like I'm actually accomplishing this!
5 Comments
Summer Vance
4/18/2019 04:23:18 pm
Awesome! I'm trying to convert from a rear bath to a mid bath which means moving the black water tank location. I like what you did. Here's my question: where is your drain for this tank? How do you hook up the hose to drain it?
MArk
4/19/2019 08:56:37 am
Thanks for reading! Honestly, if I were to say the ONE THING (and really there are many) that I did wrong it would be the tanks. There are tanks you can purchase through vintage trailer supply that fit in belly without hanging down. My tanks drop below the bellypan and are susceptible to road debris. I've gone nearly 10,000 miles so far without a mishap, but if something hits and cracks my black tank it will make the blog.
Summer
4/19/2019 10:27:17 am
Thanks so much for the response! I am planning on getting one of those thin VTS black water tanks and welding/riveting a new compartment to the middle of the frame underneath the new bathroom location. I'm planning on keeping a grey water tank in the back of the trailer where my original black water tank sat - that original compartment does sit 4-5" below the belly pan. I figure there's room for enough drop in pipes from a mid bath to that rear grey tank location to not be an issue. My main concern is draining that black water tank!
Mark
4/20/2019 08:57:29 am
It seems I didn't take any pics of the drain valves. I'll need to go do that. My black valve is really close to the outlet of the black tank - probably less than a foot, maybe less than 6". From the valve, it doglegs left into a T with the grey tank and the hose attachment immediately after the T. (Both tanks have their own valves to prevent the black from contaminating the grey.) The nice part is that there's always enough pressure in the black to get the solids past the valve, past the T, and into the hose. The grey water gets emptied second and washes it all down - it is mostly soapy water, anyway. I would *strongly* recommend this setup. If you are emptying you tanks separately by disconnecting your hose, you're probably going to be dealing with solid waste in a way you don't want to. I guess they were not connected in the days of yore, but I'm very happy that the grey water washes down the black.
Summer
4/22/2019 12:13:00 pm
Awesome! Thanks so much for the help! I may reach out again when I inevitably get stuck :) Your comment will be posted after it is approved.
Leave a Reply. |
AuthorI'm not an Airstream Jedi, yet. Airstream Jedi would have sounded presumptuous, like I know what I'm doing. That couldn't be further from the truth. Padawan is a title I can hope to live up to. Favorite Links:Knots Per Hour
My friend Mike is building an airplane. Check it out. Archives
August 2018
Categories |


 RSS Feed
