|
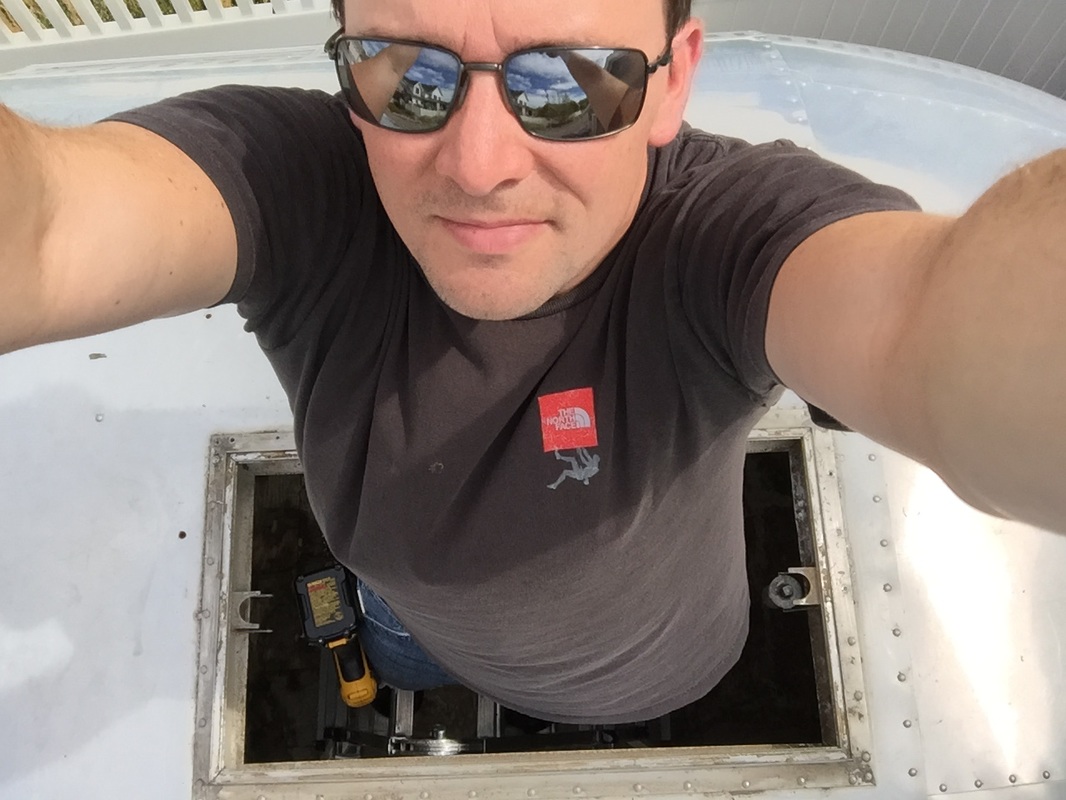
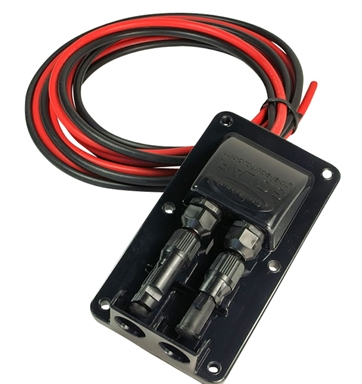
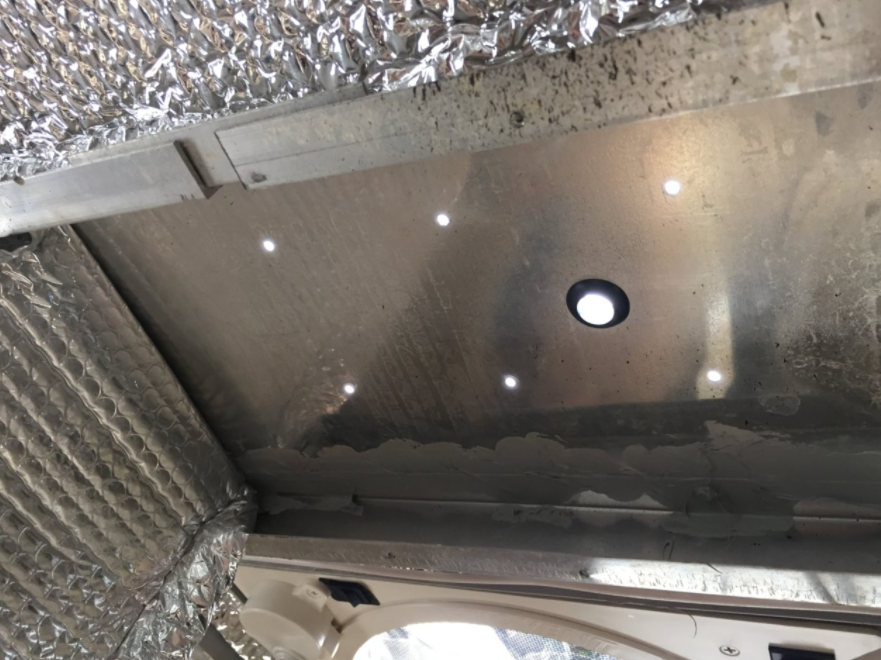
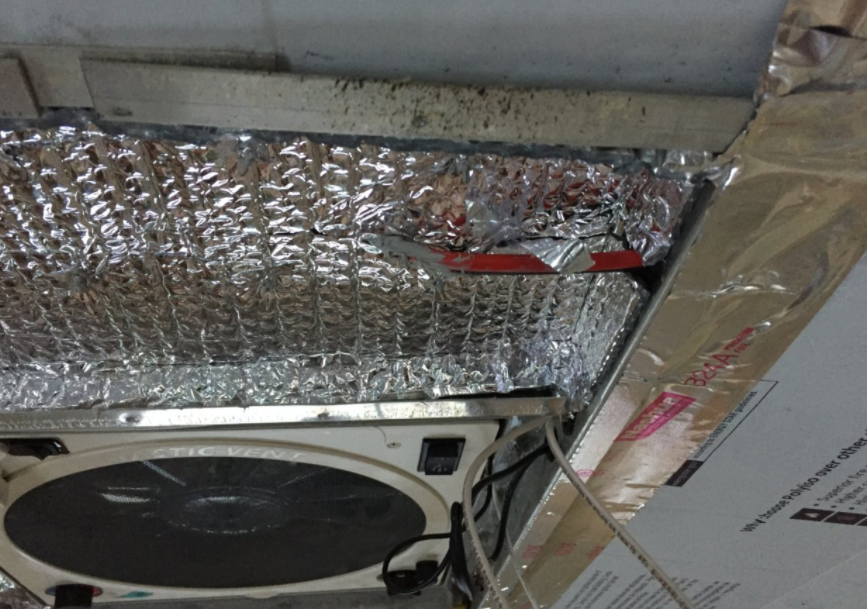
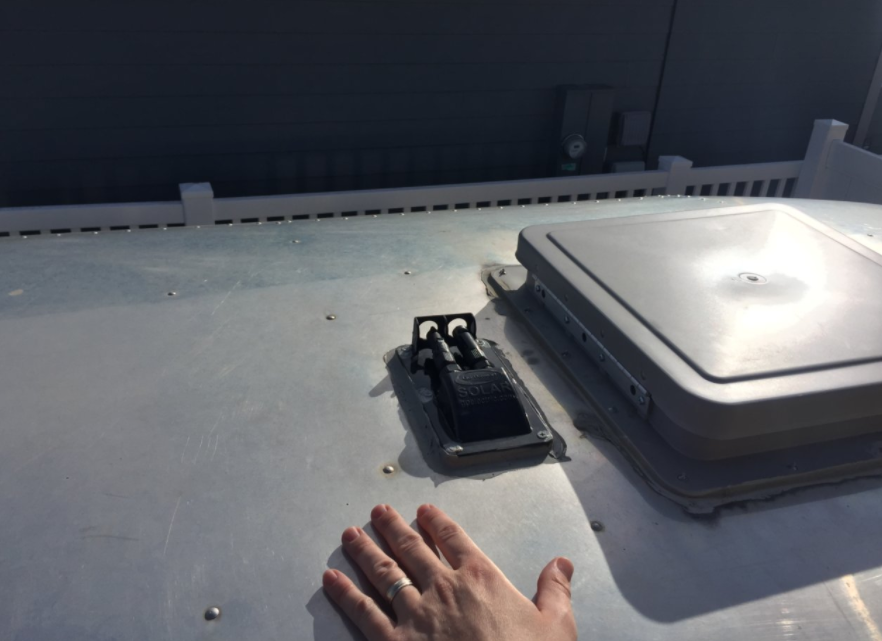
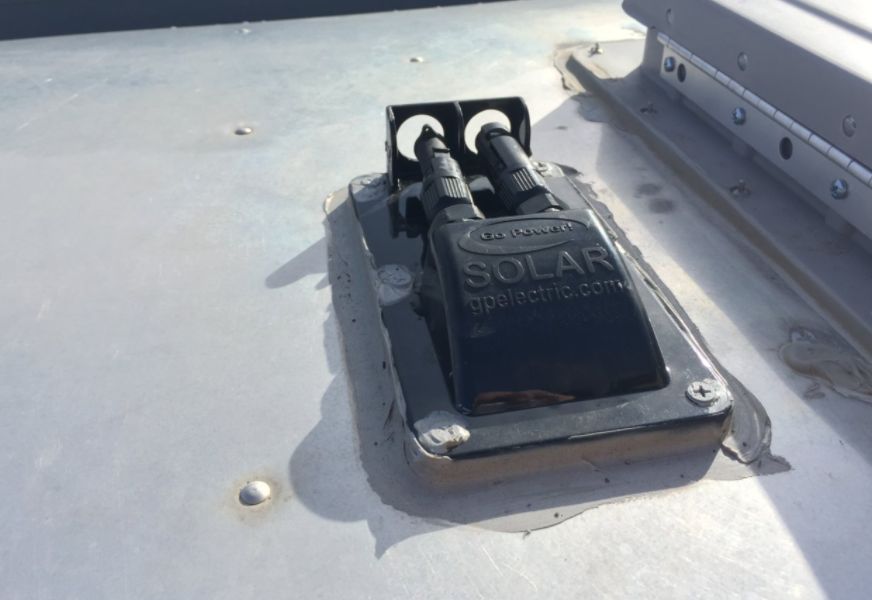
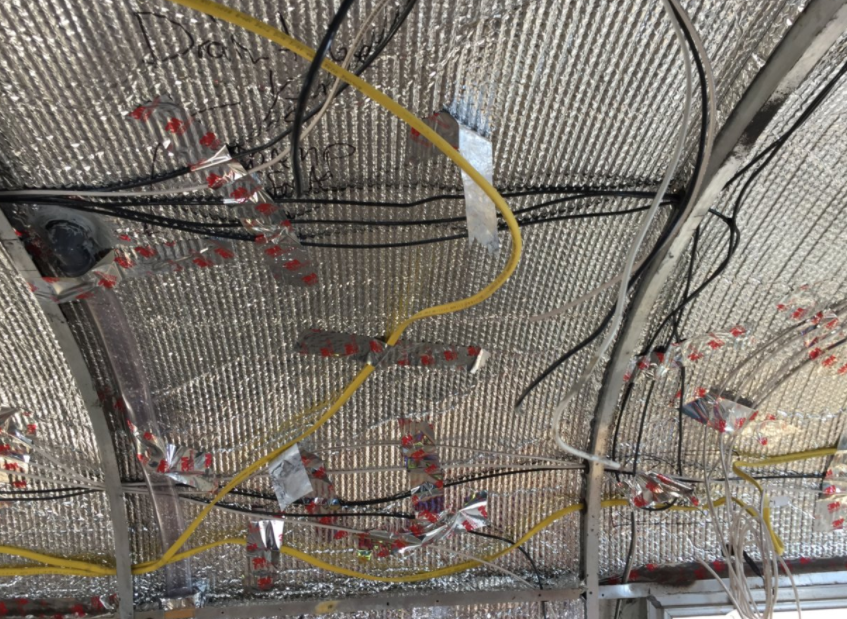
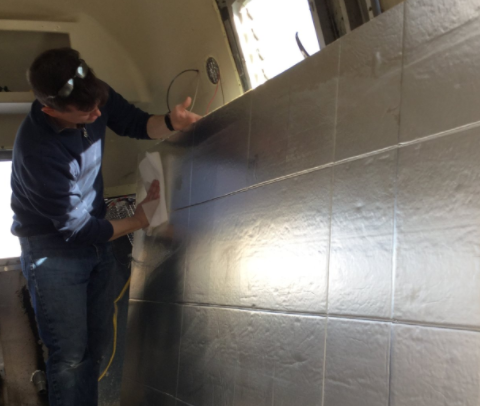
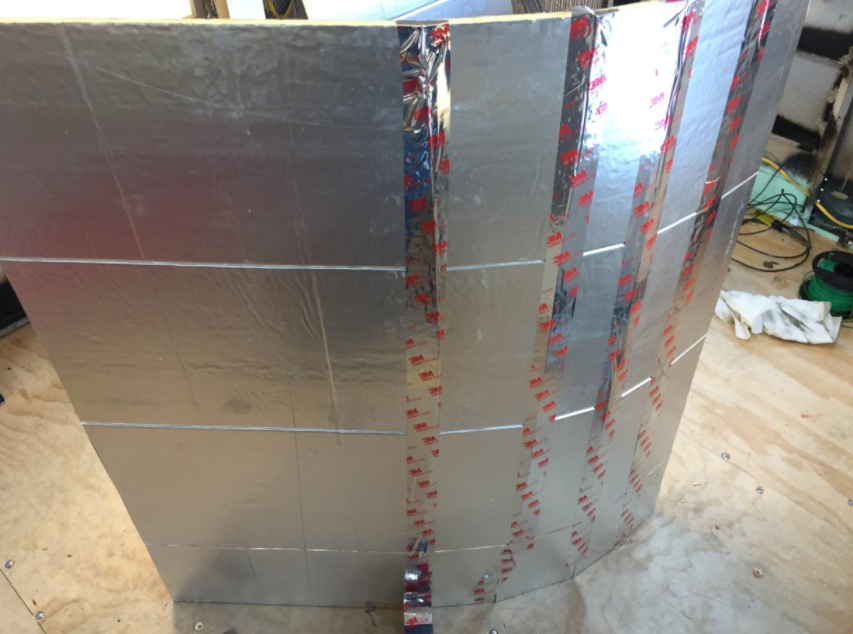
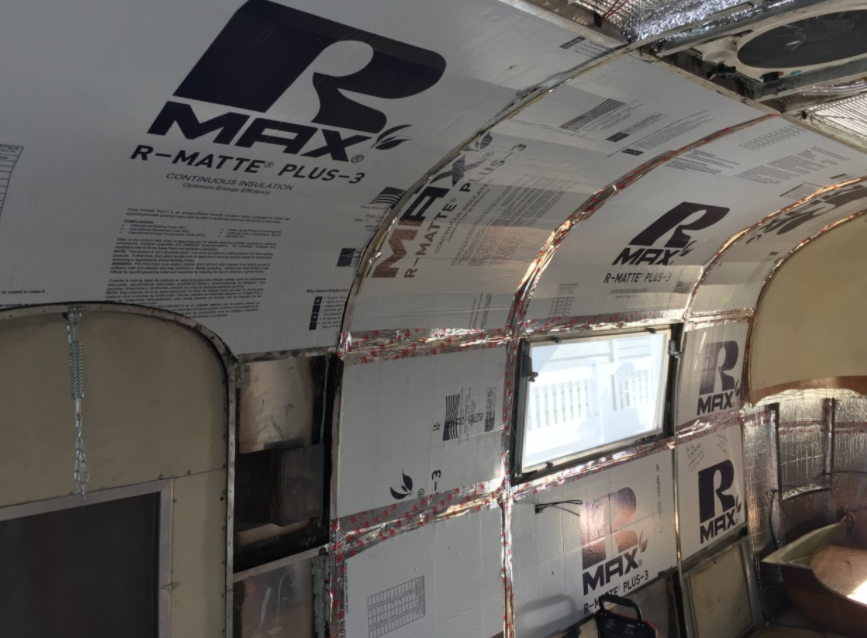
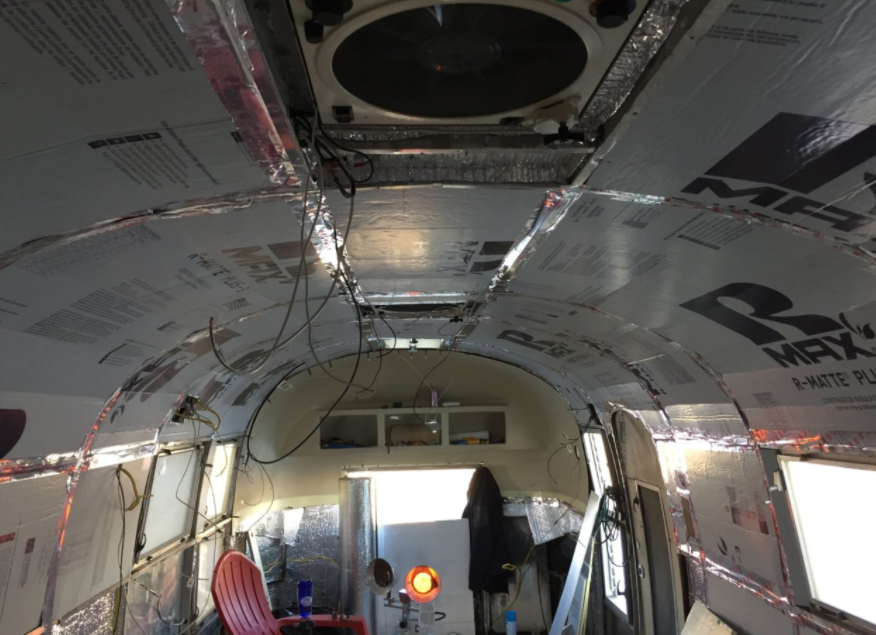
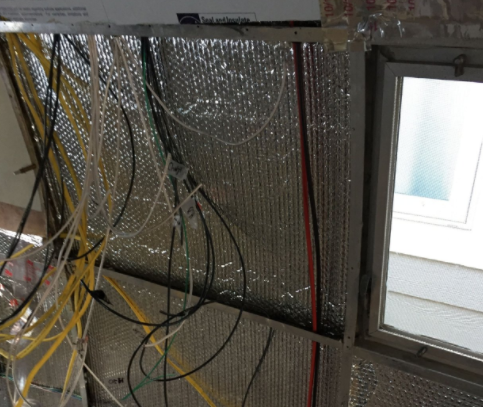
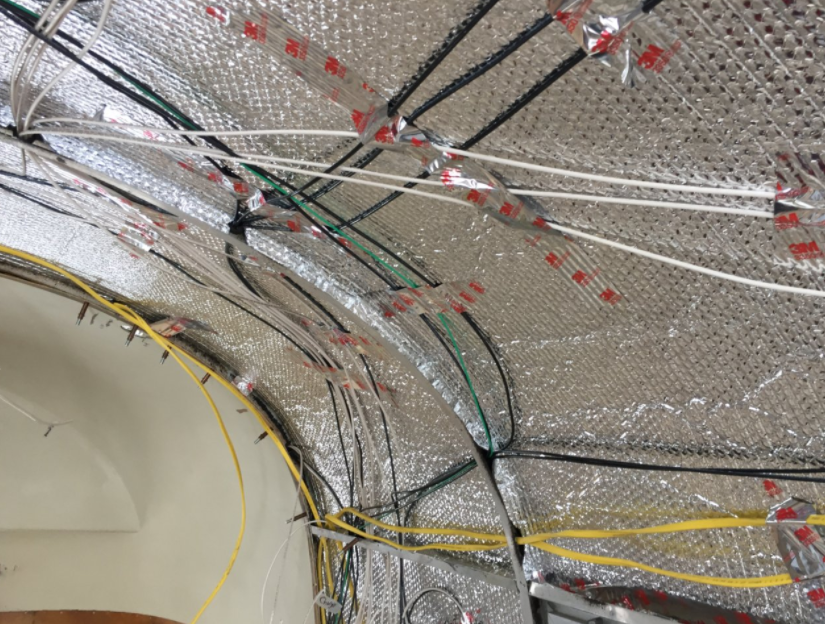
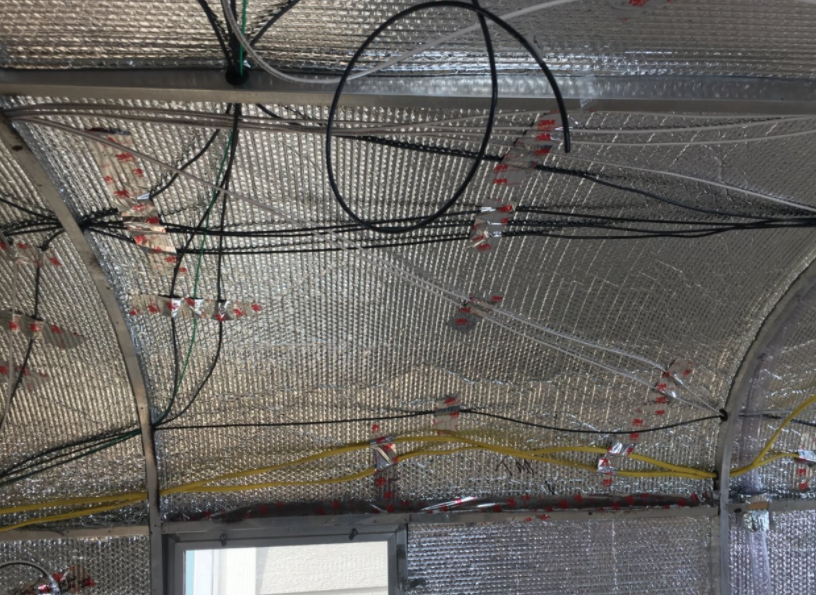
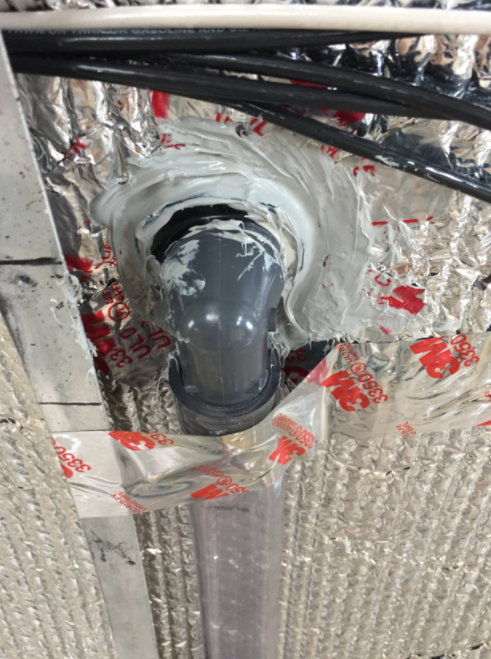
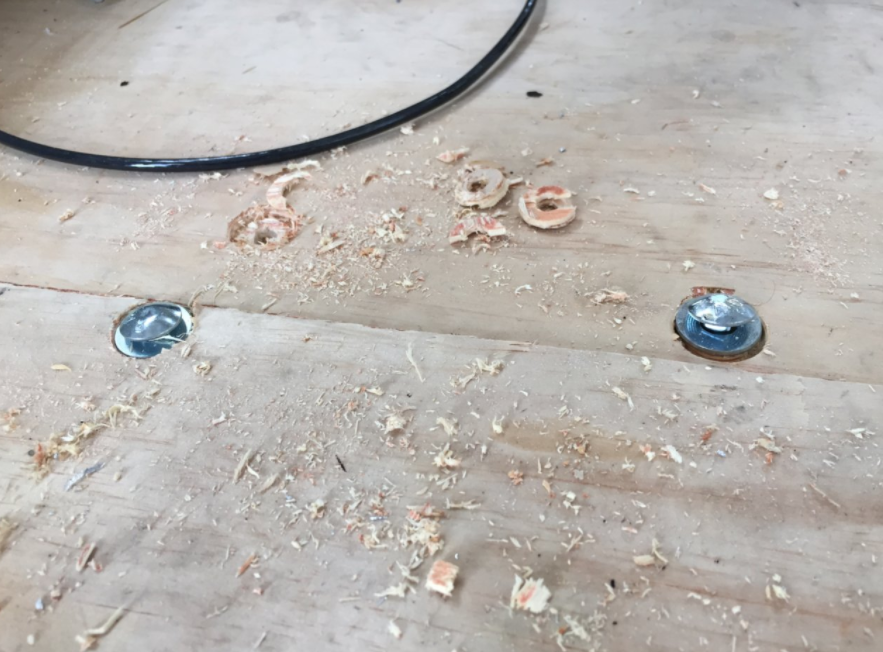
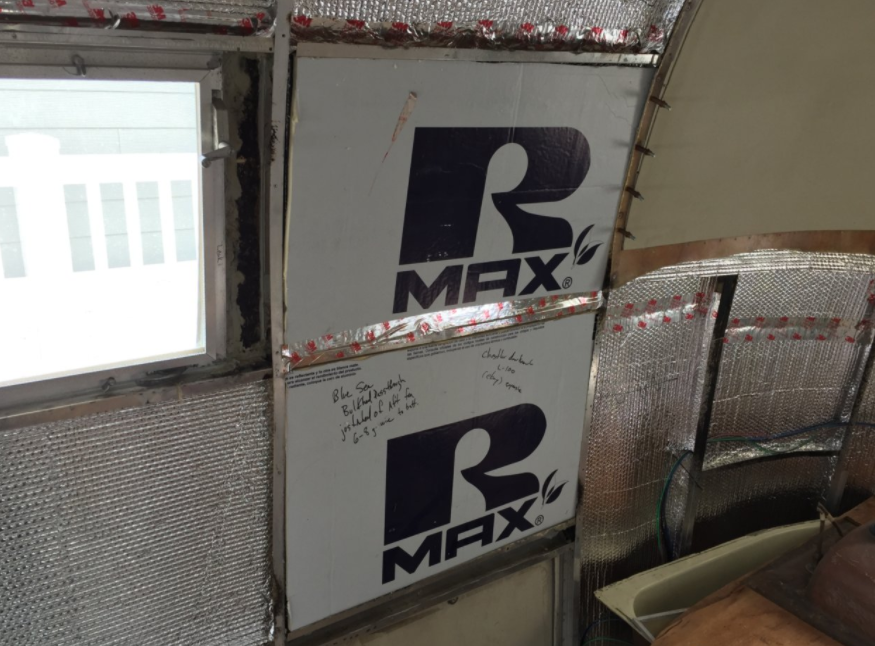
Well, it got cold again here in MT and I didn't have the will to get under the Airstream in 30°F weather a second time. I really need to bolt the u-channel to the perimeter of the floor and frame. Those bolts (and stainless screws) are what hold the shell to the frame. But in order to do that, I need to lay on my back in the snow-slush under the trailer. No thanks, not this weekend. I'm on a deadline now, so if the weather doesn't cooperate, I'll have to do it soon. For right now, I've got enough to work on before that becomes pressing. So, while I wait and hope for a warm weekend, I worked on the insulation and a solar bulkhead pass through. In the photos below, I drilled a small hole in Eisley's roof to allow the wires from a solar array to pass through the shell. Then I installed the pass through and sealed it up. I don't like making new holes in the shell, but I make up for it by really gooping on the sealant. The grey sealant is called "Vulkum" by people in Airstream restoration, but it is really brand-named Trempro 635. It took me a while to realize they are the same thing. Vulkum was the name for it in the days of yore -- which, not incidentally, is where most Airstream restorers seem to come from . . . Then I worked on the insulation. Because I have not bolted the u-channel to the floor/frame, I can't insulate all the way to the floor. The insulation will cover up what I need to do. But, I was able to insulate the entire roof and upper walls! 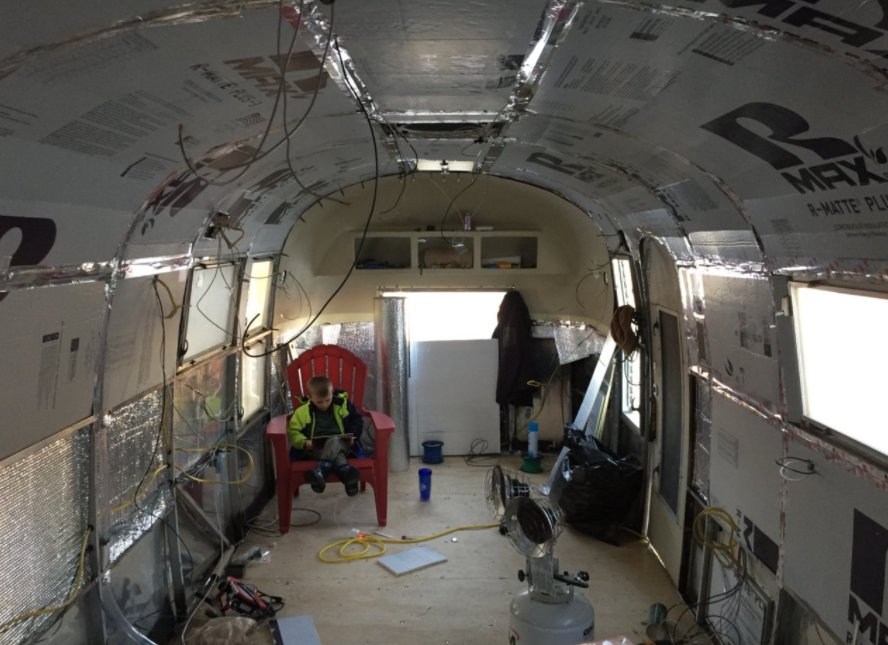 On the lower left side of this pic, you can see the shiny aluminum bubble rap, called Reflectix, that is the outer layer of insulation. The inner layer is R-Max foam board. It has the highest R-value of any material realistically available. Between the Reflectix and the R-Max foam is all of the electrical wiring, the vent tubes and spacers. This creates an air gap between the two insulations that is supposed to increase the efficiency of both types of insulation. Another full day's labor looks like a few minutes of work. One of the fun parts is having my son come play in the trailer when I'm working. Now that all the bad stuff (mouse poop, asbestos) is gone he comes and helps or plays. Today's work was mostly above his head (and mine), so he just played. I'm a little lax with his screen-time minutes in the trailer -- they are normally rationed -- because I like his company. 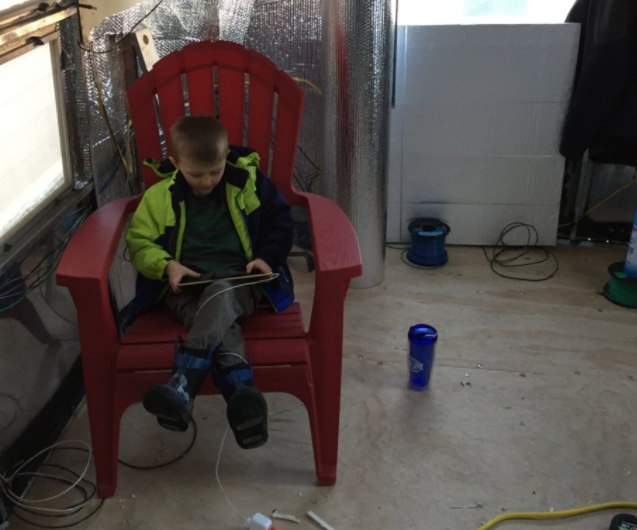
0 Comments
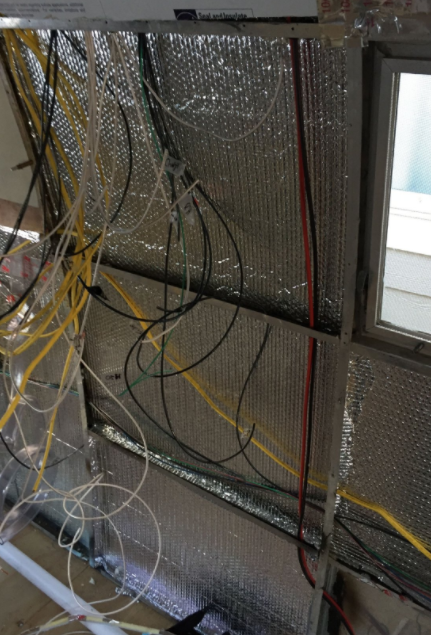
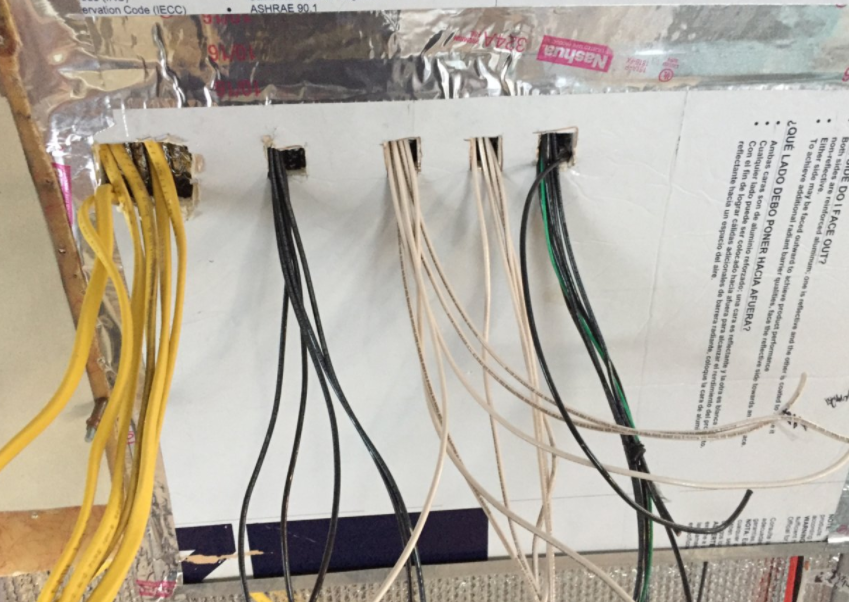
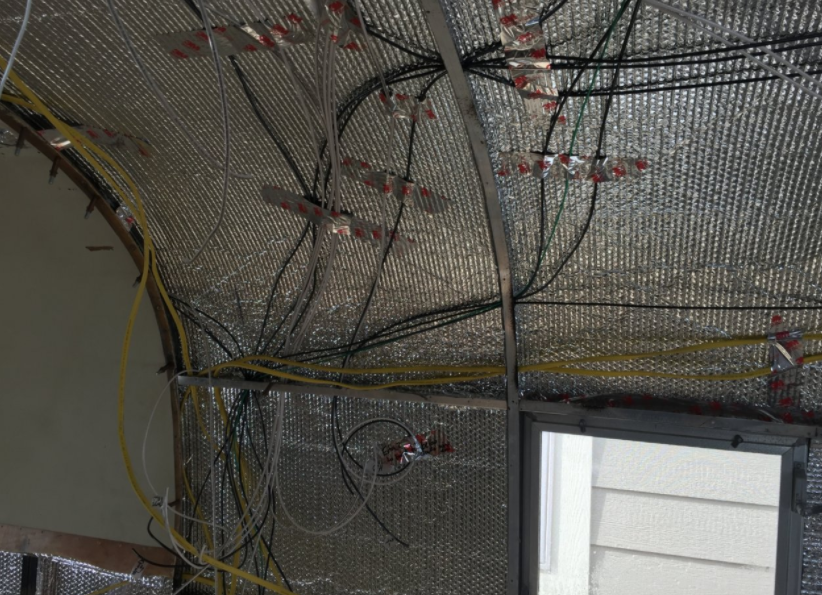
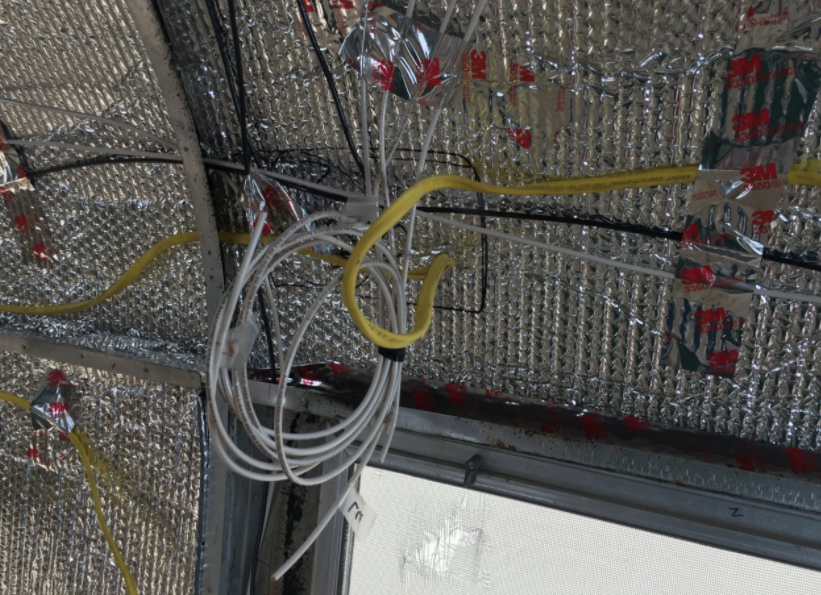
The rough wiring is nearly done! I've got all the wires pulled, taped in place, and ready for the final layer of insulation. I also engineered a new solution for vent stacks from the waste tanks. I put them inside the walls. (I'm sure my friends who are *actual* engineers are cringing right now.) In the post below, I'm going to walk through the electrical choices that I made and I'll explain the new vent stacks. Wiring plans: I ran separate 12V hot (black) and neutral (white) wires for the following circuits. With the exception of the wires from umbilical cord (various colors, see last post) and a line strictly dedicated to the CO/Propane detector (green), all my 12V DC lines are 10 gauge. This is a bit overkill on wire size, but I'd rather be safe than sorry.
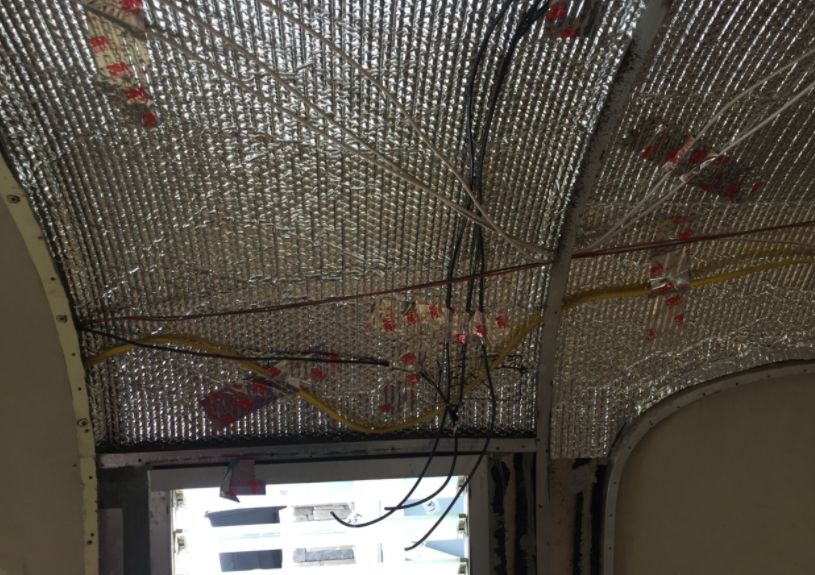
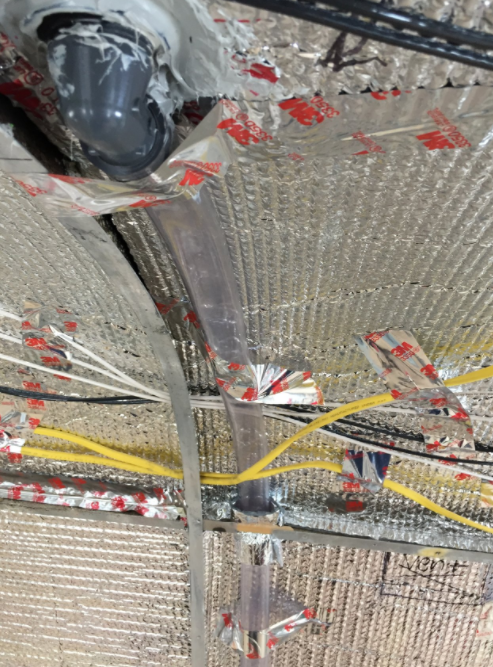
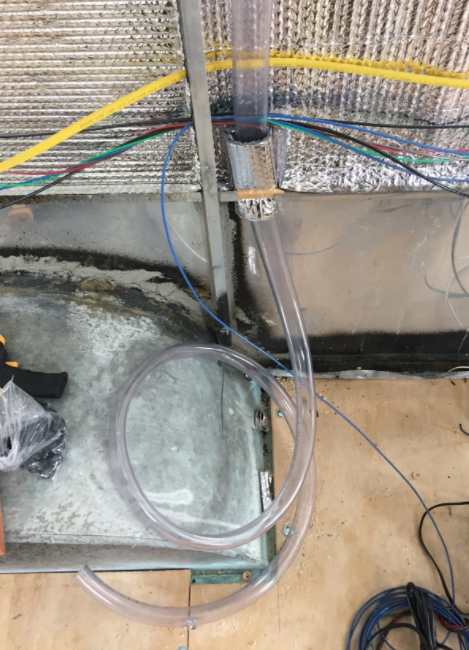
Vent Stacks: There are three vent stacks that exit the roof. These vents allow the waste tanks to vent any built up gasses to the atmosphere. Moreover, in order for the sinks & tub to drain into the tank, the displaced air needs somewhere to go. In 1962, these stacks were hard pipes coming out of the tanks, from the middle of the floor up to the roof. I guess if I was trying to restore Eisley to 1962, I'd need to put them back the same way. That's never been my goal. I think they're ugly. So I bought flexible tube and fittings and buried the vents inside the wall. I used 1" I.D. tube, which should be plenty for atmospheric venting - particularly since this isn't getting the constant use of a home system. I didn't get very good pictures of the vent holes from the inside or the new rooftop covers. The vents will tie into the plumbing system whenever (next year?) I get interior plumbing installed. Lastly, I'm bolting the second half of the subfloor down and installing the final layer of insulation. More to come on that process next time.
|
AuthorI'm not an Airstream Jedi, yet. Airstream Jedi would have sounded presumptuous, like I know what I'm doing. That couldn't be further from the truth. Padawan is a title I can hope to live up to. Favorite Links:Knots Per Hour
My friend Mike is building an airplane. Check it out. Archives
August 2018
Categories |


 RSS Feed
