|
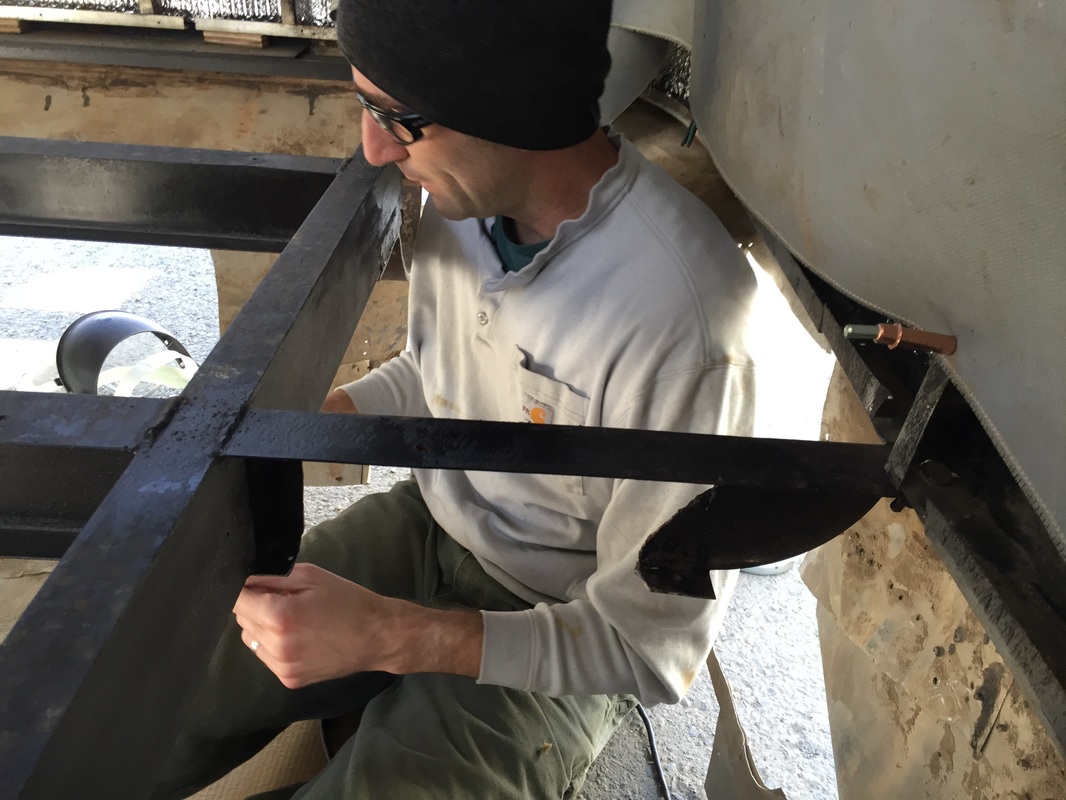
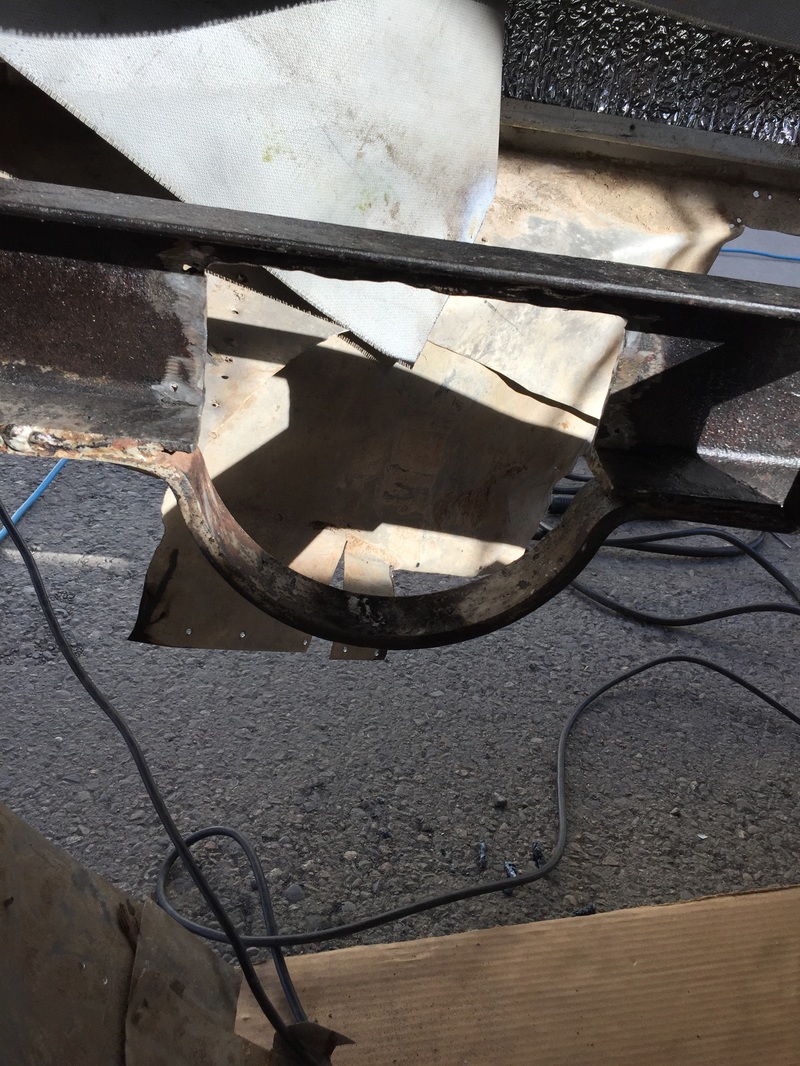
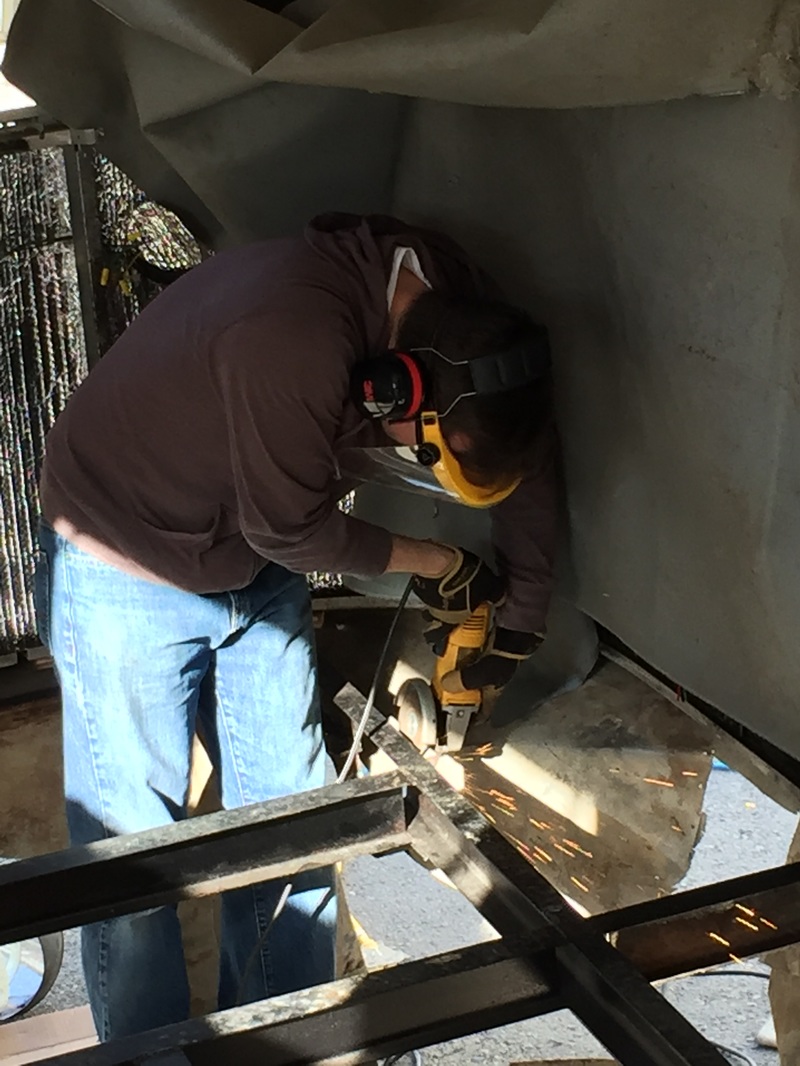
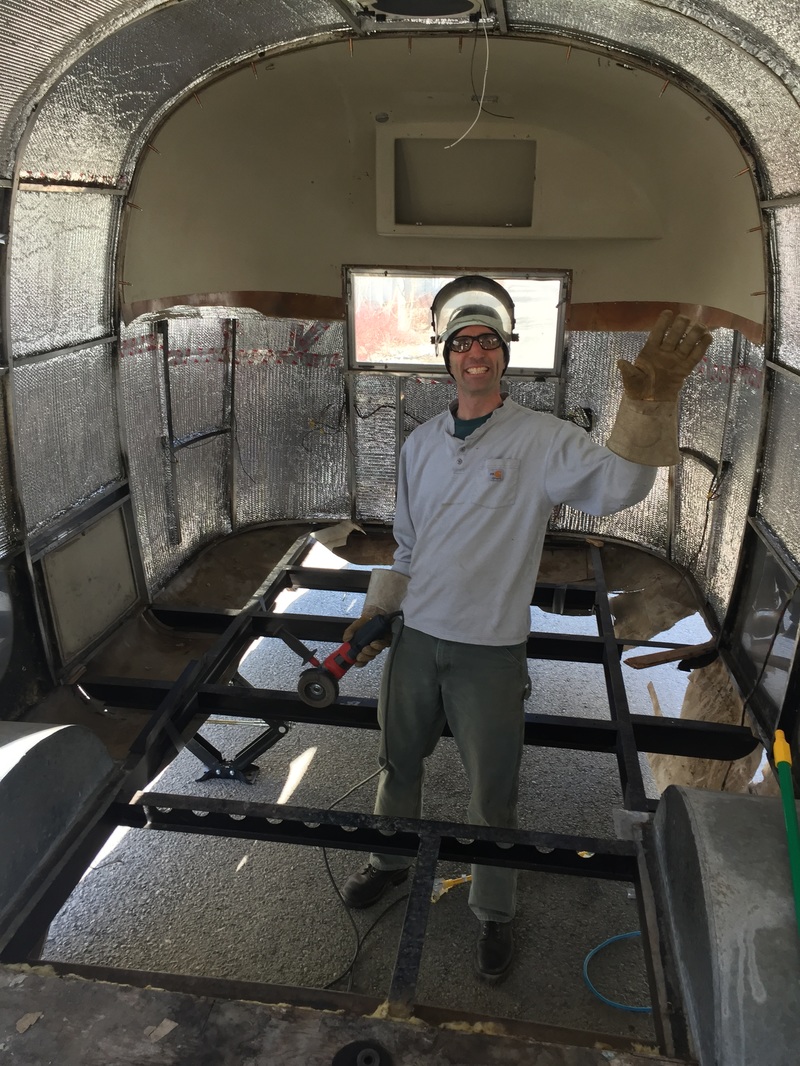
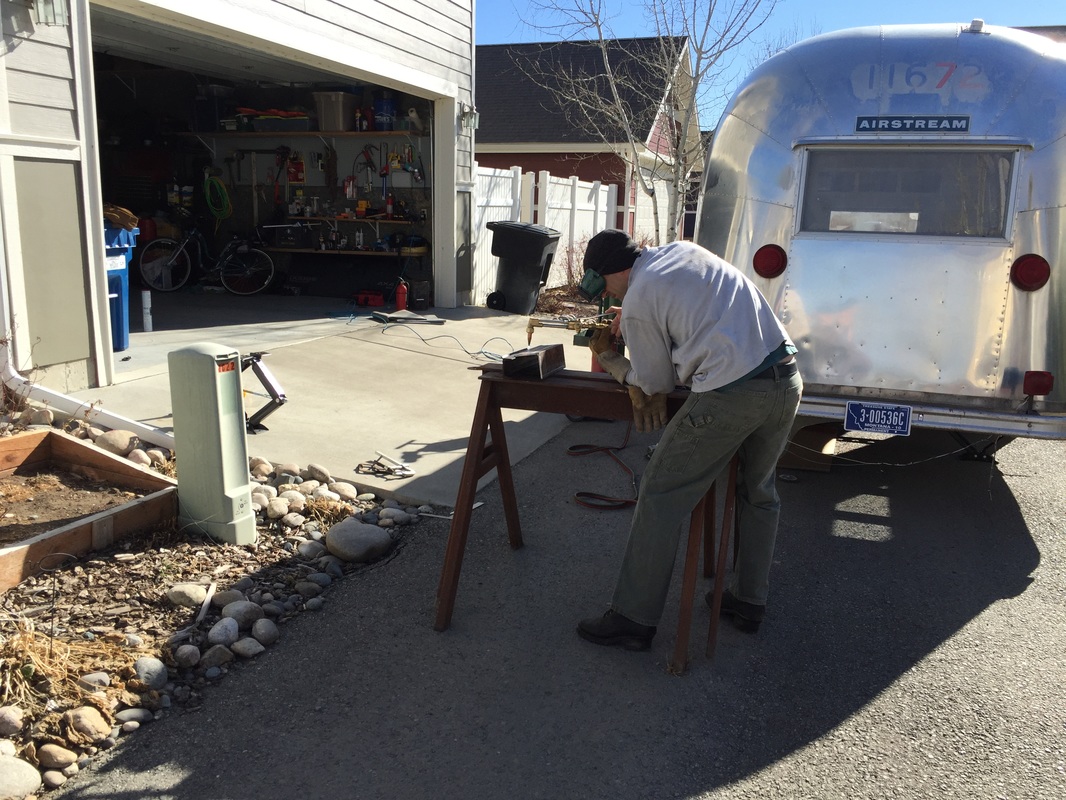
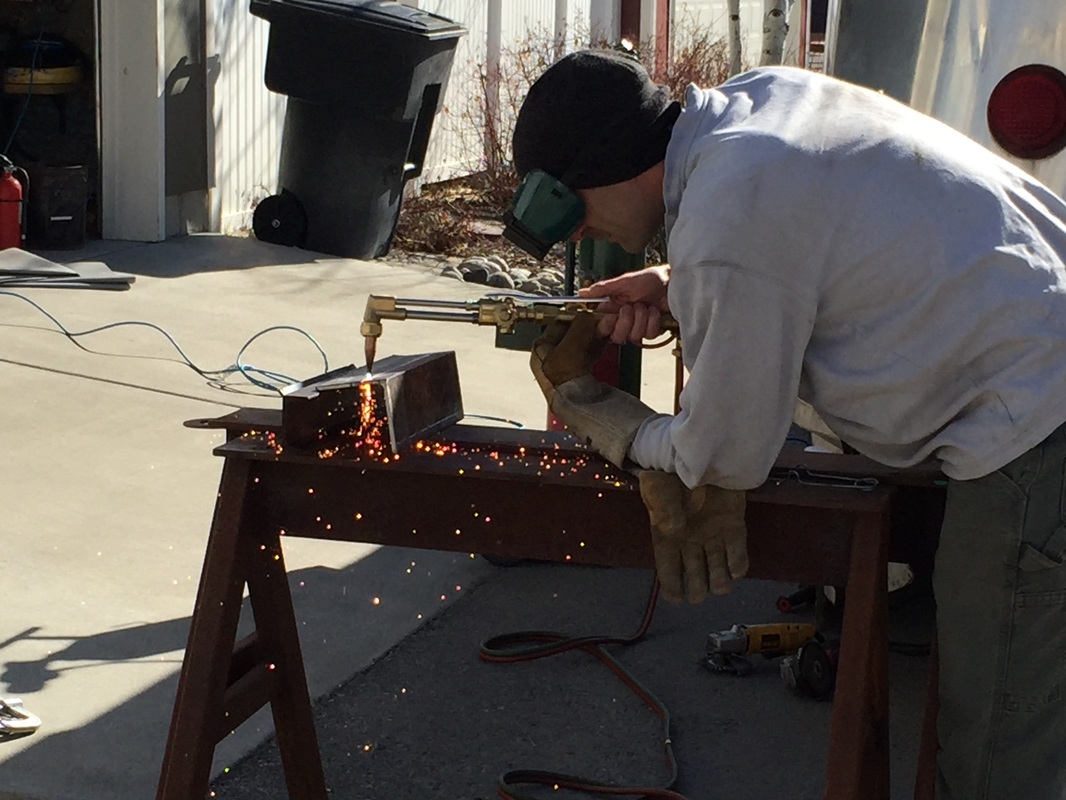
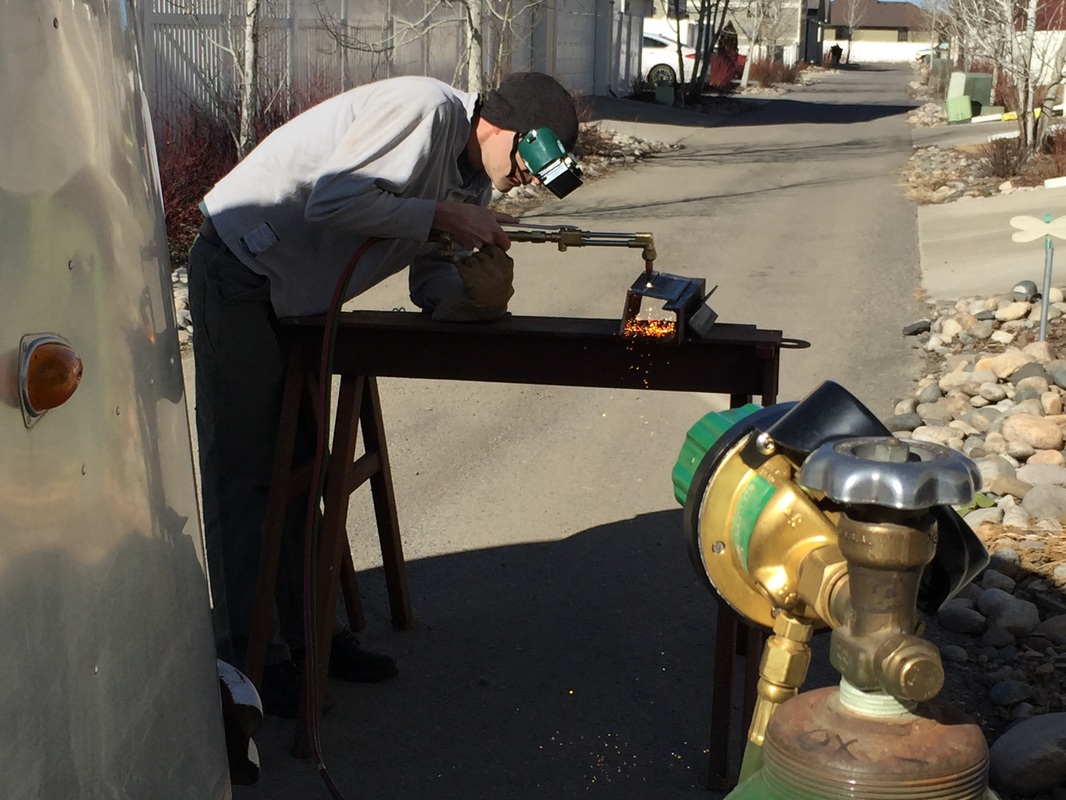
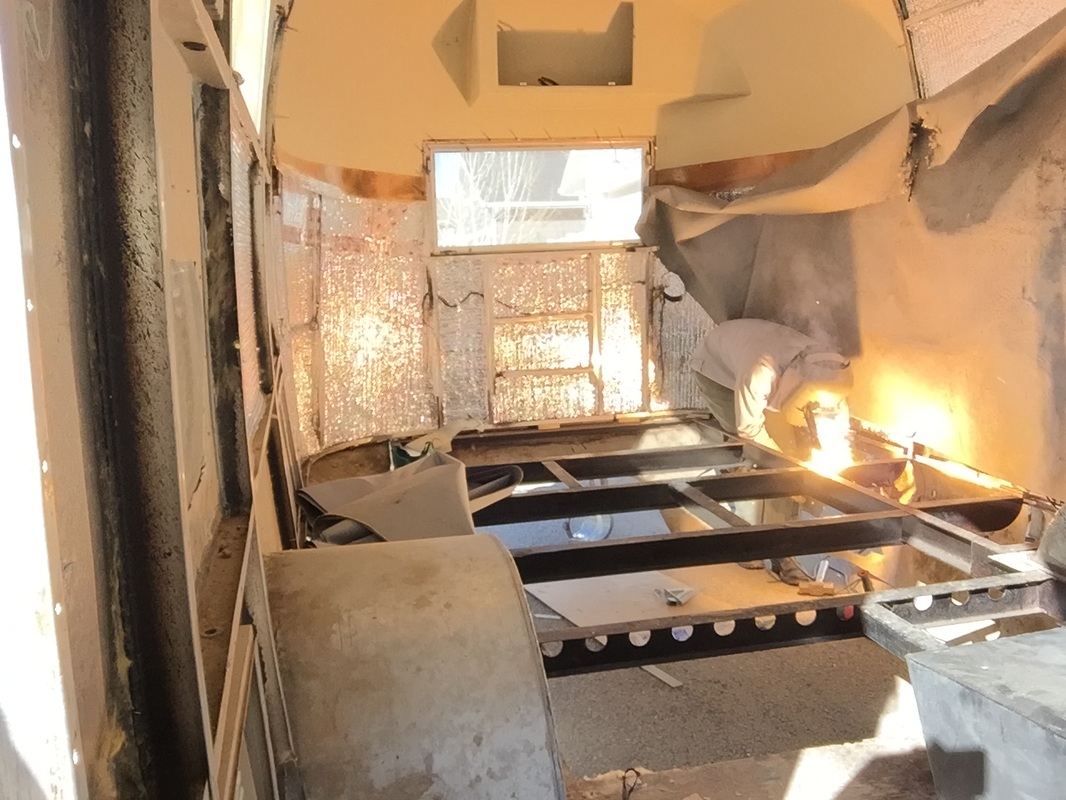
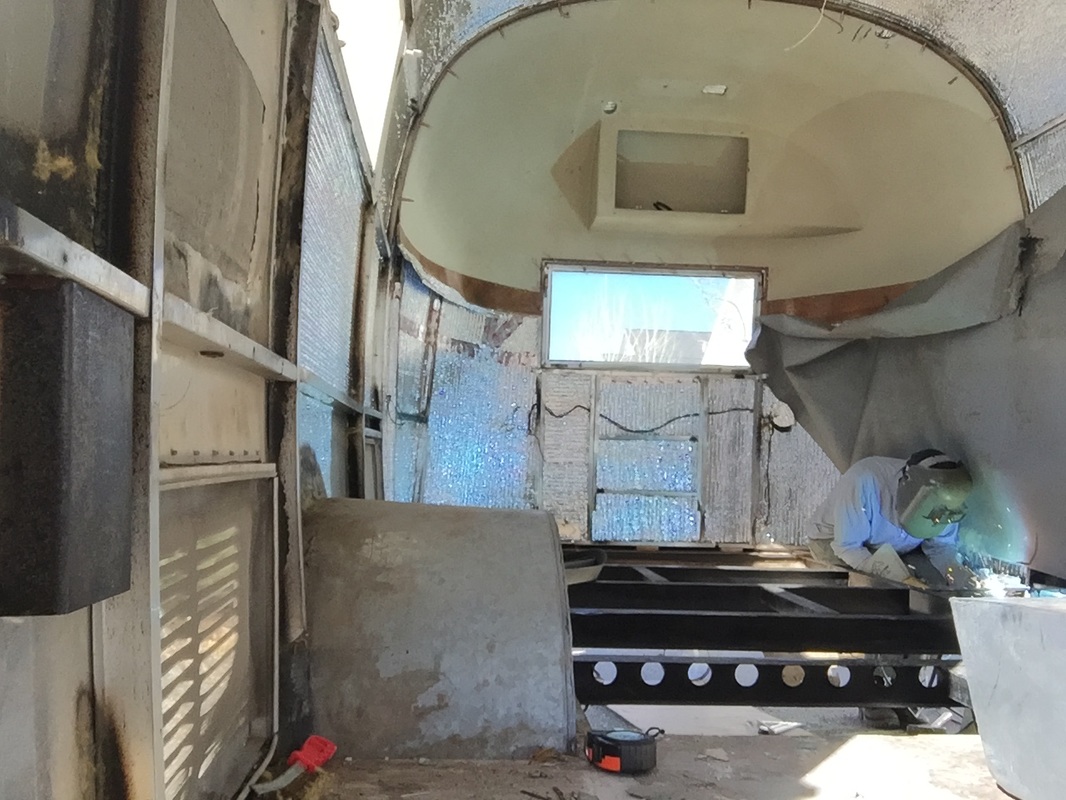
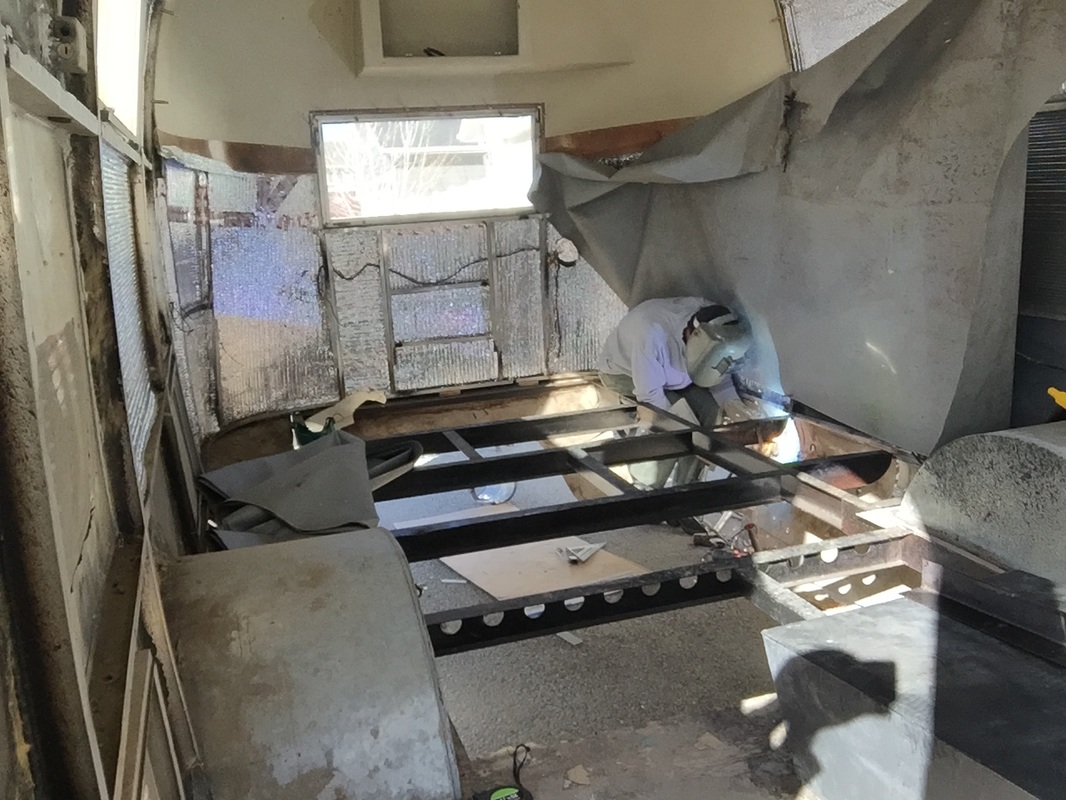
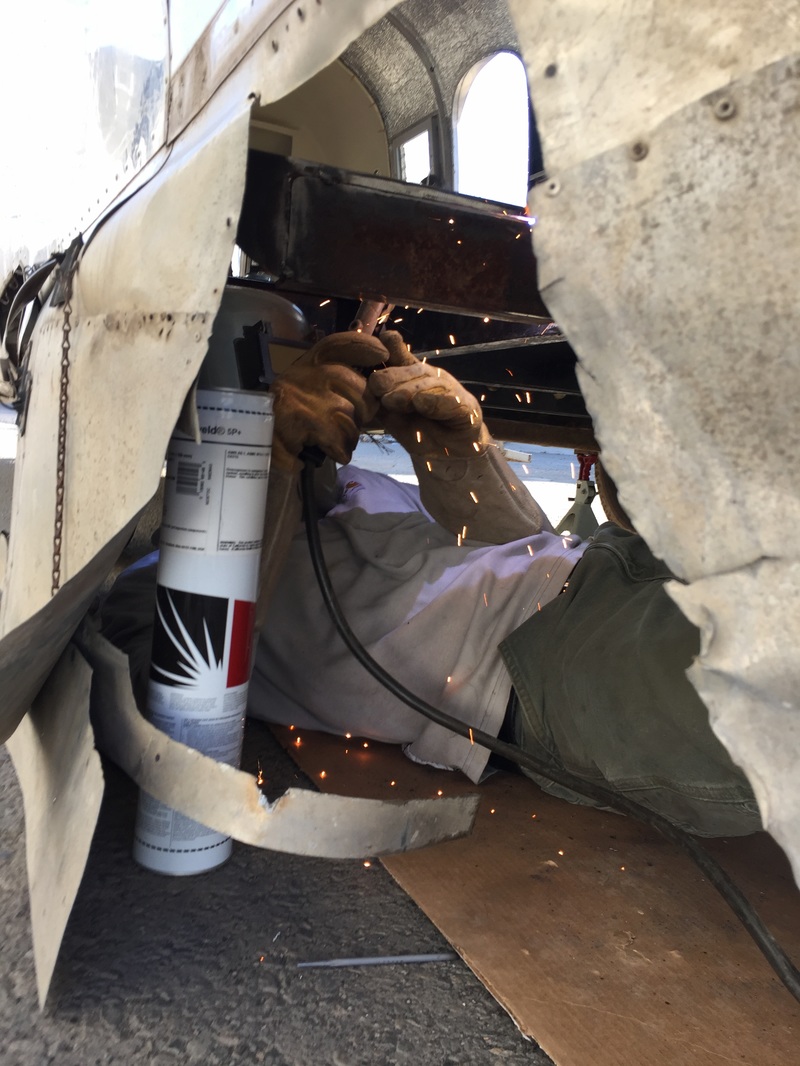
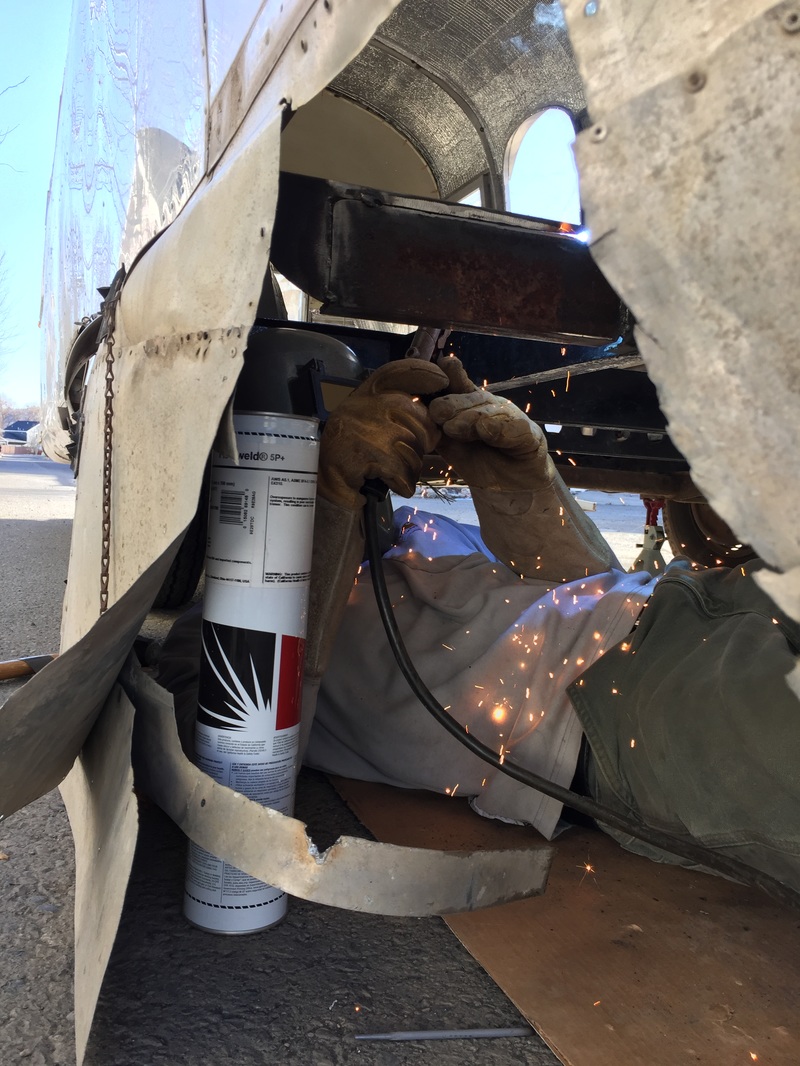
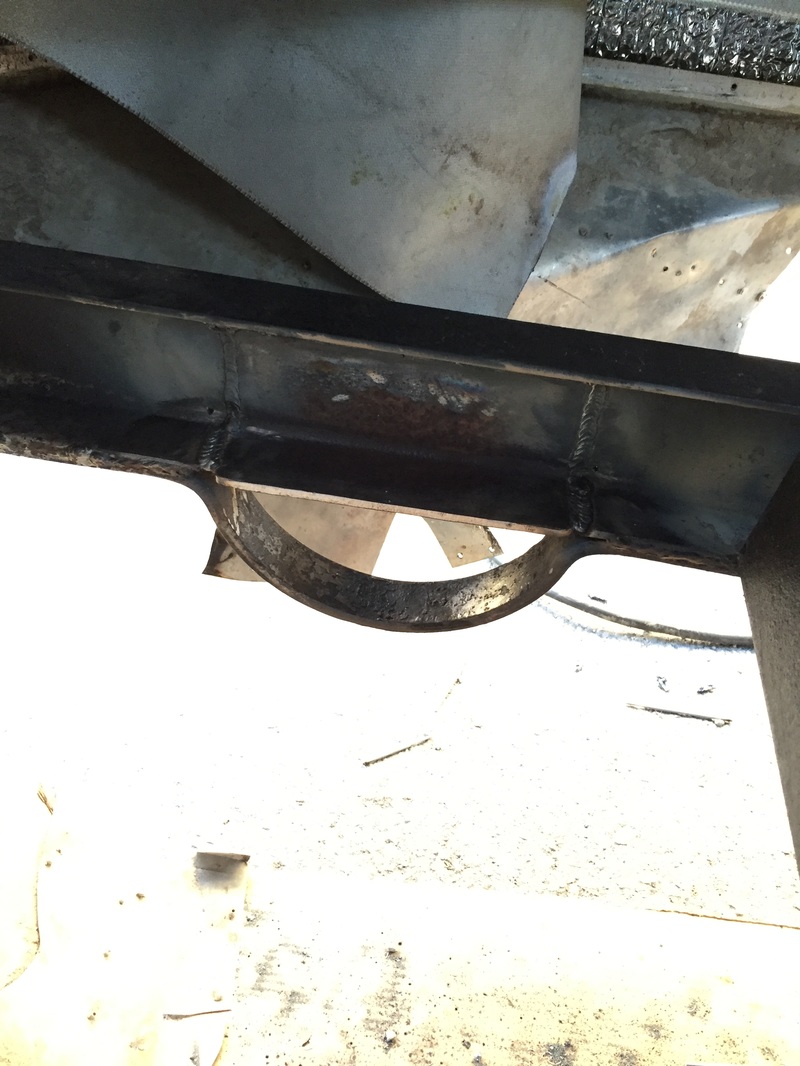
"If my clothes catch on fire, just pat me out." That is quite possibly the most badass instruction someone has ever given me. Given that the welding slag and sparks were landing on his chest, he wasn't kidding. 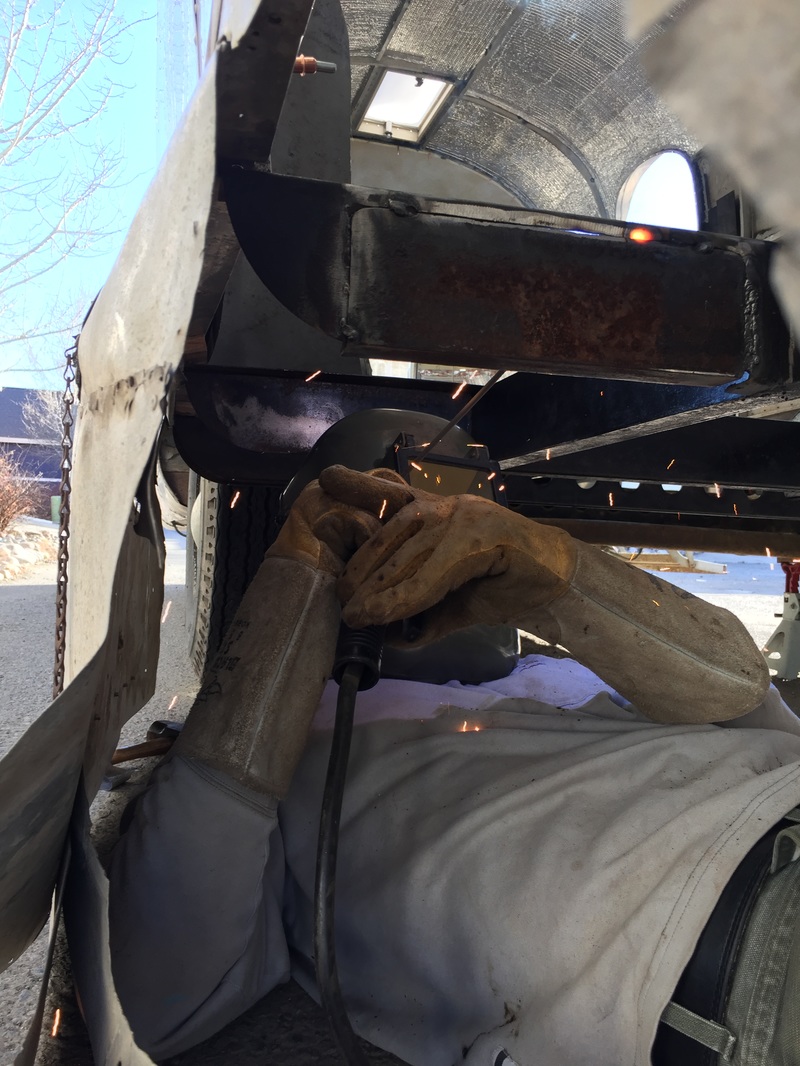 If you remember from a post last year, the frame is generally in great condition, but a previous owner cut a few gaping holes to run plumbing. Since I'm running plumbing by a different route, and because the holes are egregious, I asked my neighbor to help. Actually, when he moved in six months or so ago, Cory saw me working and volunteered his help, if I needed it. Cory is a welding engineer; I just about fell trying to do a happy dance while on a ladder. Here were the two biggest holes in the frame (noticed the past tense, huh?!): Actually, I missed the opportunity to get good "before" photos. Here both holes in the frame have had some clean-up work done. But, it is pretty easy to see how little steel was left to support the weight of the floor and everything above it. Since I know nothing about welding, it was a ton of fun to learn. Cory taught me the basic physics behind the cutting torch and the welding inverter, but the best part was watching someone use skills I've never seen first-hand before. I had lots of fun today. Both patches are now in place, with just a little bit more welding to go. Next weekend we will finish up these two holes (Cory says one of his first welds needs reworking. He is a meticulous kind of guy.) We will also weld up some supports for the black and grey tanks that hang below the floor. I'm still nervous about the tanks hanging below the belly pan, but if the shit hits the fan, I'll replace the tanks later. (Well, the fan is installed in the roof, so if it actually hits the fan, it might be the least of my problems.) BUT, lest you think I spent the day twiddling my thumbs, here are a few photos of me working the grinding wheel:: And here's a fun gallery from today:
2 Comments
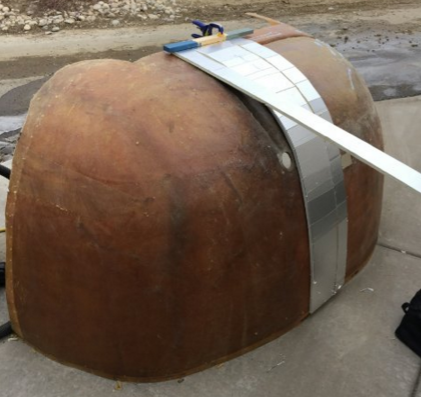
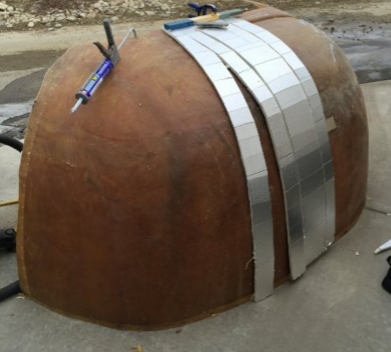
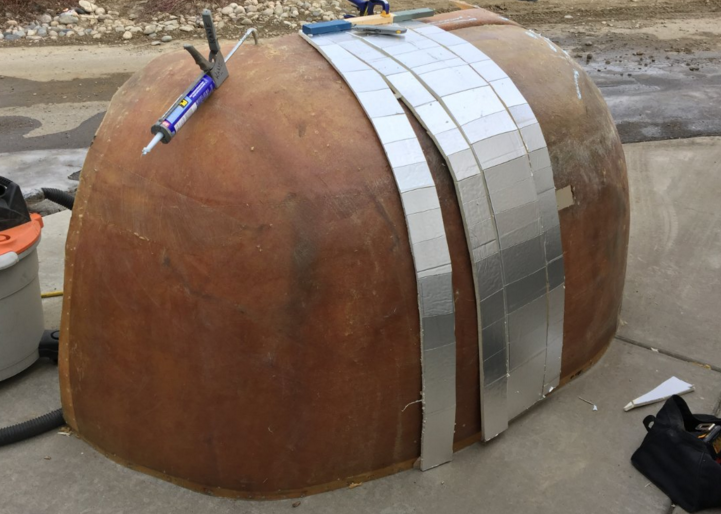
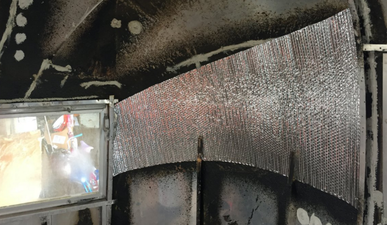 It was 67 degrees today! The meteorologist had been predicting it for a week, so I couldn't miss the opportunity to work on the Airstream. I did what any good teacher would do when they have a fantastic student-teacher at the helm. I took the day off. I've been slowly plinking away at the reflectix insulation. It is not particularly time consuming, or not much more than any other step, but there is a lot of measuring. Basically, I am using industrial contact cement from 3M. (I am a big fan of just about everything 3M makes. Everything that company produces seems to work.) I spray both the inside of the aluminum skin and the backside of the reflectix, wait two minutes, carefully align the piece, and press. The glue holds instantly, but it usually stays workable for a second or two. 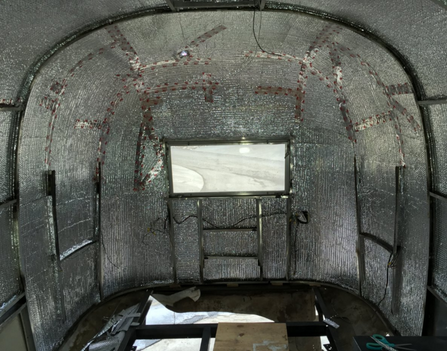 With my free day (no kids! no lists! no distractions!) I nearly finished the reflectix. In the pic, you can see the 3M cold weather tape on all of the seams that are not against a beam. I'm not sure if I'm supposed to tape the seams along the beams, but I overlapped the corners with reflectix and they are glued solid. It seems pretty airtight. So I'm skipping it; it would cost at least $100 and take most of a day to foil tape all the reflectix along the metal beams. There is one spot on the opposite end yet to do, along with several panels where I have yet to repair the exterior skin on the side of the trailer. (More to come on that step soon.) Unfortunately, I wasted at least an hour trying unsuccessfully to use foam board to insulate the fiberglass encaps before putting them back on. I wrote last time that I'm using rigid foam board to complete the insulation. I also remember mentioning that I'm terrible at geometry. Hey what is harder to make curve, bubble wrap or rigid foam board? 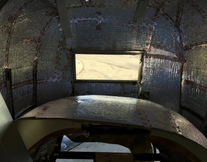 It actually looks pretty slick in the photos, but the amount of time it took to make four strips of foam was way, way too much. Then every strip would need each seam (both vertical and horizontal) sealed with tape. I figured by the time that was done, it would be more expensive and less warm than just using reflectix on the back of the endcaps. I'll still use the foam board on the rest - all the rest of the interior curves are round in only one direction. I forgot to take a good photo of the reflectix on the endcap above; I have one more to do, so I'll try to remember. BUT this is the milestone: The first original material went back in! I've demolished and tossed, remade pieces, and put in brand-new stuff, but this is the first part that's from 1962 that I took out that I get to replace. I'll need to partly remove it again in order to fish electrical wires behind it, so it is just held up with clecos. But it is in! 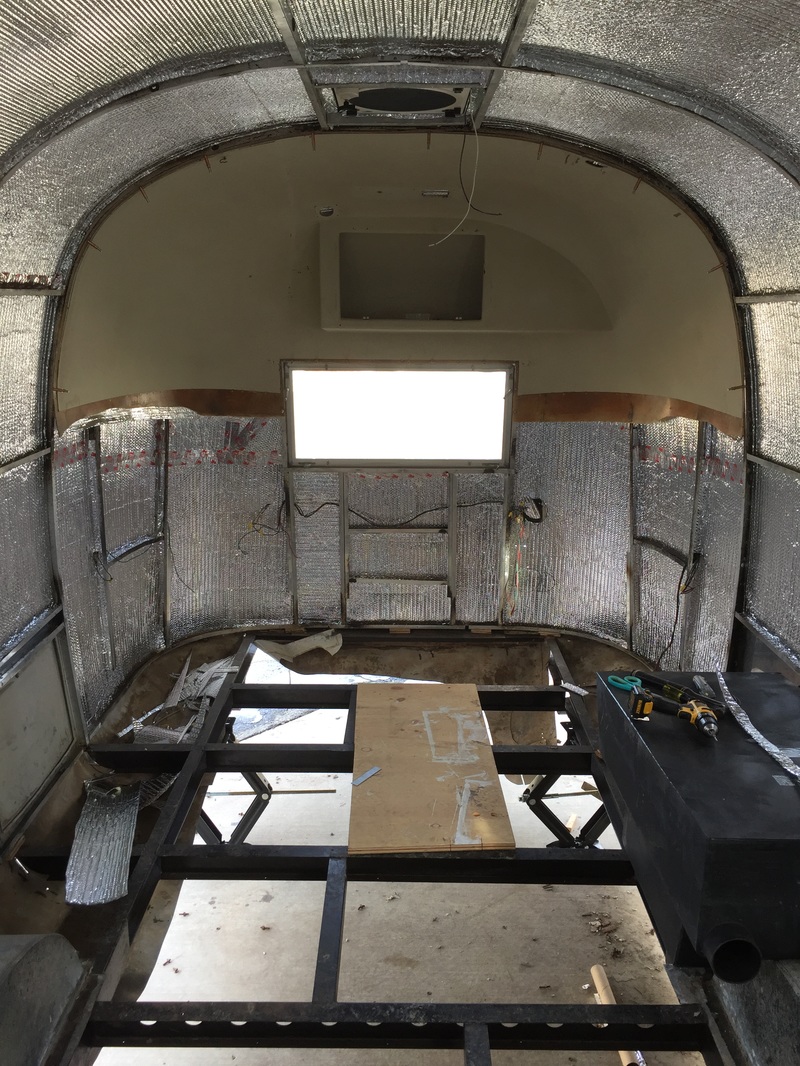 That floor is calling my name... |
AuthorI'm not an Airstream Jedi, yet. Airstream Jedi would have sounded presumptuous, like I know what I'm doing. That couldn't be further from the truth. Padawan is a title I can hope to live up to. Favorite Links:Knots Per Hour
My friend Mike is building an airplane. Check it out. Archives
August 2018
Categories |


 RSS Feed
