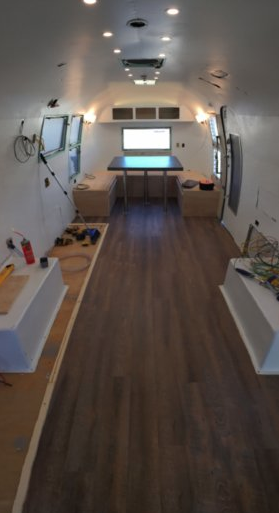
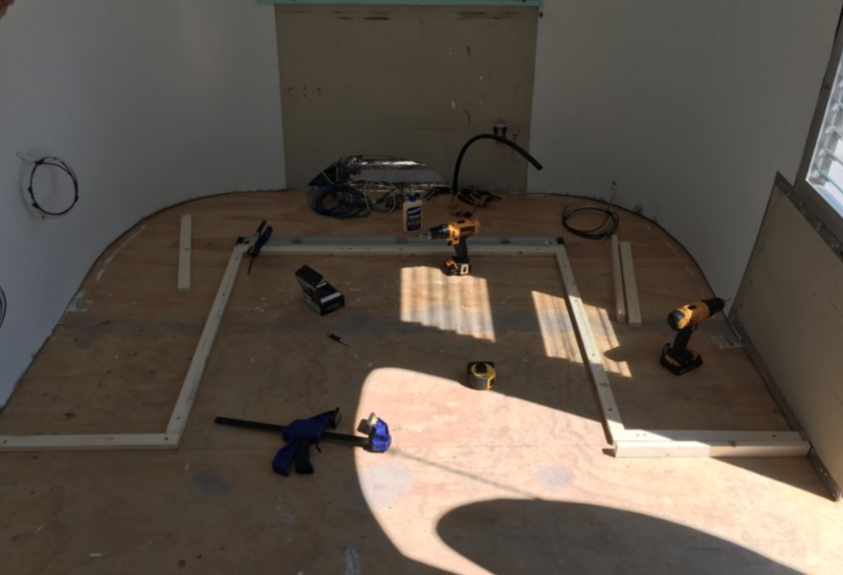
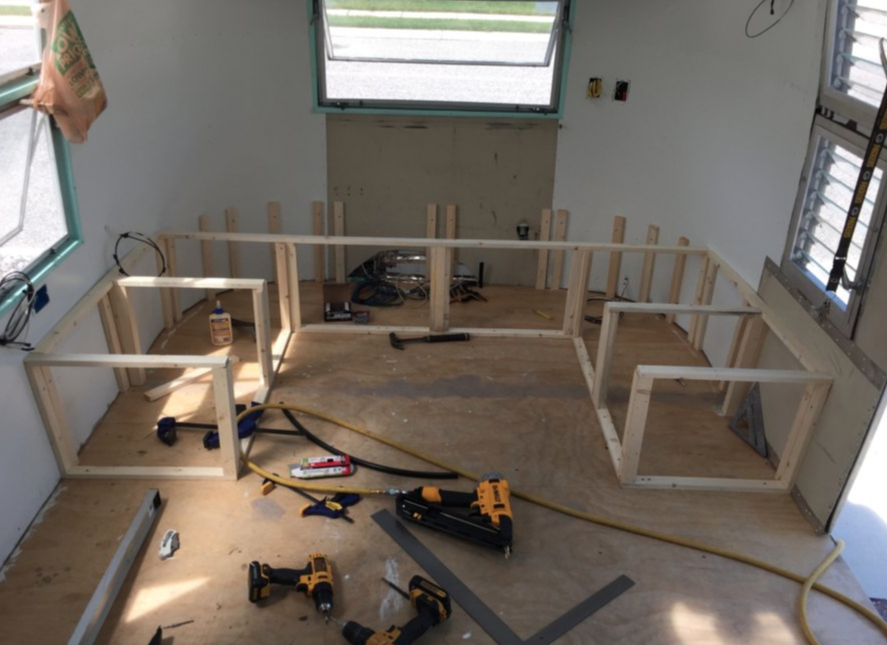
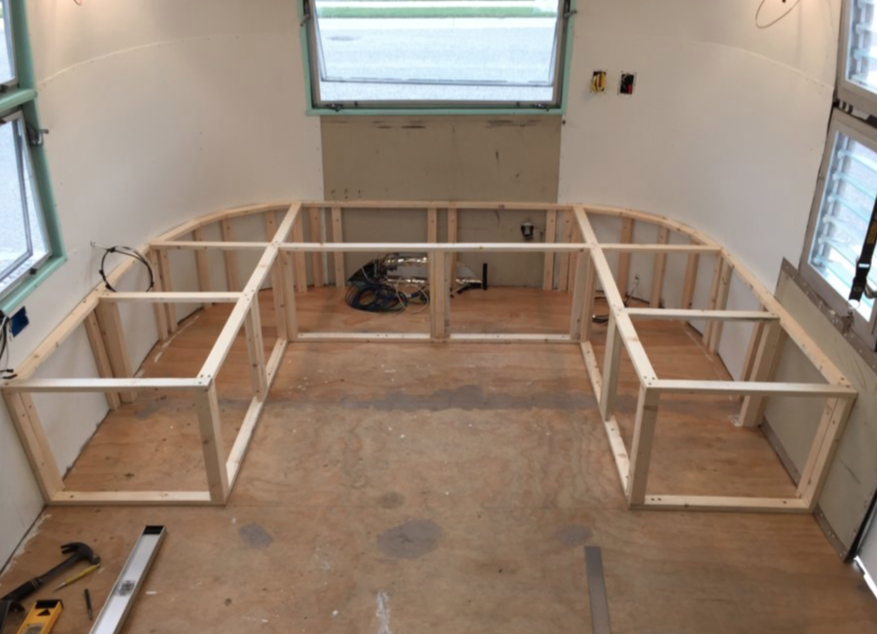
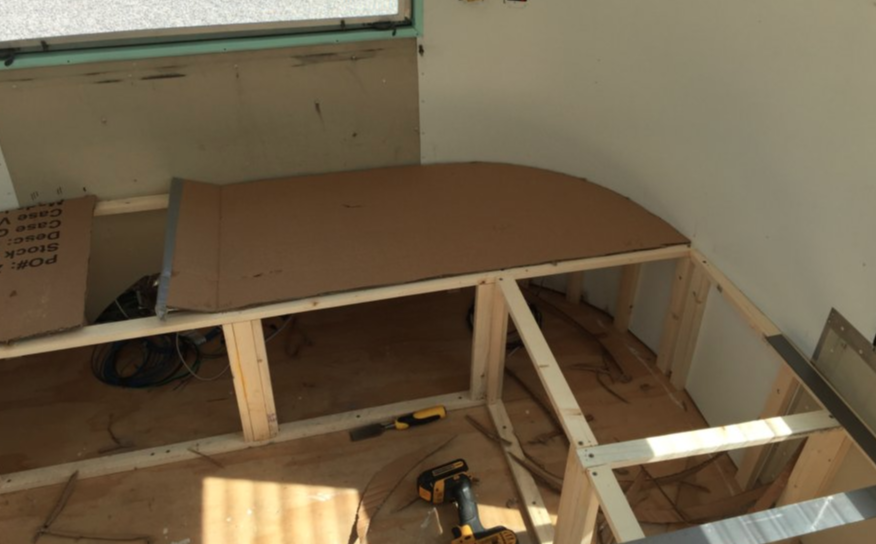
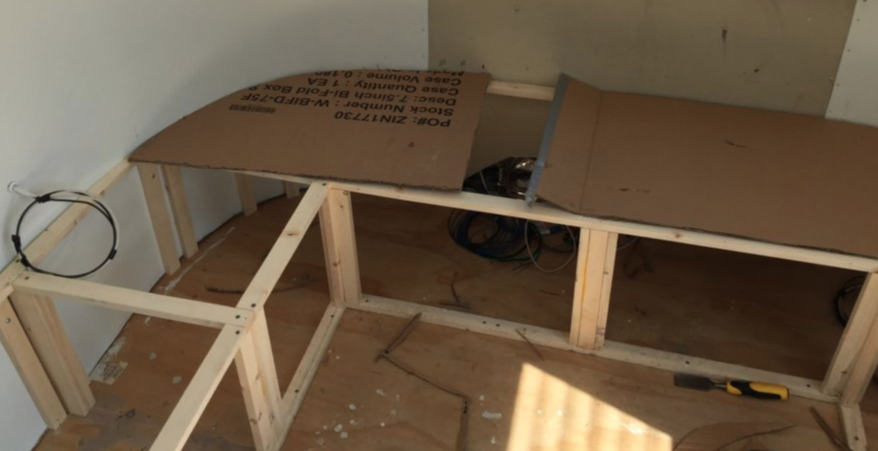
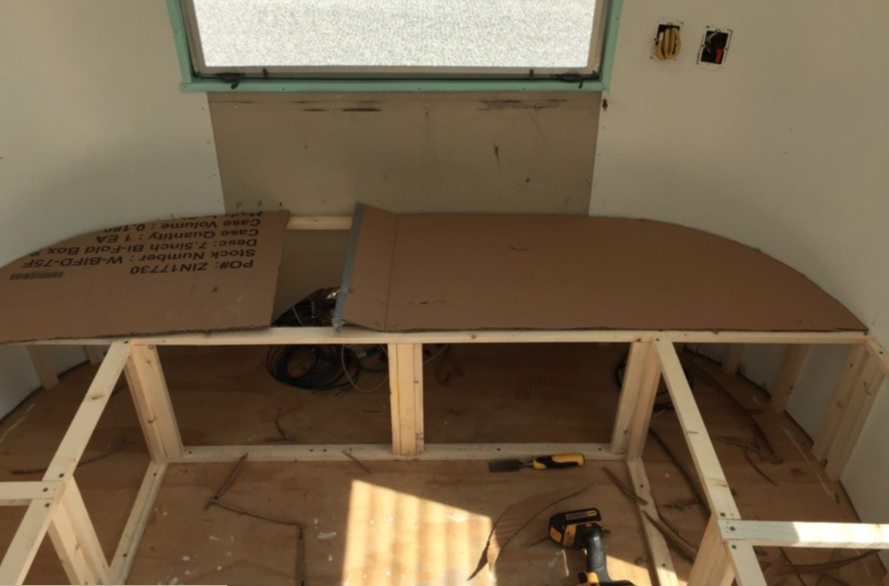
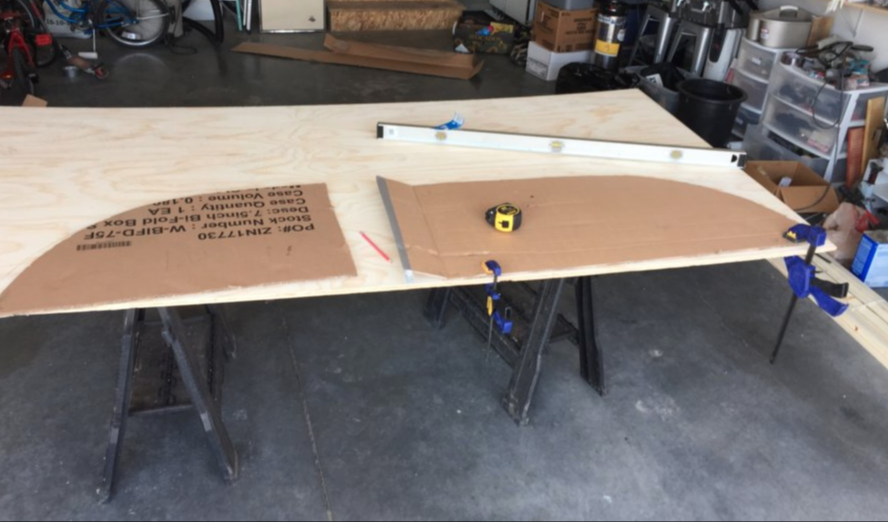
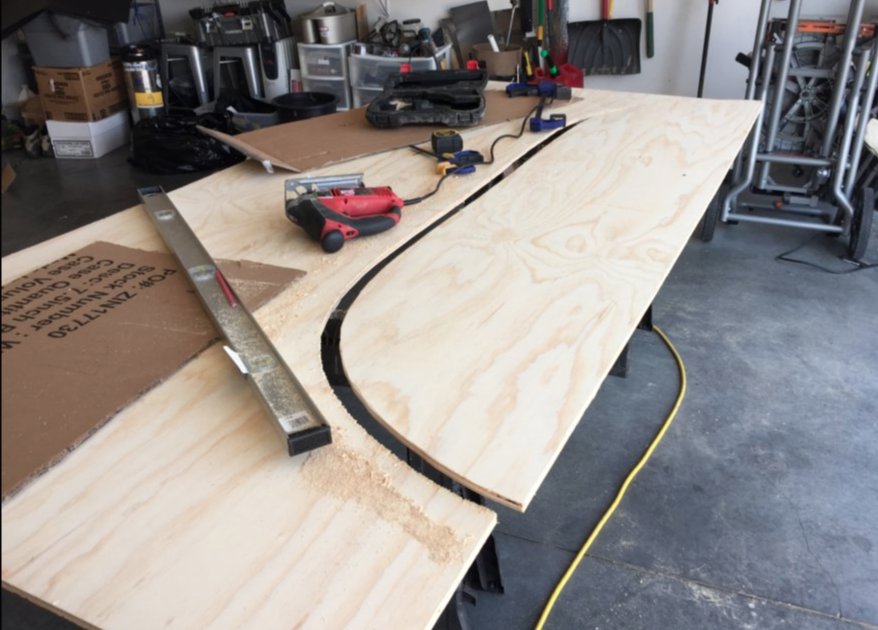
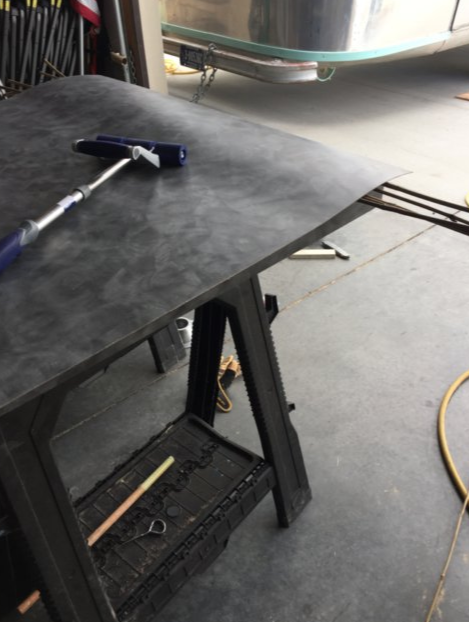
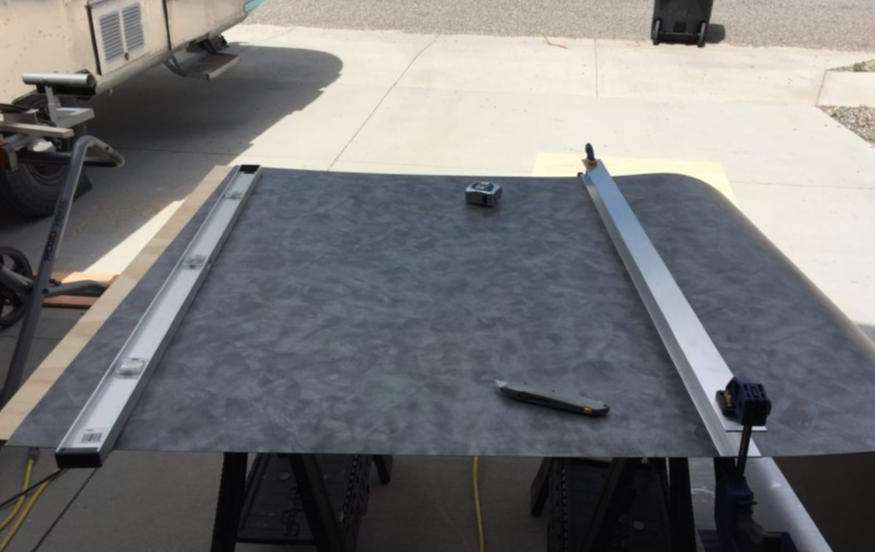
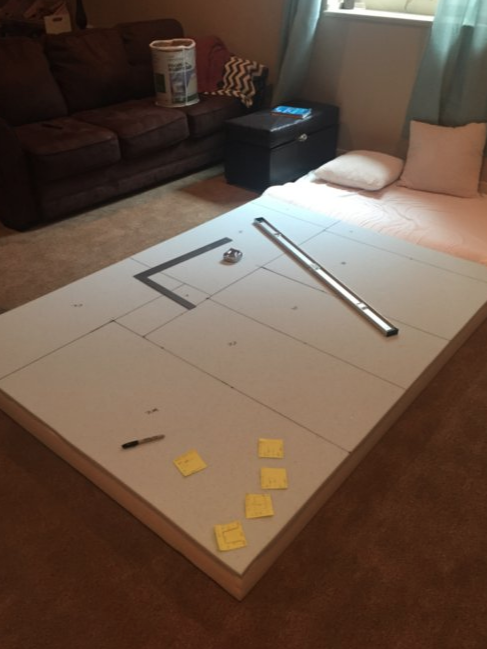
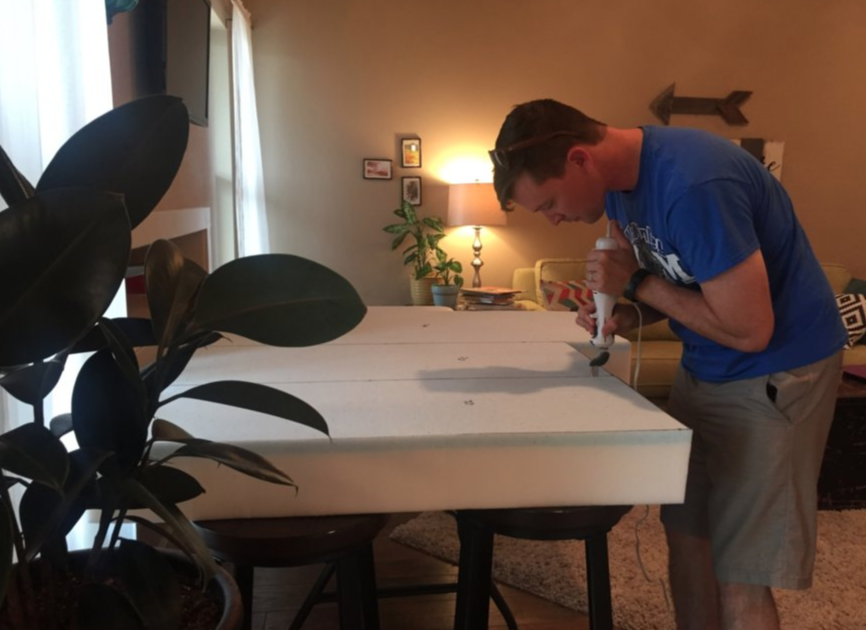
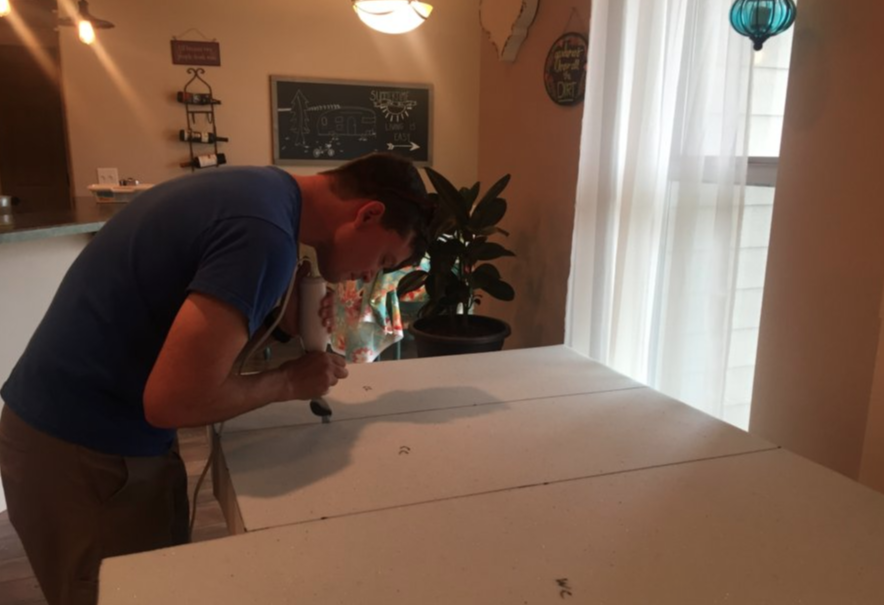
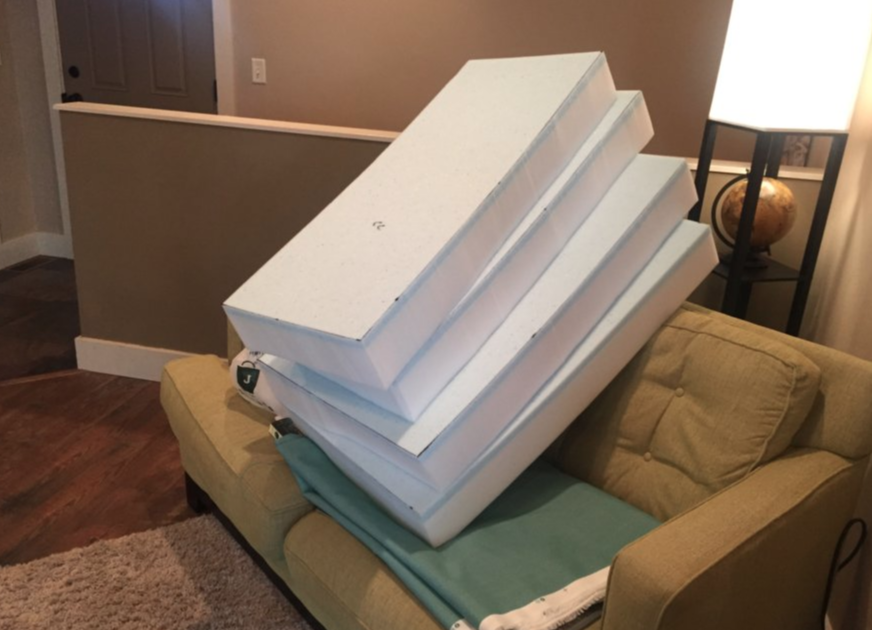
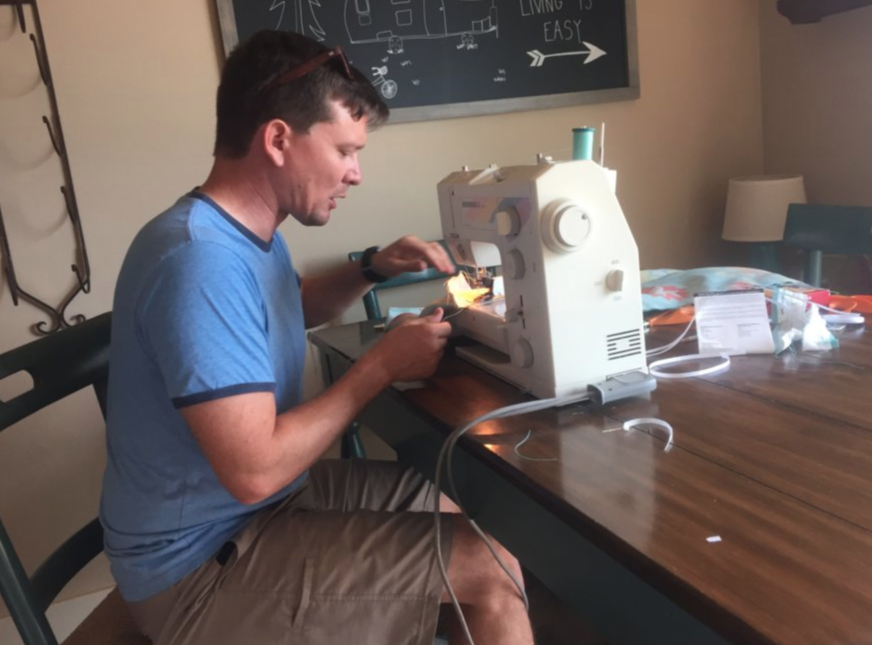
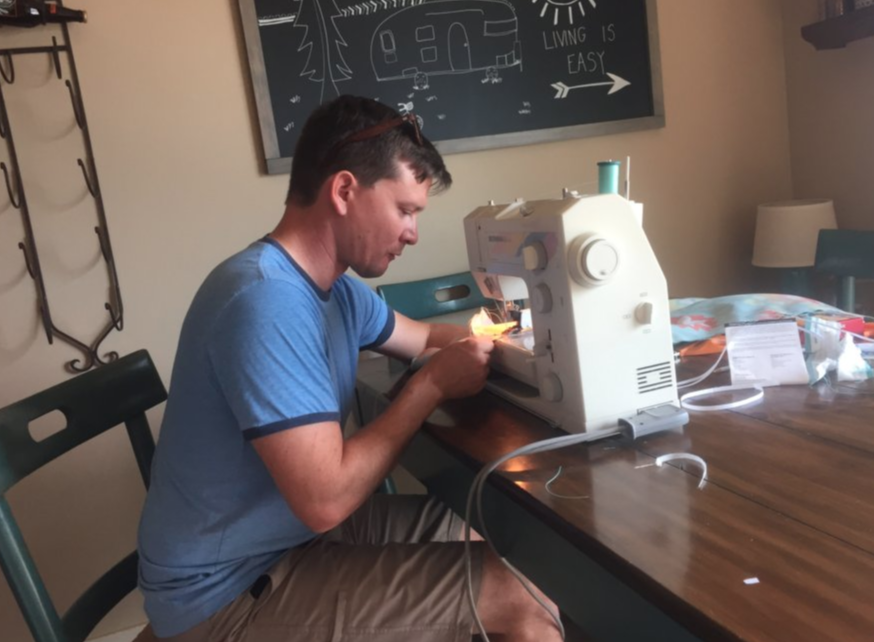
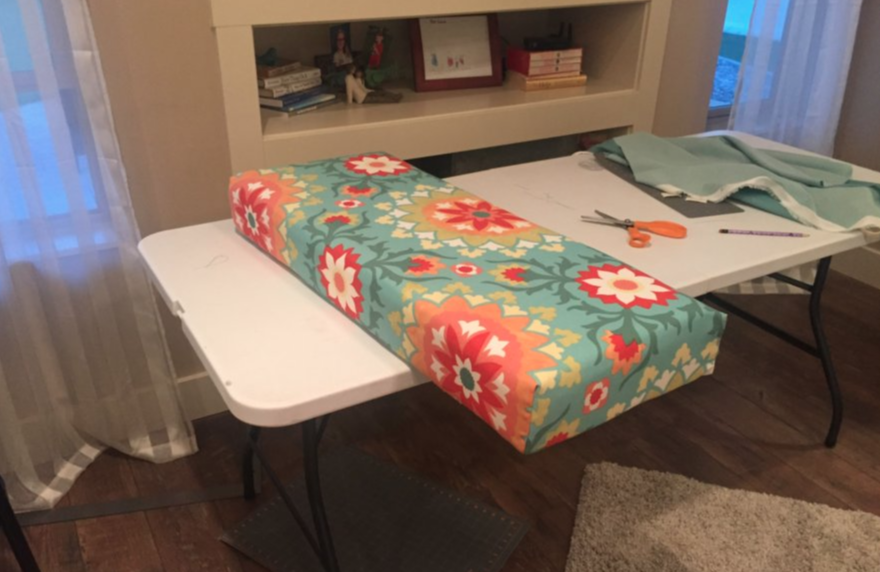
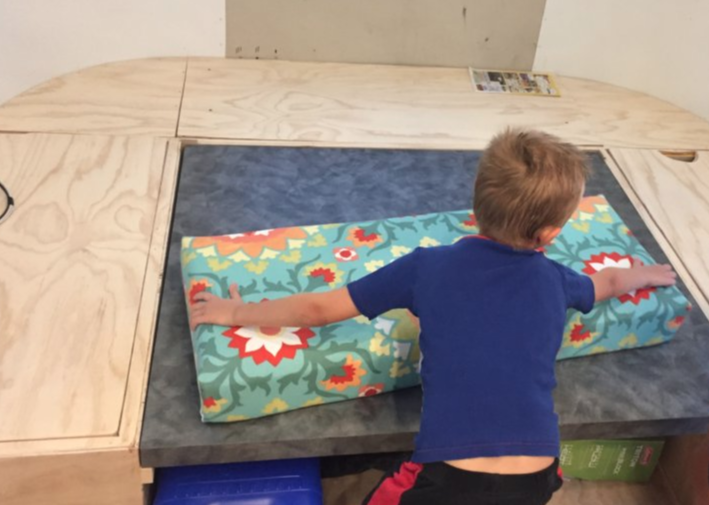
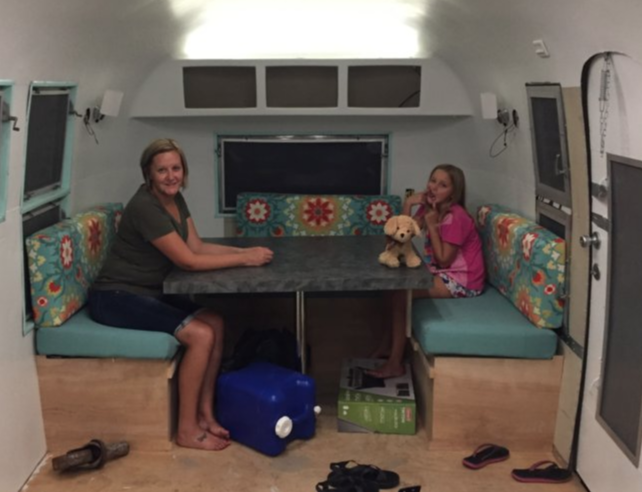
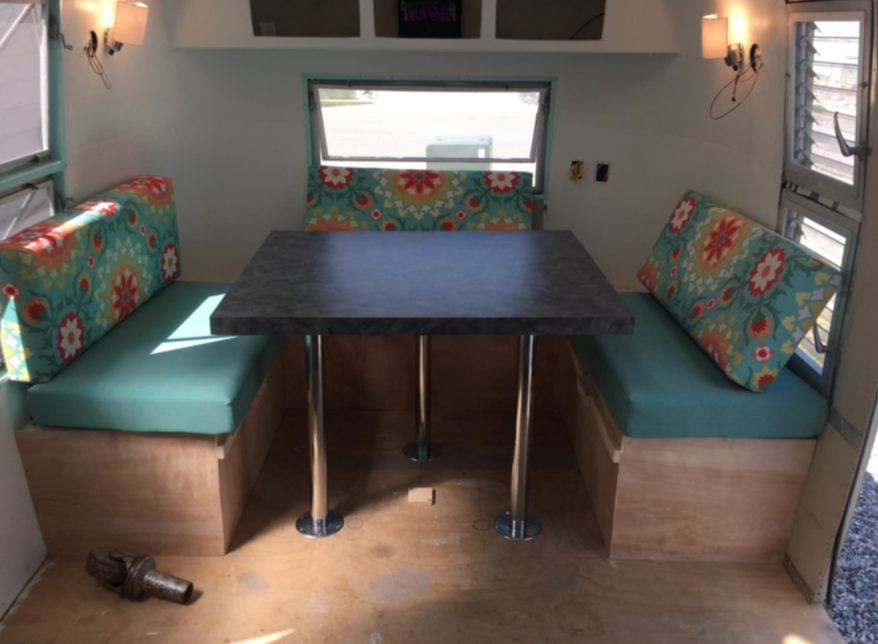
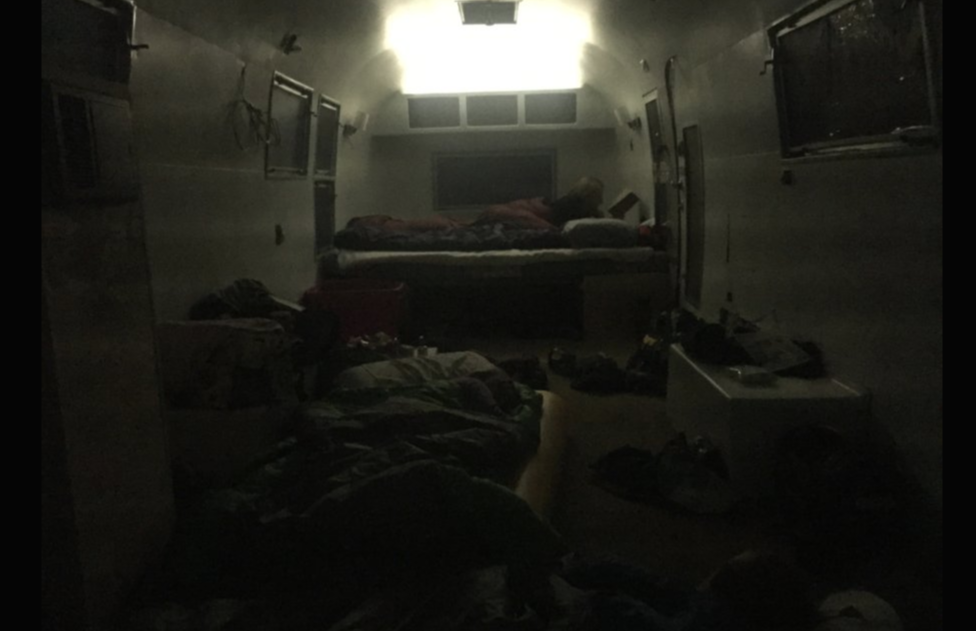
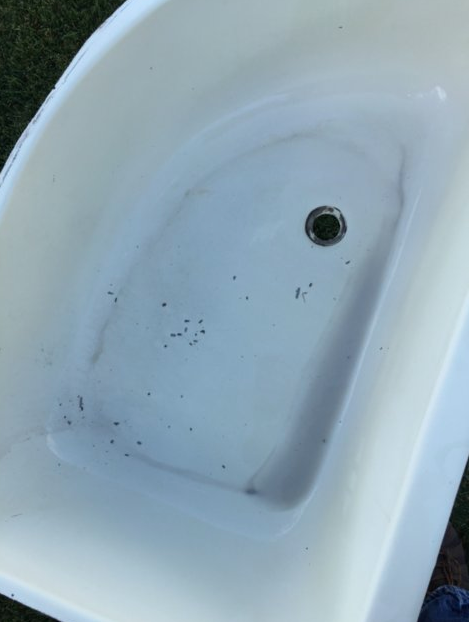
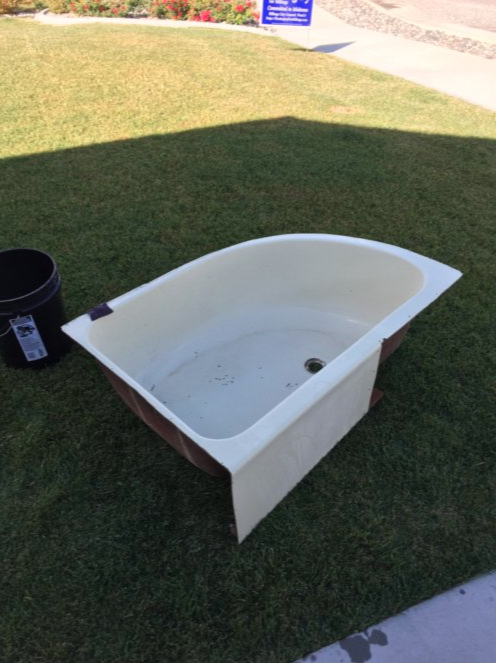
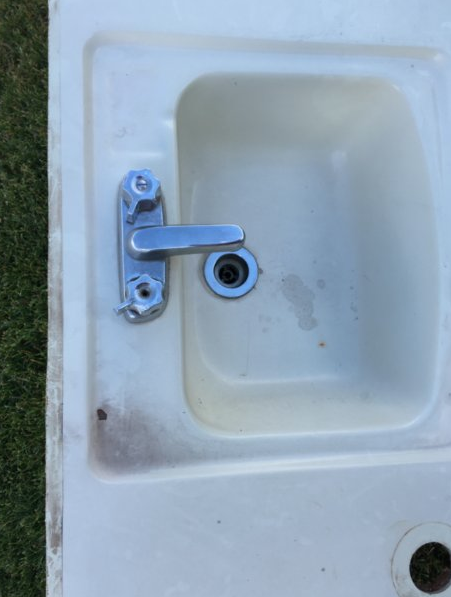
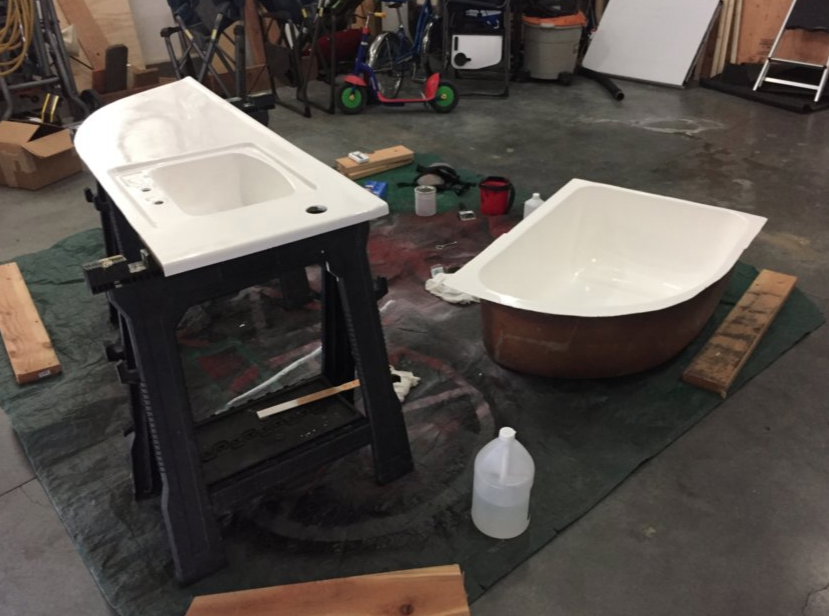
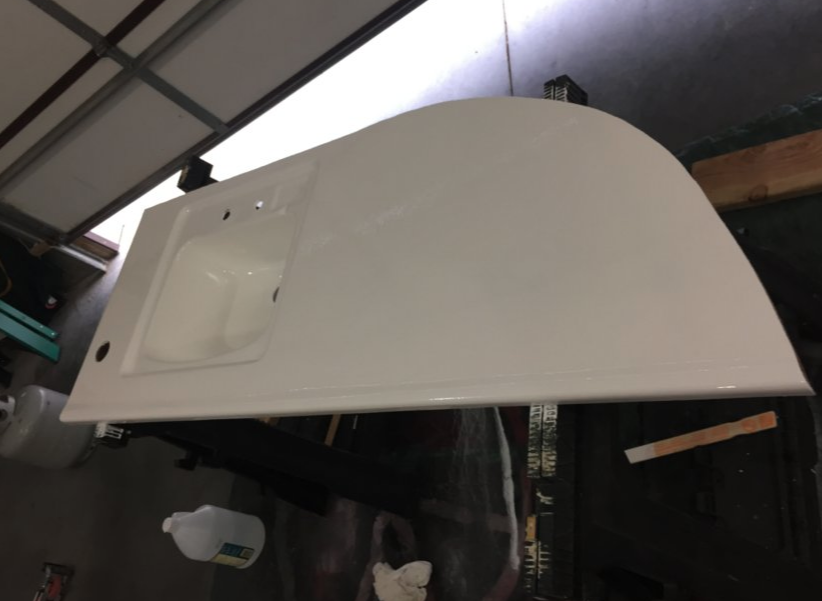
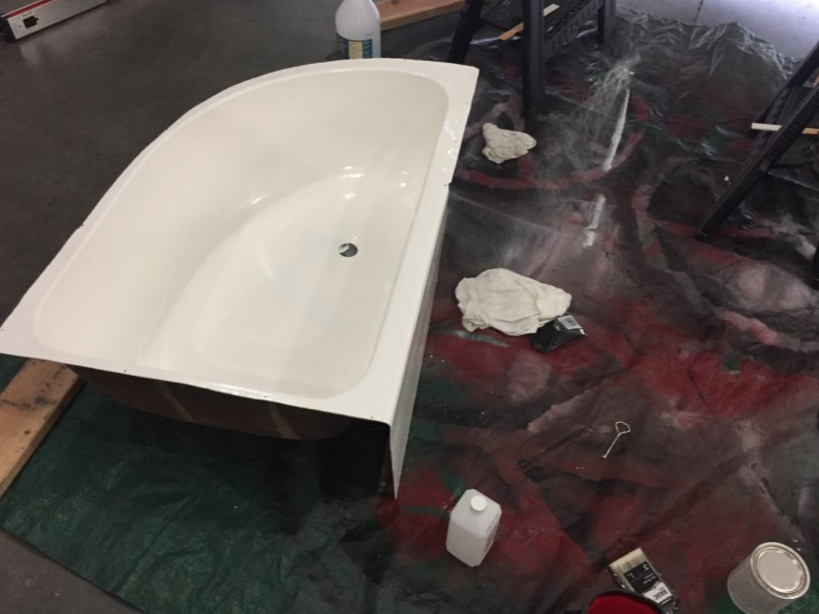
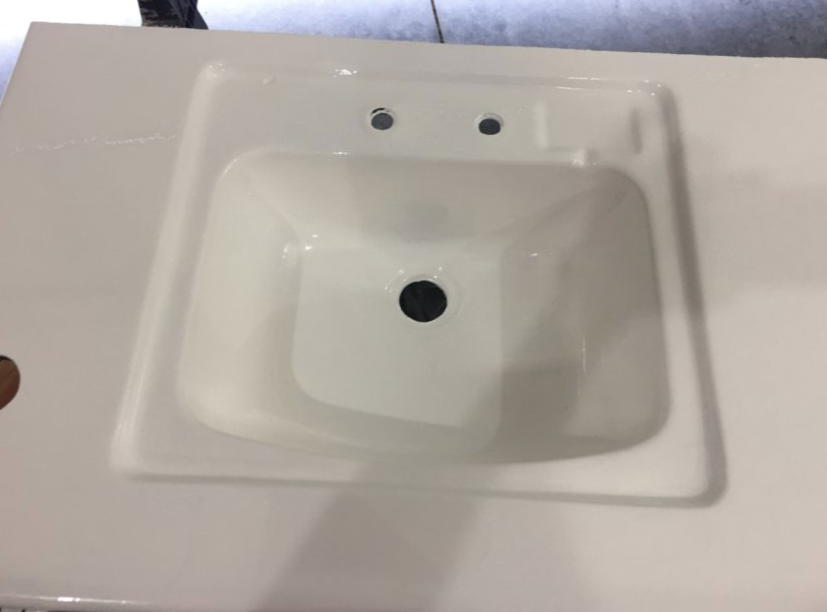
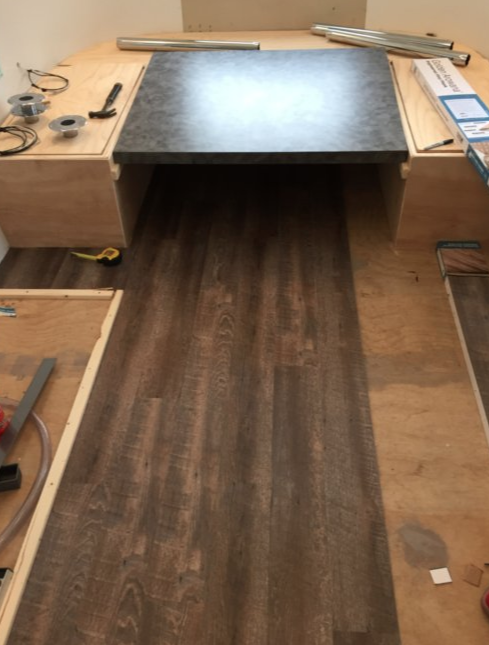
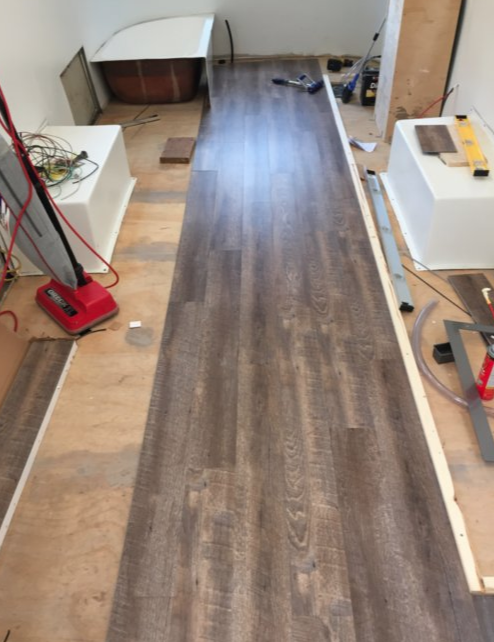
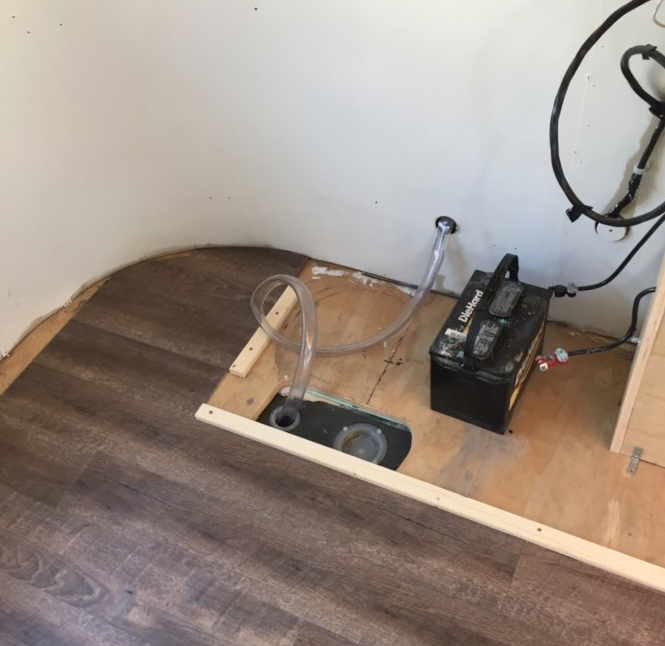
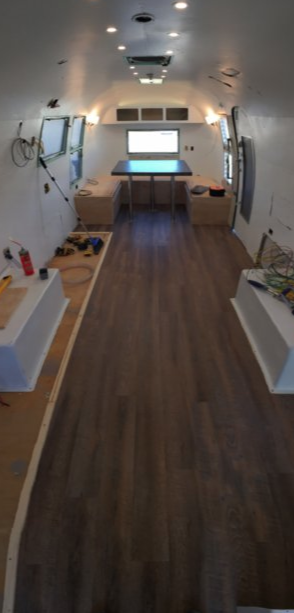
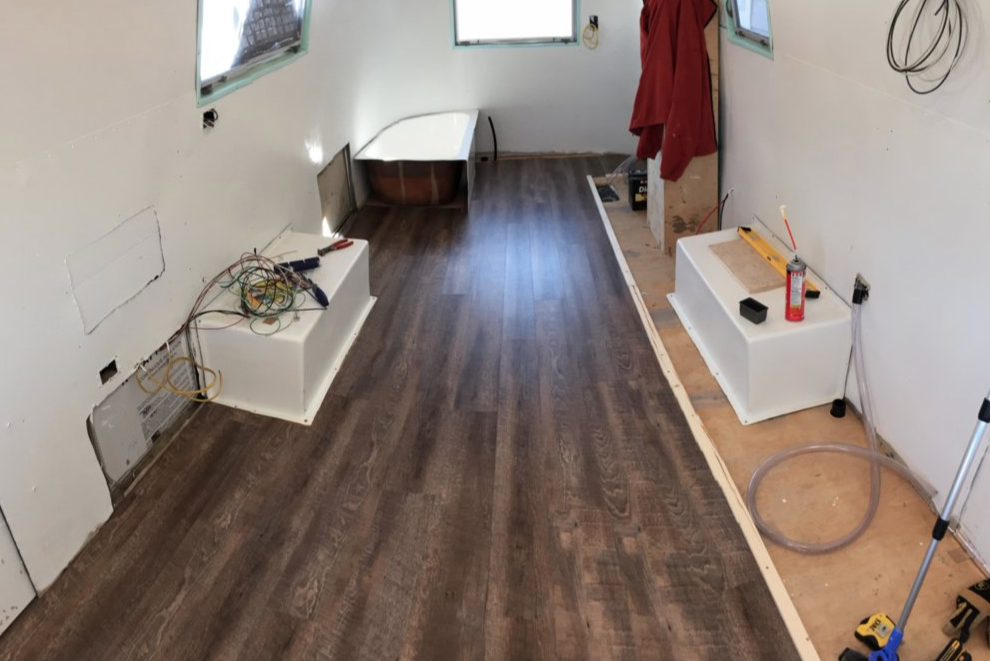
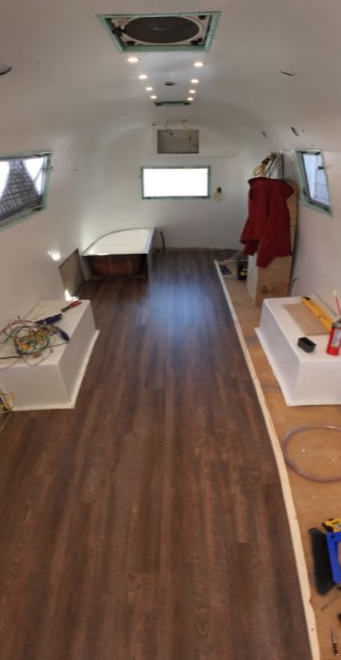
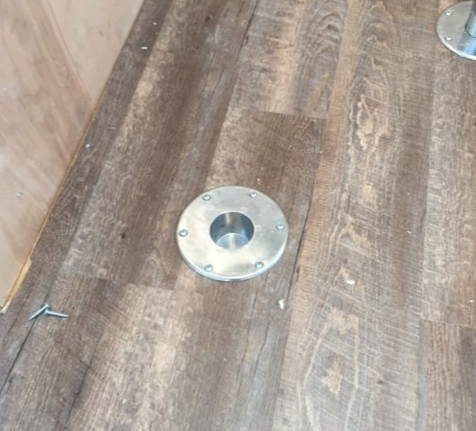
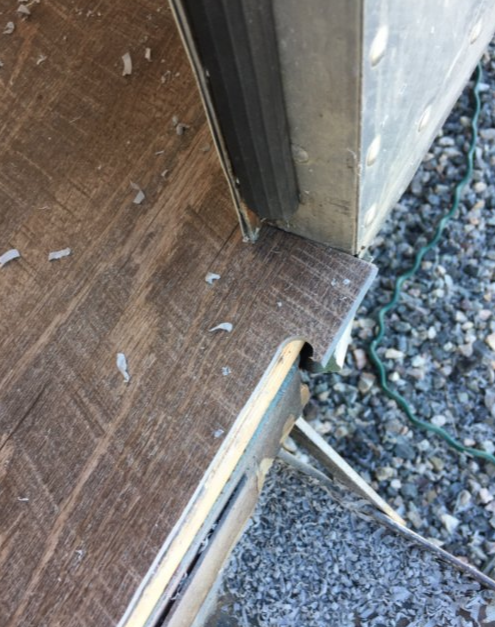
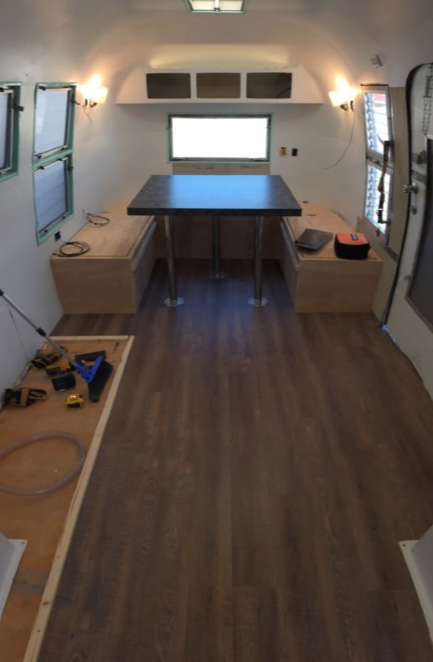
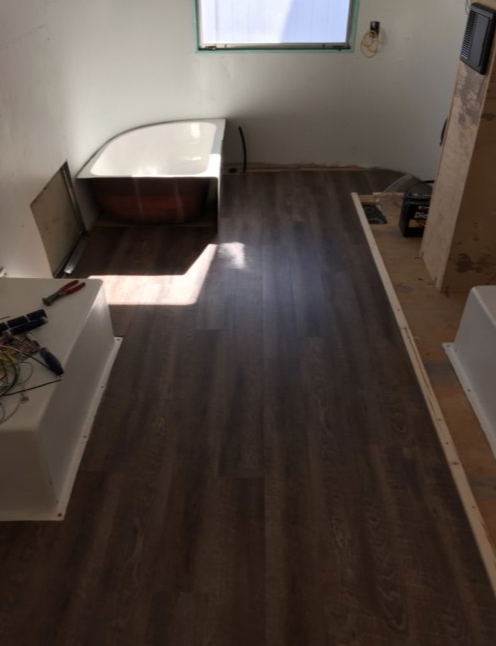
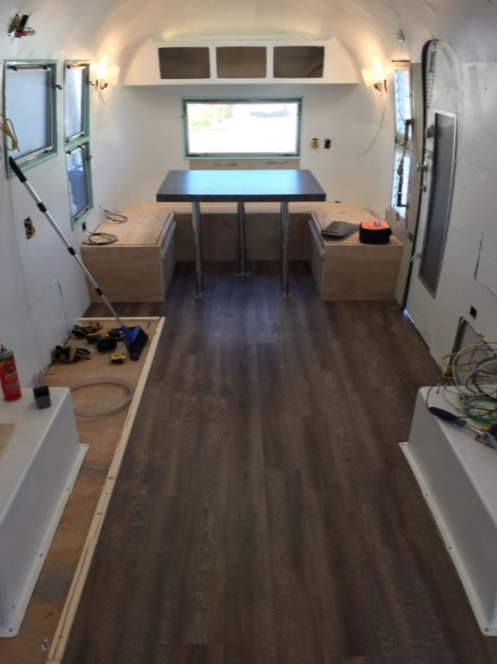
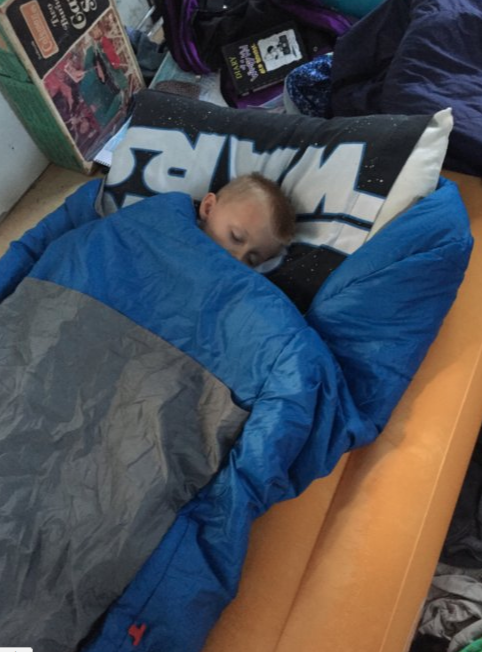
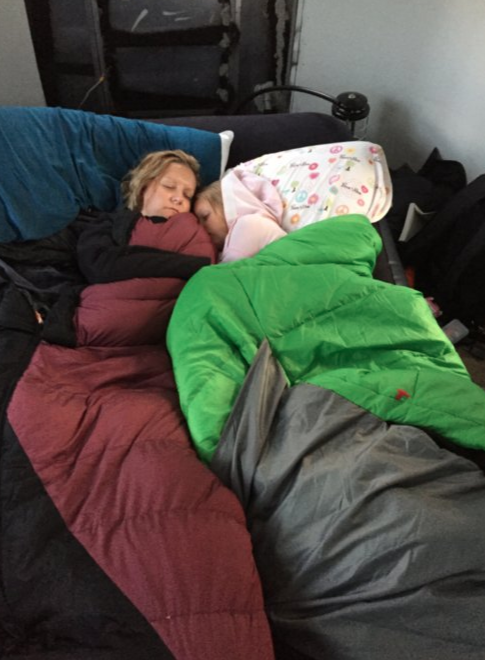
 SummerDuring one of our trips in July, my wife's and my air mattress sprung a midnight leak. If it's happened to you, you know. We woke up in a plastic taco, smooshed together like meat and cheese. Of course, there are times when such smooshing is not such a bad thing. However, this was more of a get-your-armpit-out-of-my-nostril kinda thing. So I began the business of building the dinette when we came home. It becomes a bed in the evening and a table during the day. There were lots of people who have done this work before me. I read hours of blogs and posts on www.airforums.com. In the end, I sat in the end of the trailer with sticky notes, a pencil and a carpenter's square. I measured, wrote, erased, and measured again. A few bloggers/posters mentioned how there is never enough counter space in a camper. One lamented that he made his benches too deep (his were 24"). This was one of those decision I sweated over. I measured every chair in our house, from the dining room to the couches. Eventually, I decided to make my benches 20" deep which would allow for an oversized table. Furthermore, I decided on 14" from floor to top of the bench (not including the eventual cushions). Fourteen inches would be too low, but I figured on 5" thick cushions. That is also thicker than most, but I had an epiphany I'll tell you about further down. Anyway, I'm very happy about my measurements. The benches feel deep enough and the table feels big - even big enough for board games in rainy weather. After I measured, I drew everything out on the plywood. Then, I used cheap firring strips (1x2s) from a box store, 1/2" (I think) plywood for the top of the benches, glue and screws. You can see the photos above to see the progression, but it was pretty straightforward work. I was worried that the 1x2s would be too weak, but it is incredibly strong. I faced the benches on the vertical sides the thinnest ply I could get. It actually measures 3/16" with my tape measure, but I don't think that is the nominal measurement. Of all the luck, it is the exact same thickness as the original bulkheads, so I have the right material for that future step, too. Next, I made the table: I apologize, but I must have forgotten to take pictures during this process. Basically, I took the same plywood, reinforced it with scraps, and used a laminate sheet to cover it. I made a few mistakes along the way - I am new to router work and scratched my new table before it ever got placed. But as my wife so kindly put it, "We have kids." Nothing stays scratch free for long... After the table, we made made cushions. This was the most out-of-my-comfort-zone project yet. I've never used a sewing machine; Sara had one from high school. She was convinced we couldn't do it, but that's how I normally start a project. Here's the epiphany I had about cushions: Foam for cushions is very expensive. Very. I wanted thick comfortable cushions. After all, these cushions become our bed. We priced the foam at the local fabric store and I had heart palpitations. Then I got online and found a mid-quality memory-foam mattress. It was about 1/5 the price. Would it cut right? So when it arrived, I measured out all of our cushion dimensions on it. We bought a cheap electric turkey knife and I cut. It was exceedingly difficult to hold the knife perfectly vertical. (If you are reading this blog and considering copying me, I cannot emphasize this enough.) We used two tables for support, cutting down the middle. I was very careful, but I still was FAR from perfect. Fortunately, our plans for the cushions (youtube video here) made the fabric about a 1/4" shorter in all three dimensions than the foam. This tension caused my foam-cutting mistakes to be unnoticeable. We ran out of foam for the corners. I'm waiting until I buy the foam for the bunk beds to fill in the corner rounds. In the end, I am very proud of the cushions. You might notice a difference in the table legs above. I initially tried to put two legs in the center, to maximize ease of entry/sitting. However, that was very unstable. So I added a third leg. This worked perfectly. We slept well once those 5" memory foam cushions were installed! October WorkWe are finally catching up to present day. A week or so ago, I realized that the days were getting cooler. The tub and sink still needed to be worked on in consistently 60° weather, and those days were fleeting. The tub and sink were both very scratched (the sink had a hole) and they were almond color. The reviews about this type of epoxy paint for tubs all said that the brush-on version was easier to do well. I'm not sure; it was very difficult. I followed every step to the T. I washed and scratched and washed some more. In applying, it took 4 thin coats (the box said two), but it finally covered. Now, if there's one handyman skill that I feel semi-pro in, it would be painting. I'm good at it. I can paint a straight line without tape, just sayin. So, when I say this was the most difficult paint I've ever used, please realize know that's saying something. No matter how hard I tried, I still got drips and waves. I'm going to call it "textured". TodayIn order to get bulkheads and bunk beds into place, the finished floors needed to be installed. 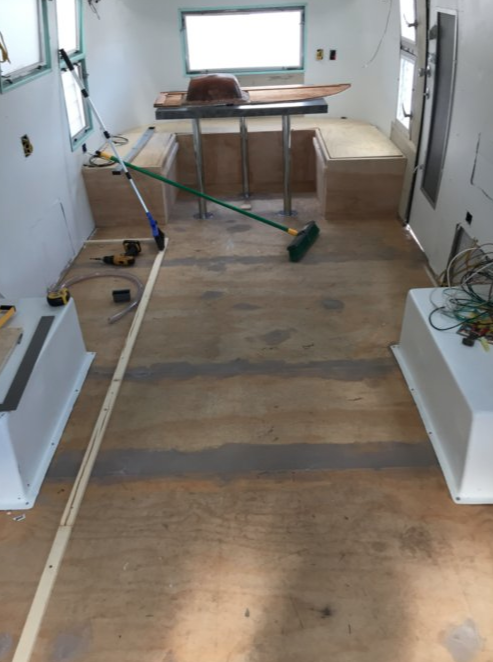 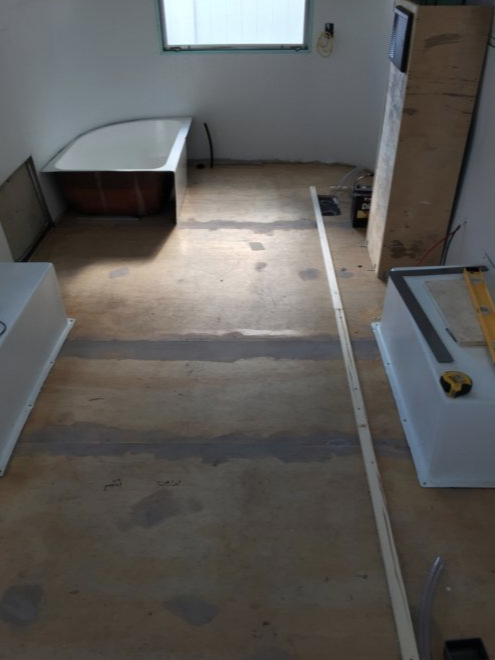 Before I started, I put one more skim coat of floor leveling compound over the seams and bolt heads. The manufactured vinyl laminate is pretty good at overcoming imperfections, reportedly, but I wanted the best, smoothest subfloor I could manage. After that dried, I installed a border for where the cabinets will be. At $2 per square foot, I didn't want to pay for laminate under them. Plus, this is a floating floor, so it's not supposed to go under. I searched all over Billings and found the vinyl laminate that I wanted. It was a grey faux-wood from an orange box store. After buying it, I had to run to Costco. They had a nearly identical vinyl laminate for about 2/3 the price. So I returned the other and went with Costco. It's also worth mentioning that I bought the click-together version. I understand the "grip strip" version is not as durable. Really, click together planks are like Legos. They need to be tapped into place with a wood block and hammer, but otherwise they are simple. Still, it took me part of two days to do it. I needed to make many cuts and stagger the planks in an eye-pleasing way. I wish I had the cushions in for the picture, but they're in the house. You'll have to imagine. I love seeing this transformation from ugly to beautiful. My next step is bulkheads, bunk beds and rough freshwater plumbing.
1 Comment
Mary Taylor Lewis
10/22/2017 04:32:54 am
Glad to see you are back on the dream!!! Your comment will be posted after it is approved.
Leave a Reply. |

AuthorI'm not an Airstream Jedi, yet. Airstream Jedi would have sounded presumptuous, like I know what I'm doing. That couldn't be further from the truth. Padawan is a title I can hope to live up to. Favorite Links:Knots Per Hour
My friend Mike is building an airplane. Check it out. Archives
August 2018
Categories |


 RSS Feed
