|
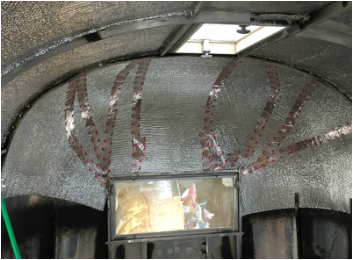
It turns out that I'm terrible at geometry. 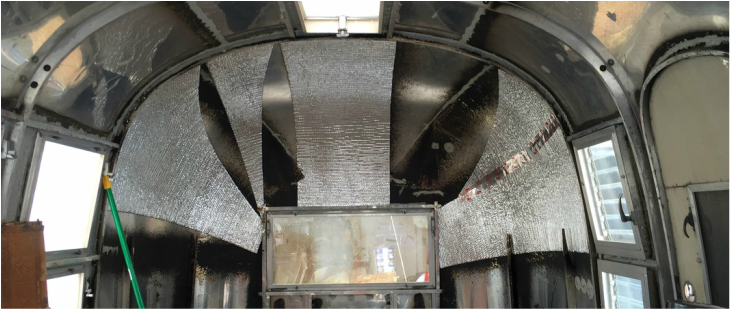 None of those spaces are intentional. But first, thank you to Jim, Cheryl & Katie for the kind blog comments. They've been pending for quite a while -- I forget to check for them to approve them! The encouragement really does lift my spirits. My frame and tank work is on hold for a few weeks. My neighbor Cory is a welding engineer and has generously offered to lend me his expertise. We (mostly meaning Cory) will make short work of the holes cut by the previous owner. We're planning that work for mid-late January. I've decided the waste tank debacle is behind me (again, I'm not so upset to skip a pun). My solution isn't as elegant or functional as the pro's, but I think it will work. If it craps out, I'll fix it later. So, on we go to insulation! There are so many different opinions on the best way to insulate an Airstream. I've spent hours reading airforms and each restorer seems to have a slightly different take. One person had even gone Mythbusters style and set up trials in his garage. The puzzle comes from the fact that the maximum depth between the two skins is about 1.8". It is hard to get much insulation value in just under 2".  The ribs are about 2" deep. The electrical wiring, insulation, and even some plumbing need to be between the inner and outer skins. Way back in 1962 (yep, it's a '62, not a '63), Airstream just used fiberglass for insulation. The problem with fiberglass is that is makes great nests for all sorts of pests and holds water. It also really isn't that great at insulating such a small gap - 2" of it has an R-value of about 3. (With R-values higher is better.) That value only comes with a perfect install. The positive is that fiberglass is cheap and easy to install. While numerous people choose to put it back in, I just can't bring myself to do it. Some restorers, even a few pros, use only a foil-faced bubble/foam. It is supposed to be a miracle insulation, though I have my doubts. There are two different versions. One is called Reflectix, which is essentially foil-faced 1/4" double-bubble wrap. 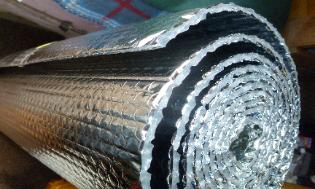 A roll of Reflectix. The other is called Prodex which is foil faced 5mm foam. Some people have very strong opinions as to which is better, but both seemed very similar to me. It turns out that Reflectix is carried at my local orange box store. Prodex is only online and shipping isn't cheap. I have my suspicions that both are overrated. Both say they carried R-values from 3-31, depending on installation. (If it is installed with R-30 fiberglass it makes the system R-31, right?) Much of that R-value demands an air gap for the thermal reflection. Lastly, there are many different types of solid foam board. One particular type of foam, polyisocyanurate foam, has the highest R-value of any insulation I could find. Its value of R-6 per inch is not part of a system, but inherent in the board. It is sold under the trade name "Rmax" 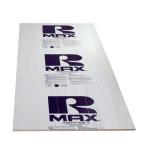 I was almost going to just install 1" Rmax and be done with it, but at the last moment I read a few posts by professionals on the airforums who use Reflectix. So I decided to use the Reflectix and 1/2" Rmax foam with an air gap between the two. This will give me a space to run the electricity also. By my rough estimate, the Reflectix will give me about R-2, the Rmax will lend R-3.2 and the approx 3/4" sealed air gap will add about R-2. So that gives me an R-value of R-7 in two inches. Here's hoping! I began my work today with the Reflectix.
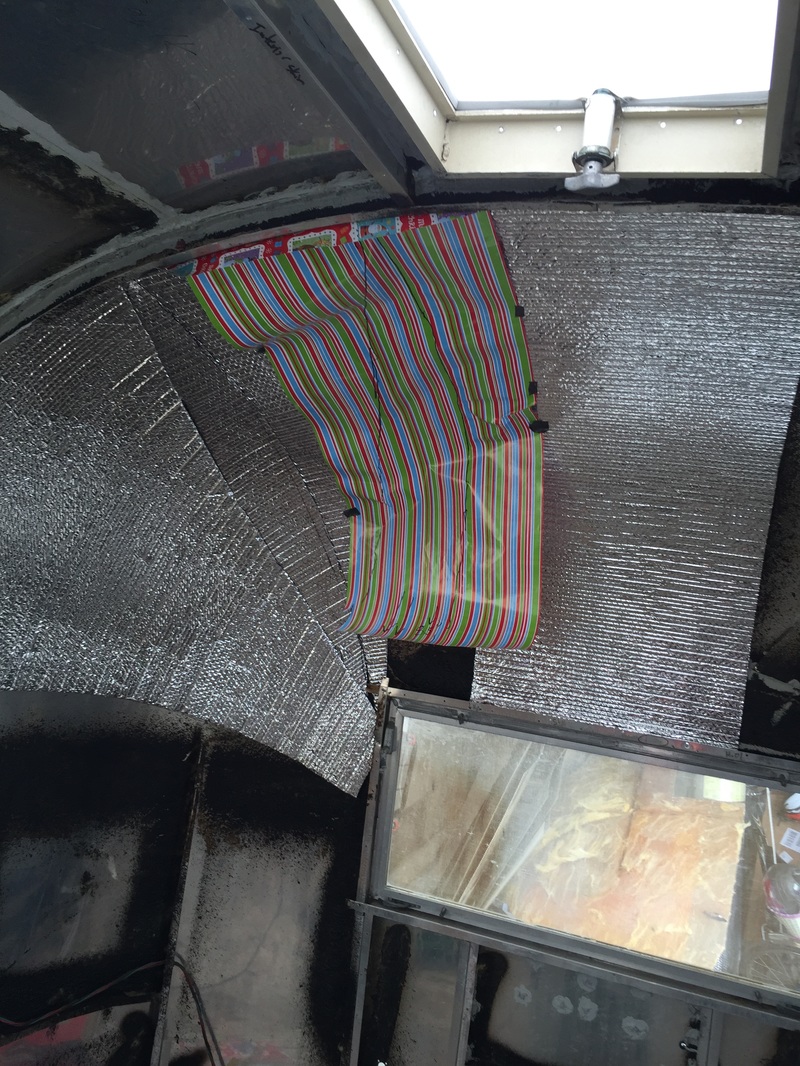
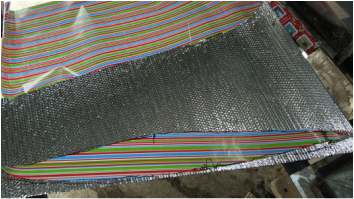
It turns out that I'm really bad at making flat objects round: 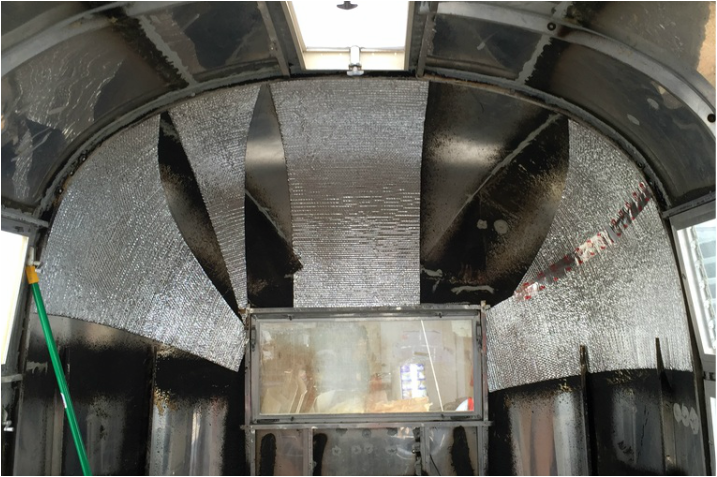 But no worries. I used a little left over Christmas wrap and it did the trick:
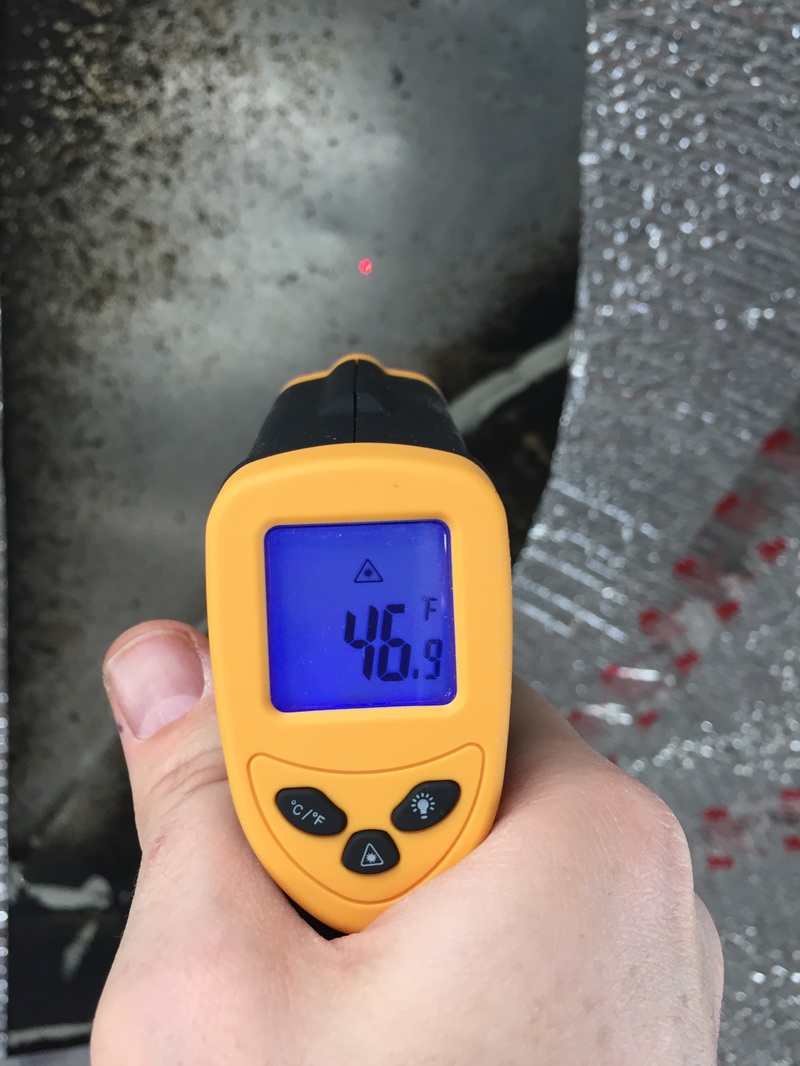
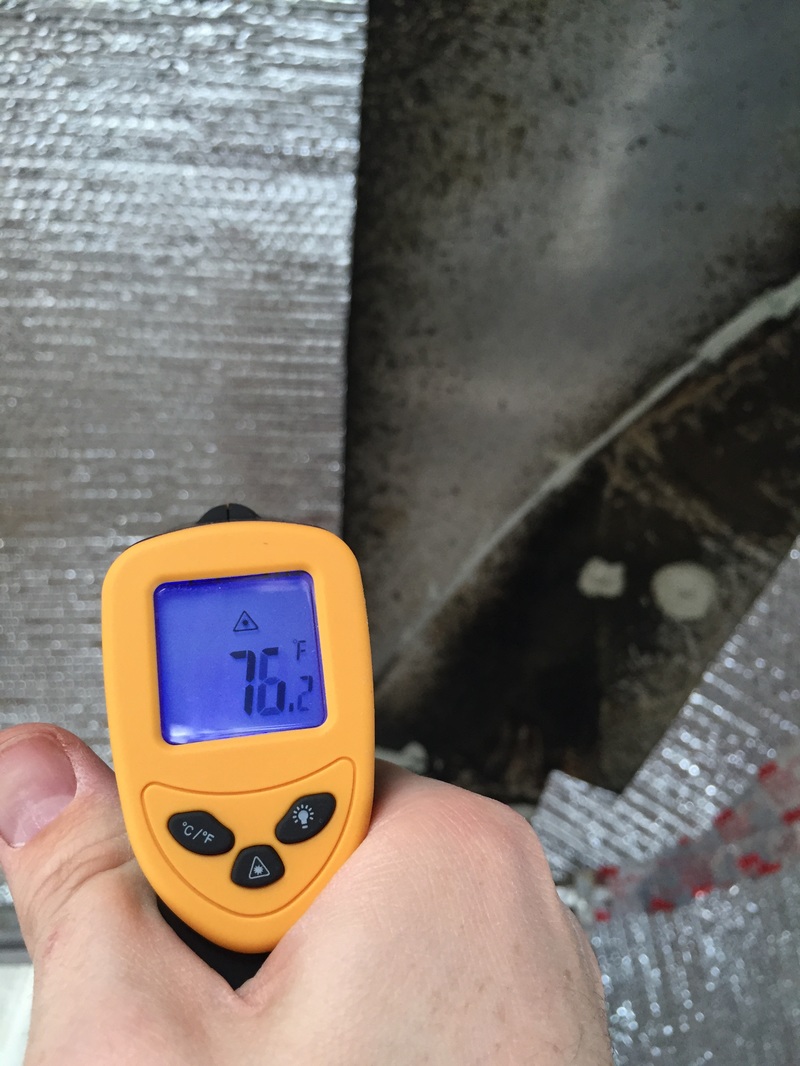
If you've read all the way to here, this is the coolest (or hottest) part of the whole post. Below are a few images of my laser thermometer. Now, it just registers the surface temp, not the amount of heat transferred, but this is just the Reflectix layer alone.
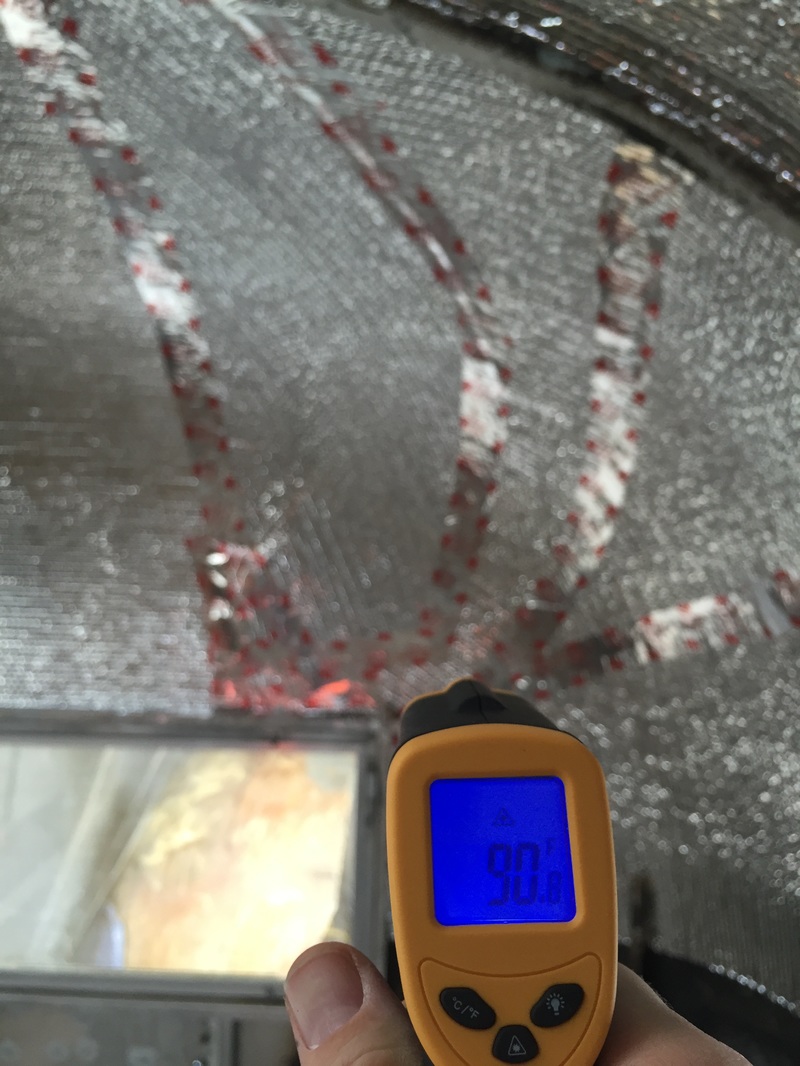
But here's the outside!! 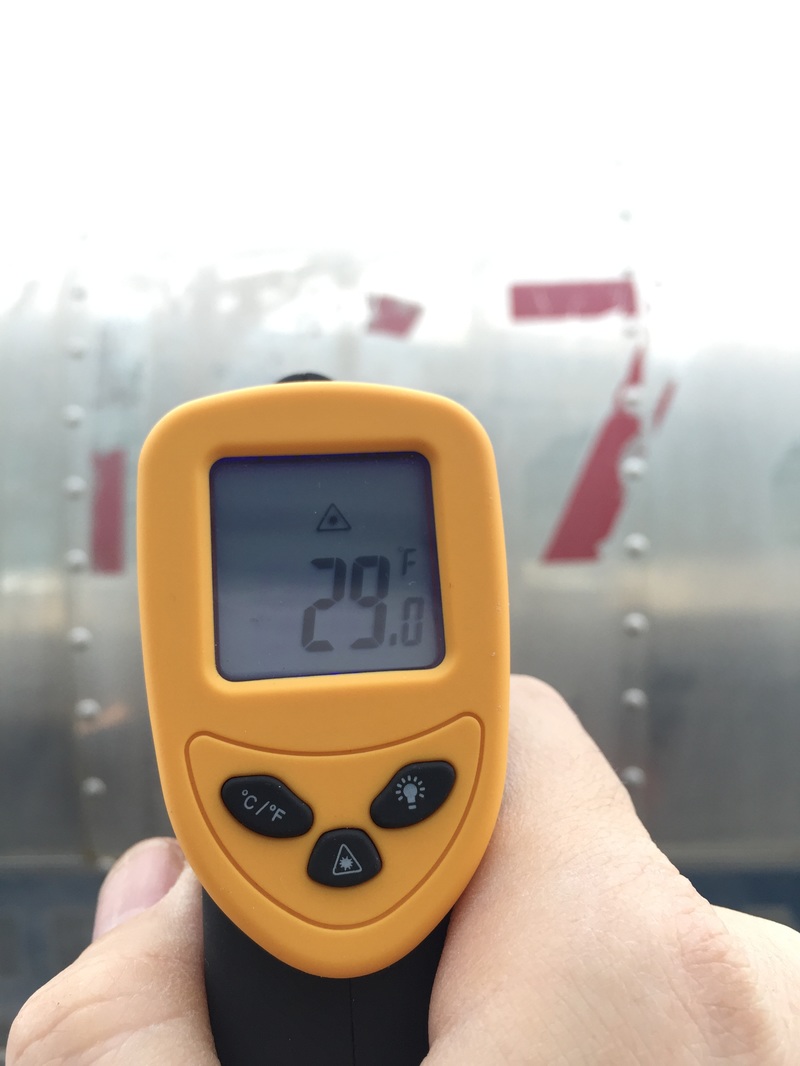 So far so good! And that's with only the 1/4" bubble insulation...
5 Comments
Jim LaFond-Lewis
12/31/2015 08:50:45 am
I read all the way through. Very cool!
Mark
12/31/2015 08:48:14 pm
Thanks Uncle Jim!
Aunt Kathy
12/31/2015 08:55:36 am
Your are just the most awesome nephew. I'm amazed at what you guys are doing! Love you .
Mark
12/31/2015 08:46:14 pm
Thanks Aunt Kathy!
Summer
11/2/2019 11:04:05 pm
Hi! I love coming back to your blog for reference on my own renovation (68 Overlander). How did you adhere the Reflectix to the metal skin? Tape, glue, other? Thanks so much for your help and inspiration! Your comment will be posted after it is approved.
Leave a Reply. |
AuthorI'm not an Airstream Jedi, yet. Airstream Jedi would have sounded presumptuous, like I know what I'm doing. That couldn't be further from the truth. Padawan is a title I can hope to live up to. Favorite Links:Knots Per Hour
My friend Mike is building an airplane. Check it out. Archives
August 2018
Categories |


 RSS Feed
