|
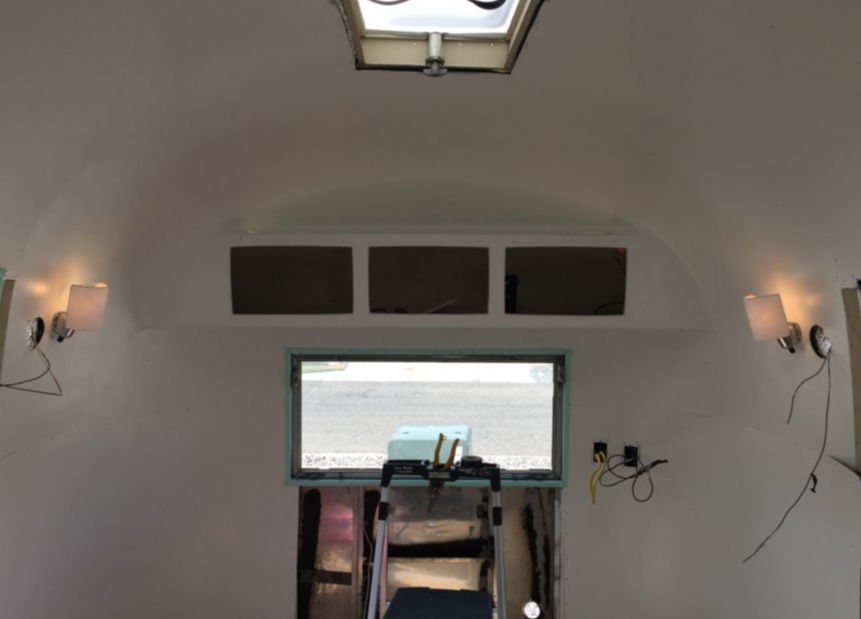
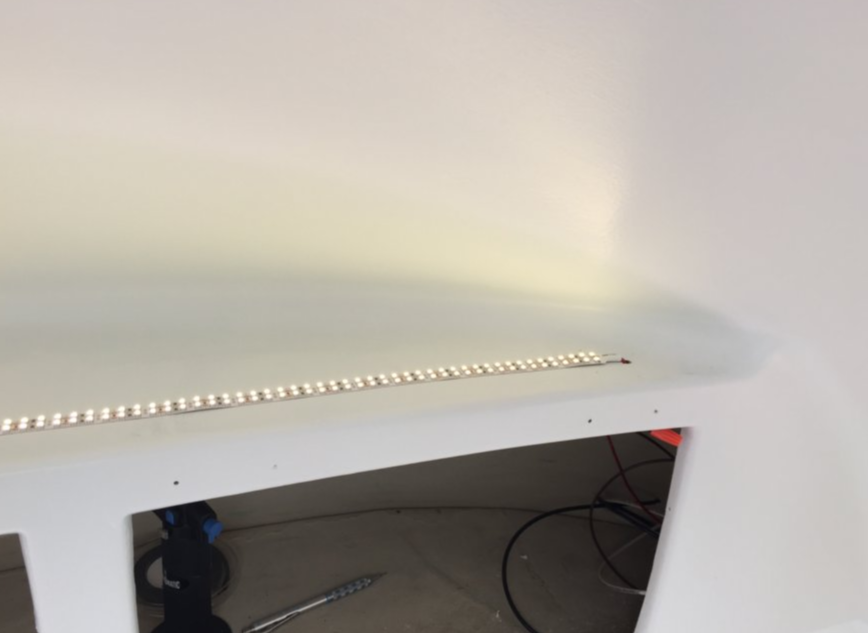
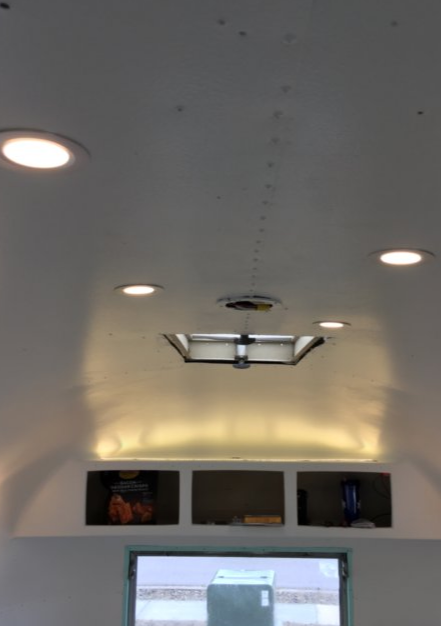
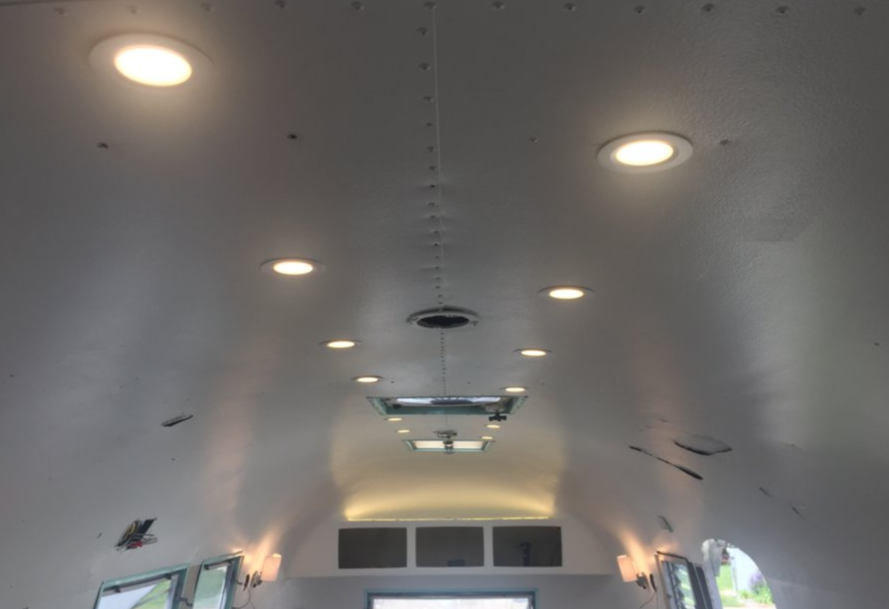
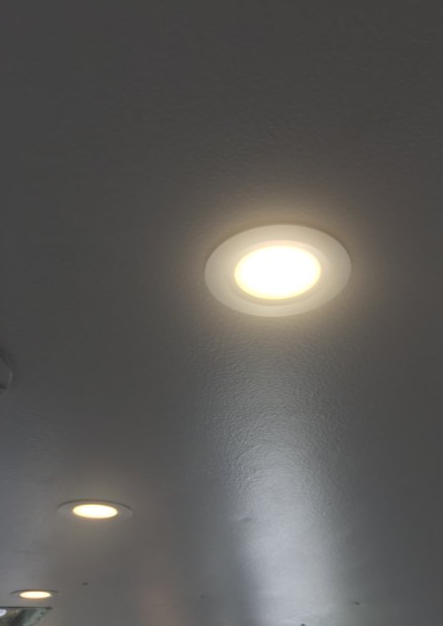
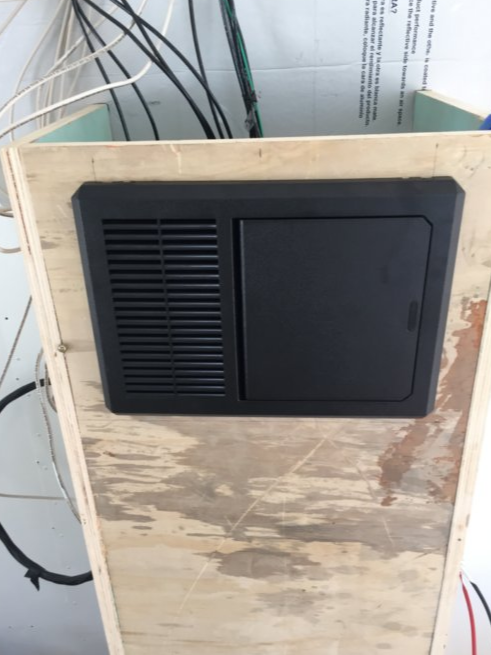
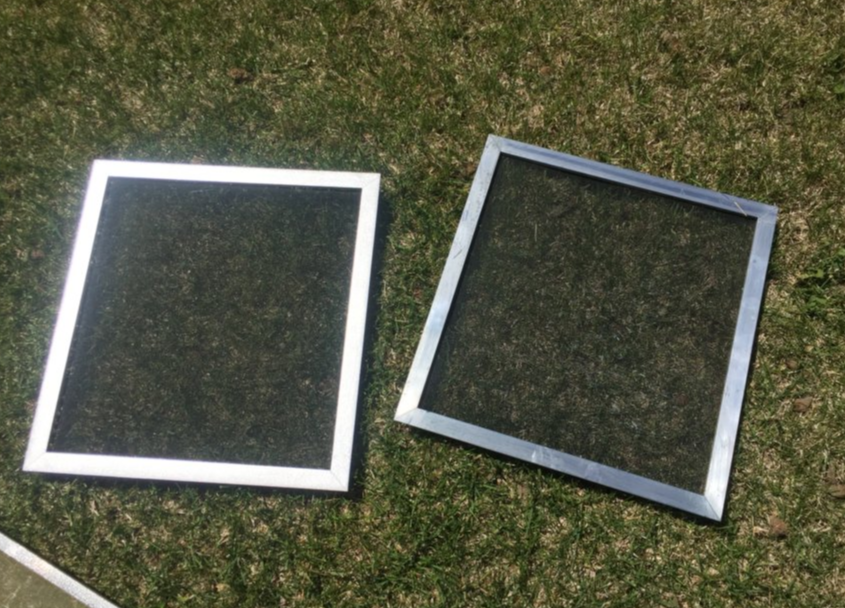
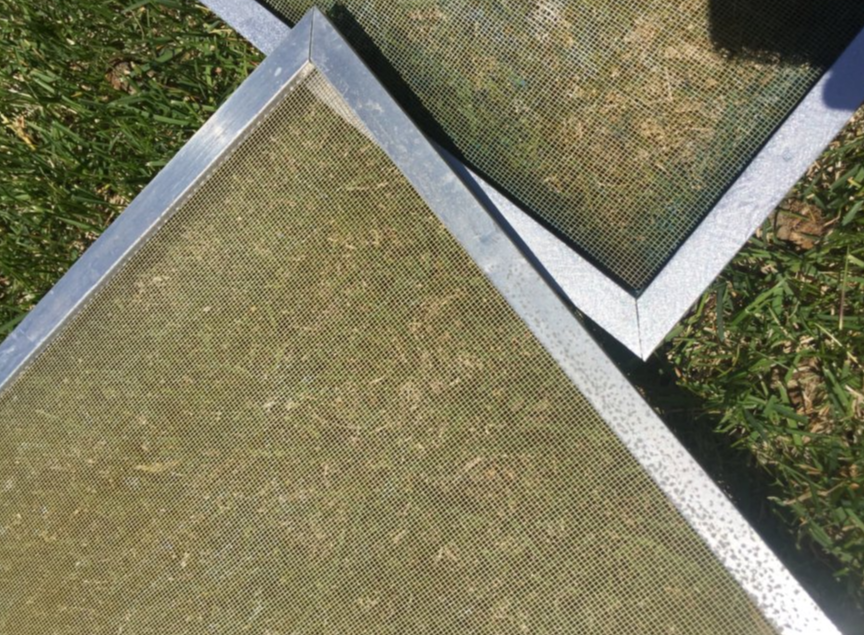
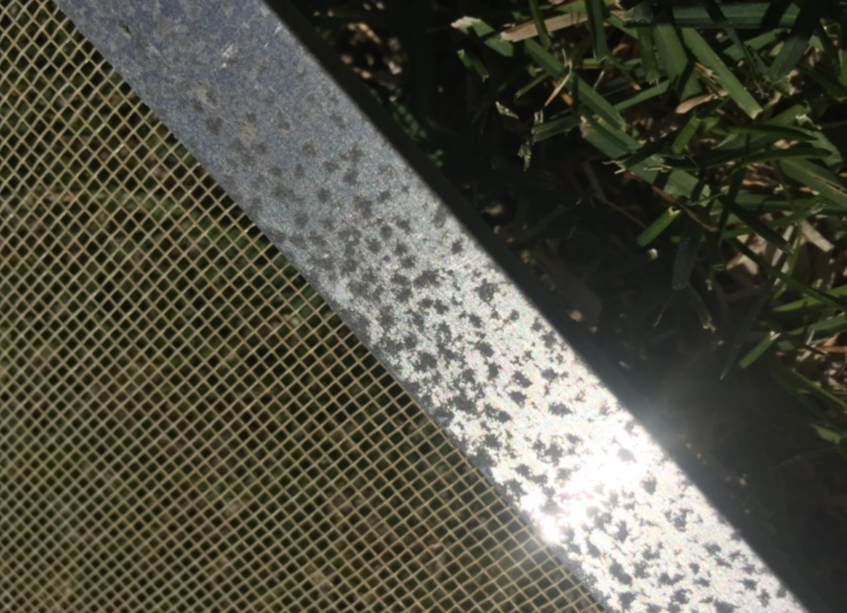
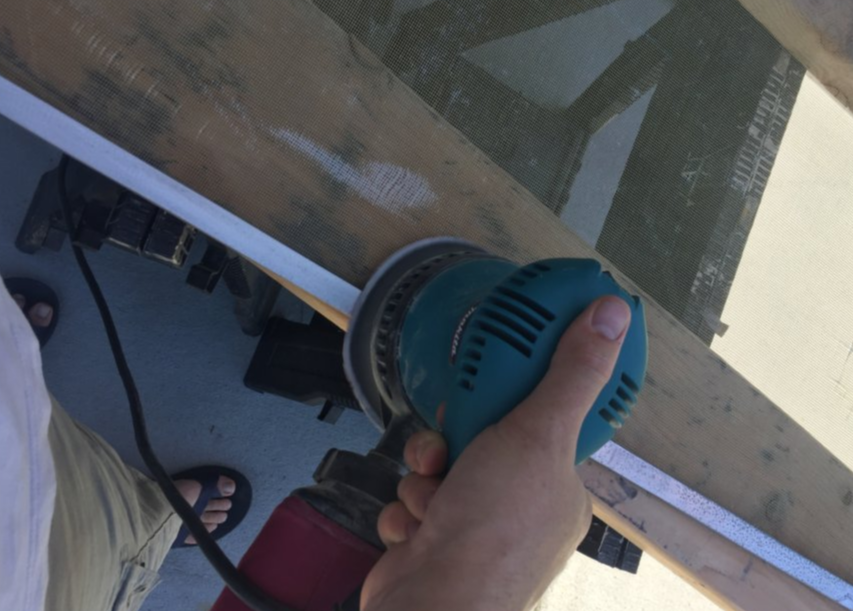
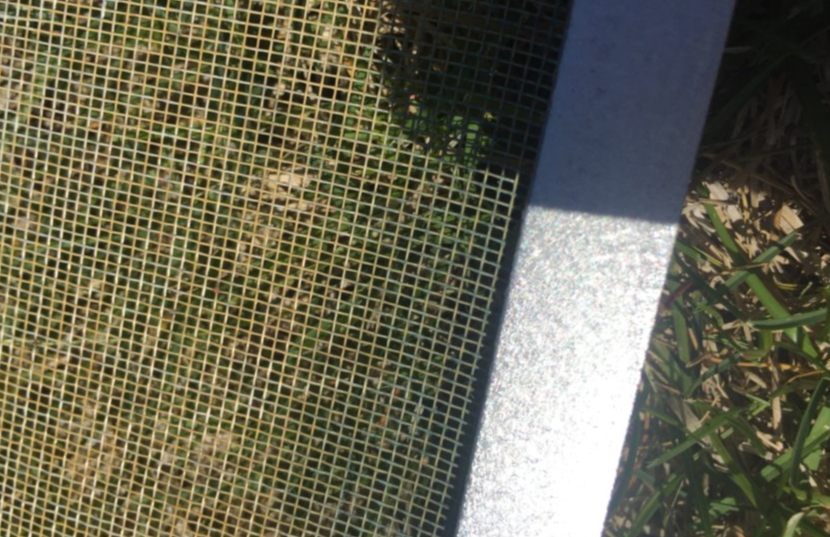
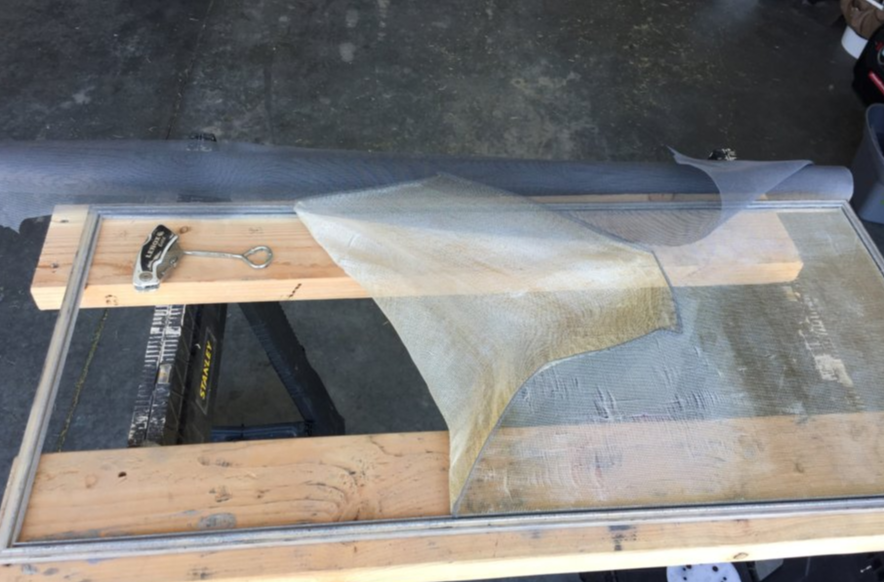
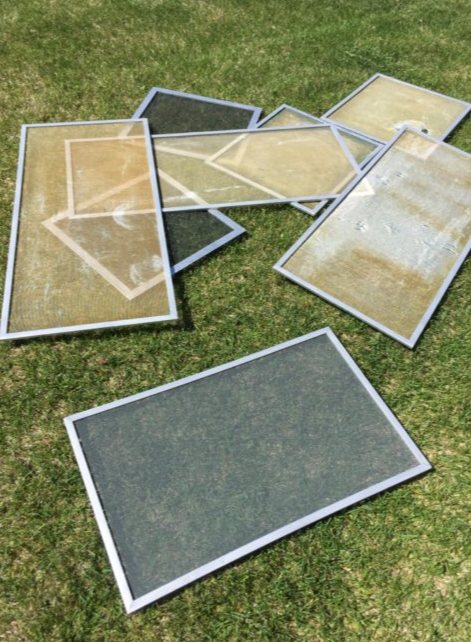
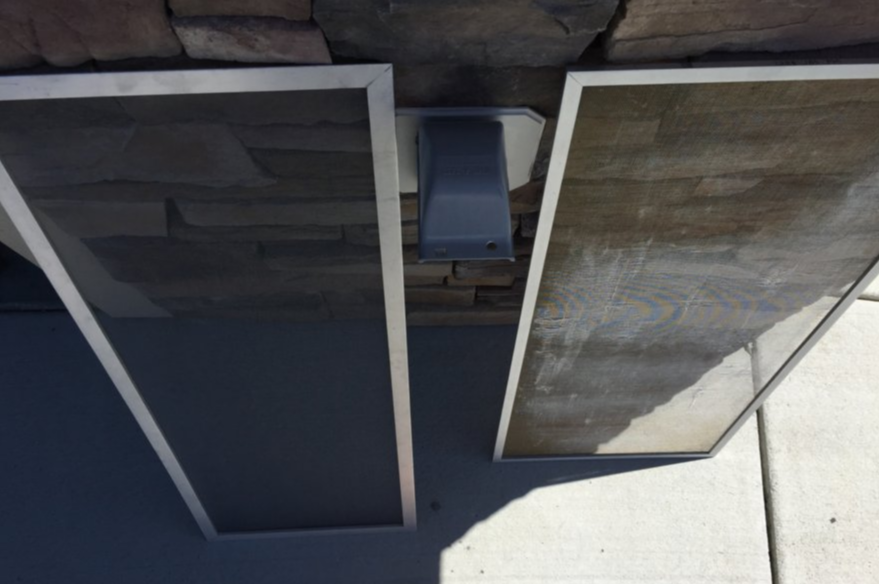
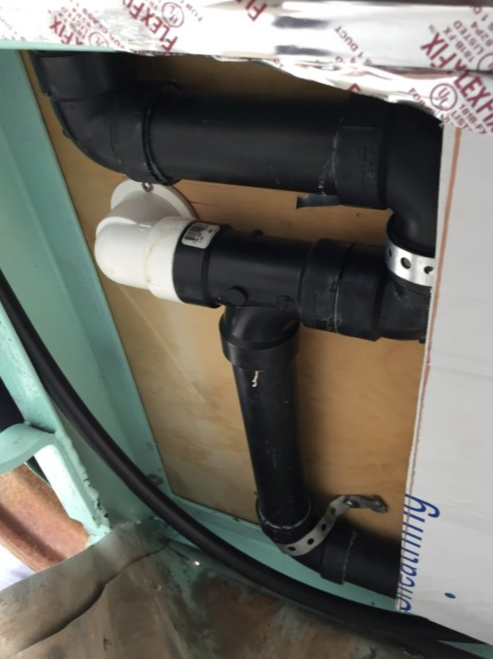
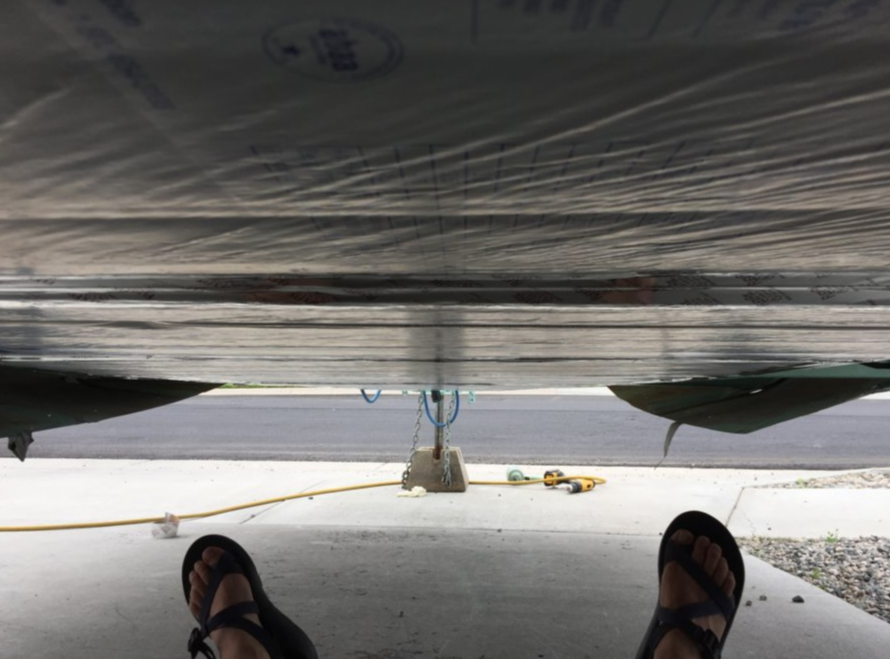
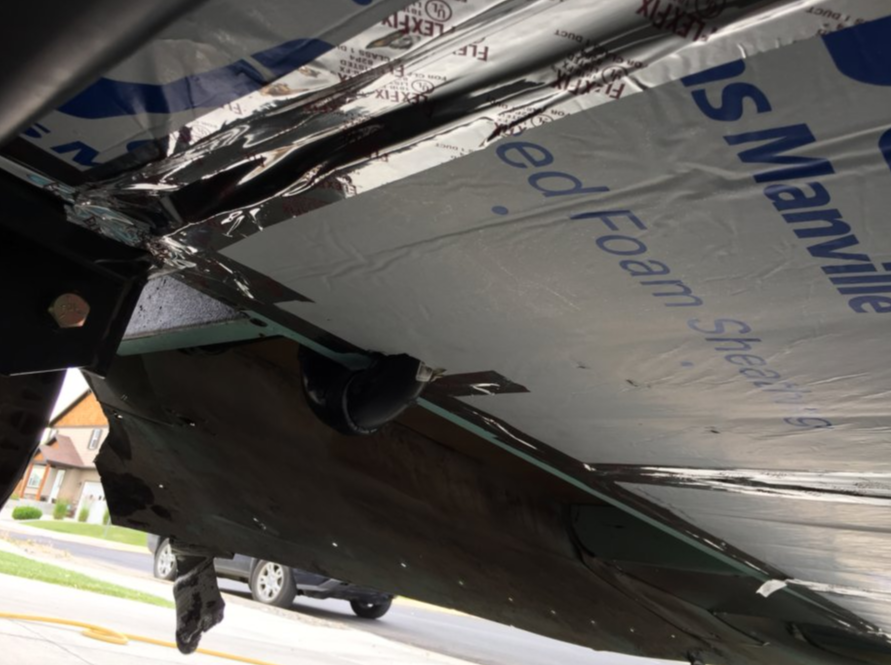
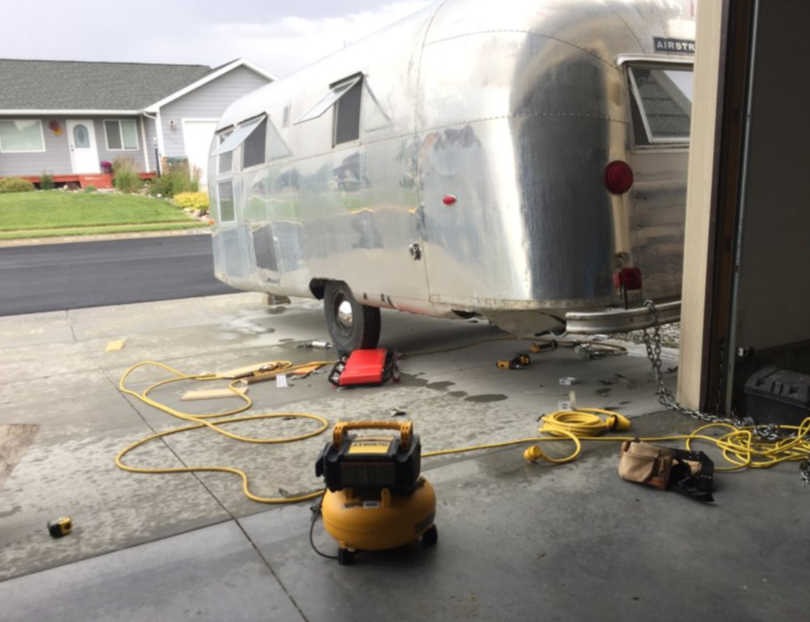
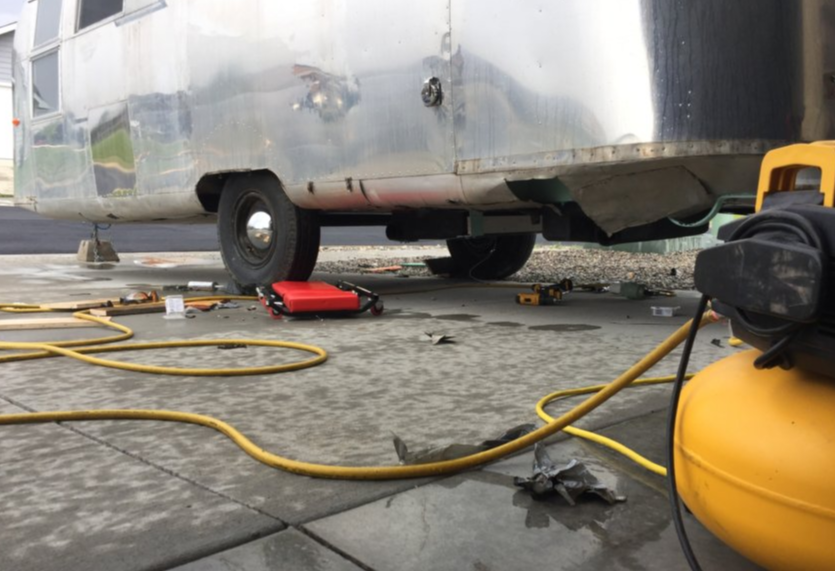
All of this work happened in April, May, and June of this year. I'm sorry for the delay in writing, but at the time it was all I could do to get ready for camping. Since then school started. Now that I finally have my feet under me, I can sit down to write and remember. ElectricalI wired in two wall sconces and an led strip on a dimmer switch first. Those were the easy ones. Next, I wanted task lighting. The two areas that need task lighting are in the galley and in the hallway/kids bedroom area. For this lighting, I bought led pucks that sit flush with the ceiling. They are really quite amazing little lights. They are about 1/4" deep and barely sip electricity. Using a hole saw, I cut out holes and ran wire. I also needed to build a temporary box to hold the electrical panel. Using my old car battery, they lights will last for about three nights of normal use. The wall sconces are not LED, yet, so if we use them the battery dies pretty quick. I'm going to purchase two new fully sealed AGM batteries for next season. Window ScreensThe screens were scratched and dirty. That was easy to replace; in fact, I had leftover screen from a hailstorm a few years back. All that's needed is a cheap (less than $5) plastic tool and new roll of screen. There's a plastic cord that holds the screen in, but it was in good shape and I reused it. However, the frames were corroded. The corrosion was deep and resisted coming off, even with steel wool. I heard that there were some specialty power tools for this kind of thing. But before I went and bought yet another tool, I decided to try my orbital sander. I discovered that my orbital hand sander (with normal 60 grit paper) put a very attractive pattern of scratches into the aluminum. The finish went from smooth to scratched-on-purpose. I like the scratched look much better, actually. I don't know if the pictures do it justice. It looks very intentional. Designer even. Bellypan and PlumbingThere was a little plumbing to do before insulating and sealing the bellypan. The bathtub and both sinks needed drain lines into the grey water tank. Then, I used 1" foam board and reflective tape (to keep it in place until the bellypan went back on). I reused the old bellypan aluminum to save money. I had to patch holes, but aluminum is expensive. I also figure the bottom will eventually look grubby again. After it was all done, it was remarkable to see an intact underside. The belly has been open for a long time. Also, I built a dinette on the inside this summer. Next time I'll show how I've began to create furniture on the inside. I even learned how to use a sewing machine.
0 Comments
Your comment will be posted after it is approved.
Leave a Reply. |
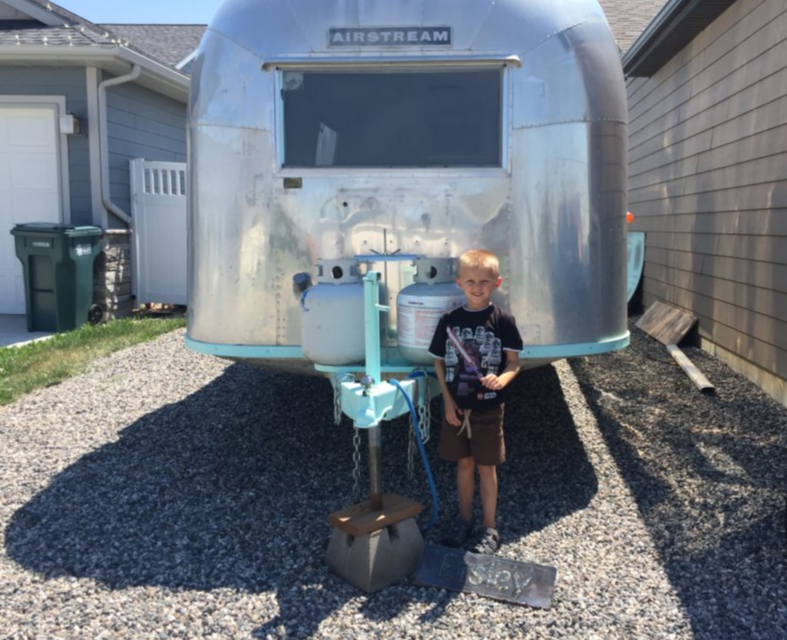
AuthorI'm not an Airstream Jedi, yet. Airstream Jedi would have sounded presumptuous, like I know what I'm doing. That couldn't be further from the truth. Padawan is a title I can hope to live up to. Favorite Links:Knots Per Hour
My friend Mike is building an airplane. Check it out. Archives
August 2018
Categories |
 RSS Feed
