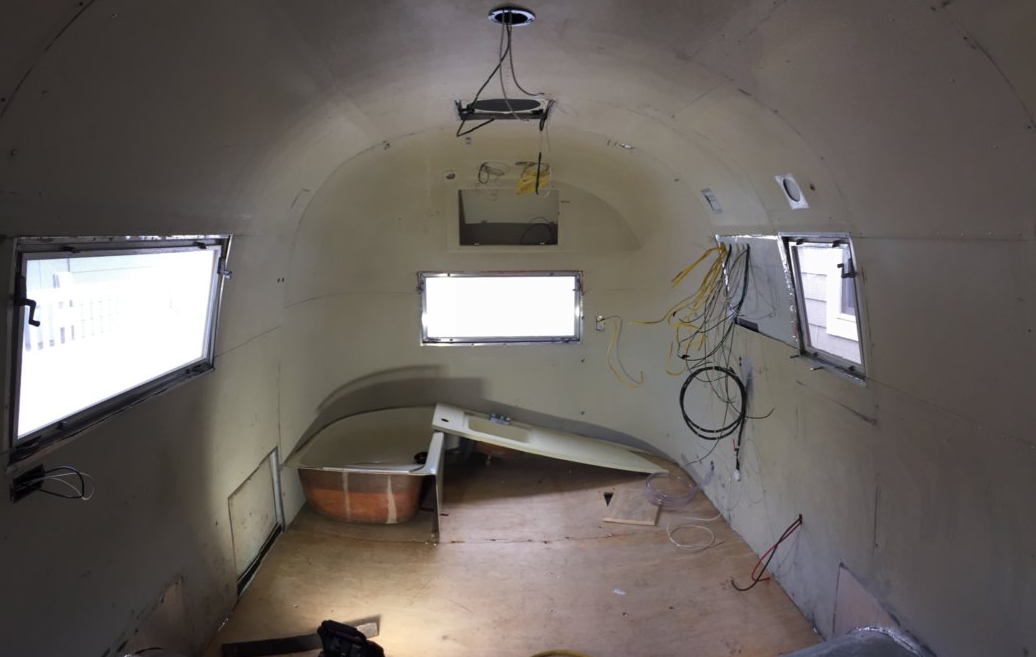
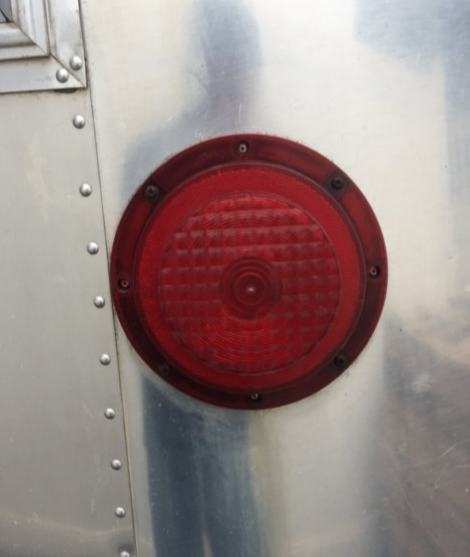
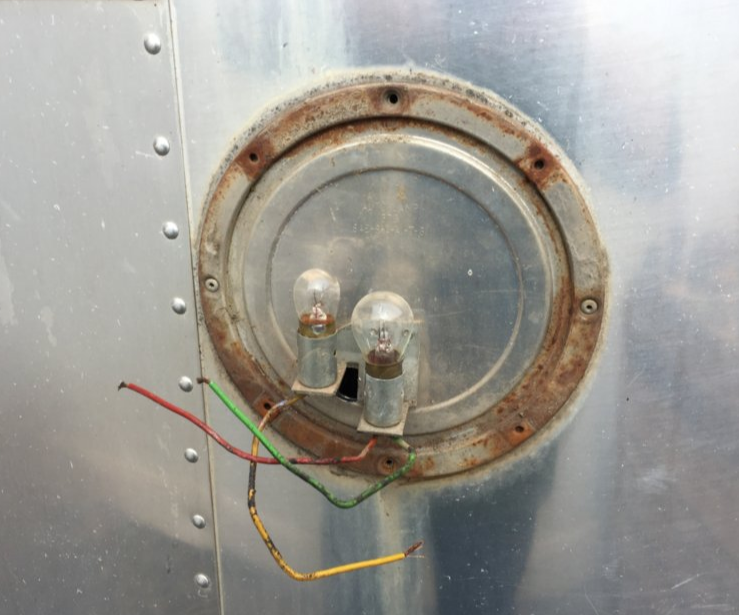
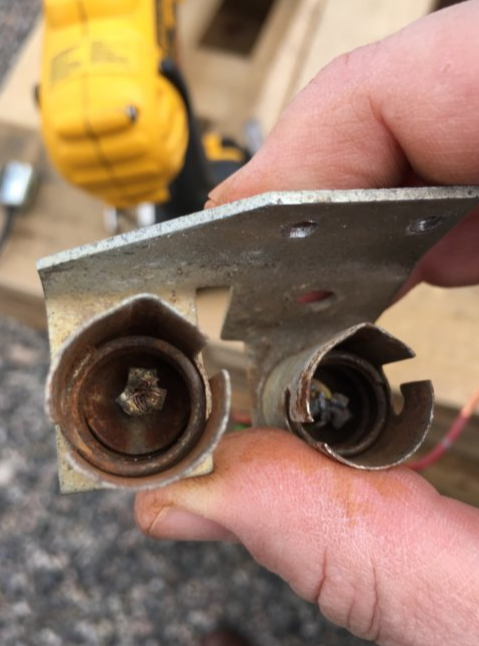
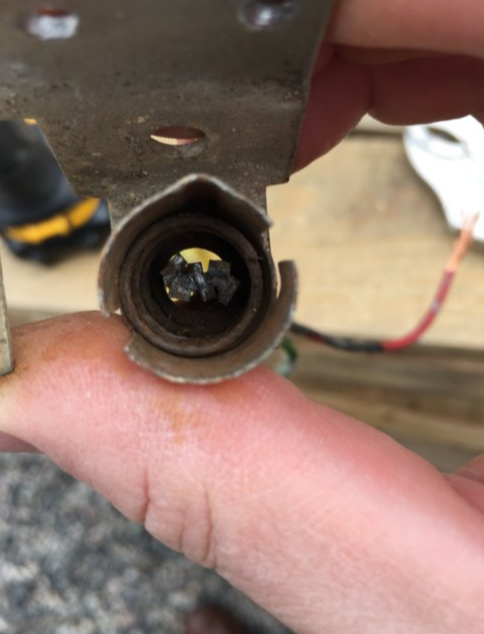
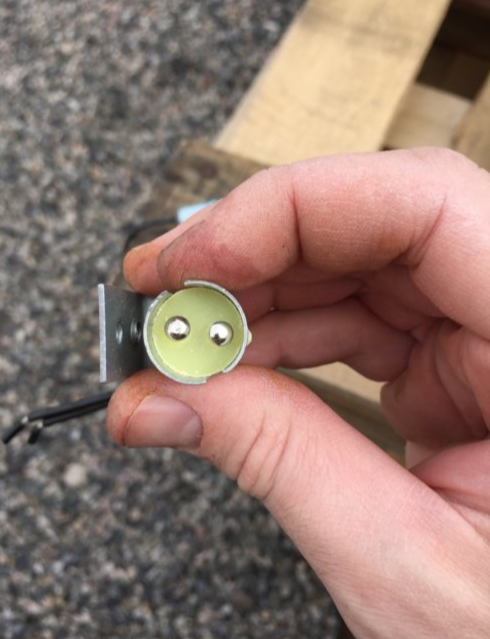
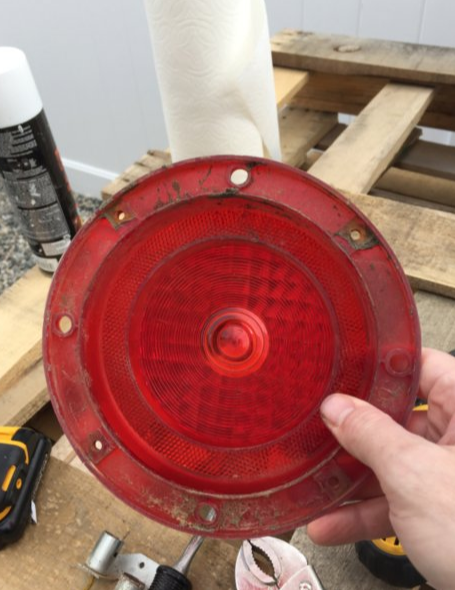
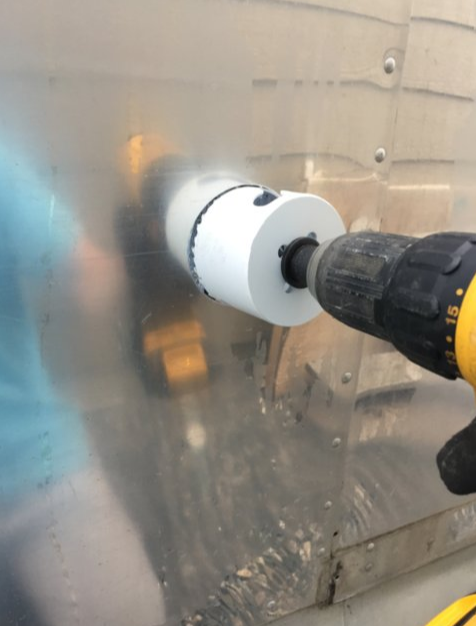
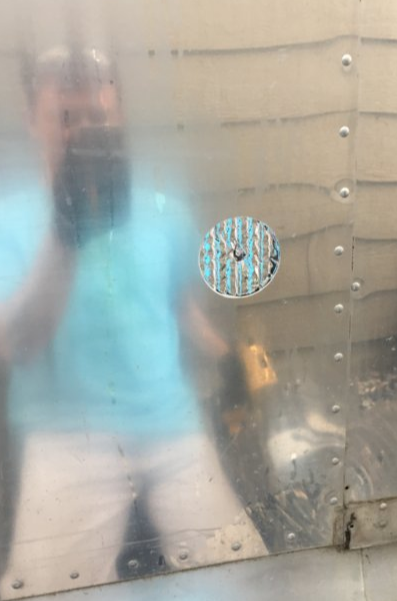
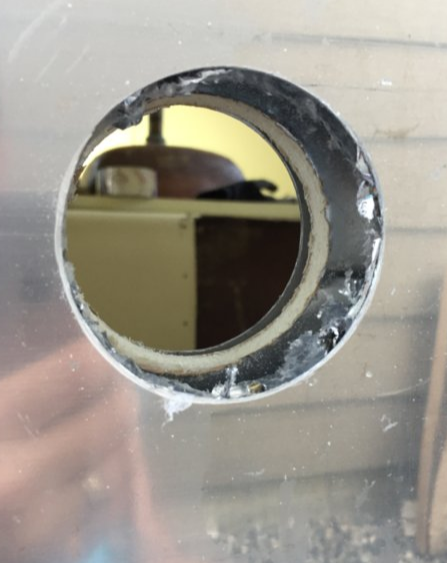
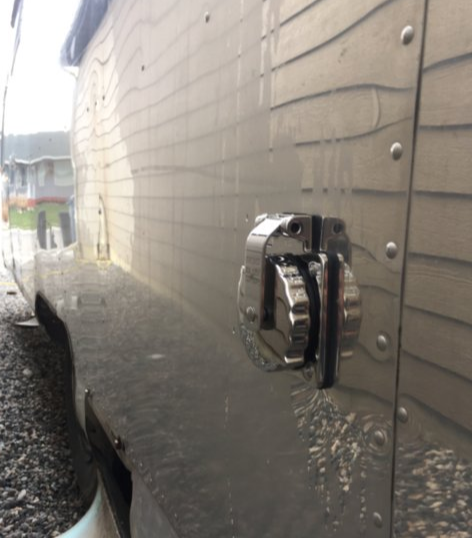
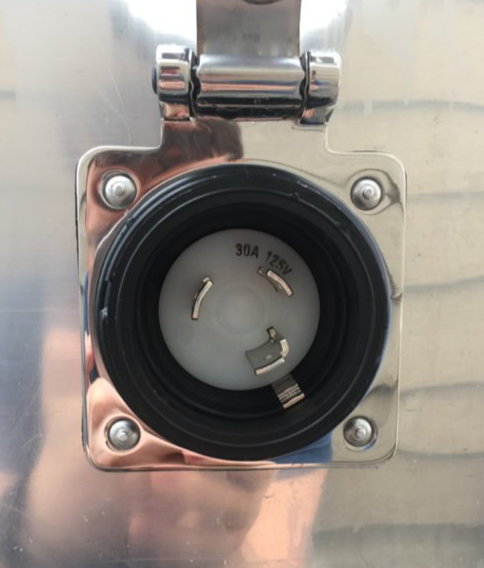
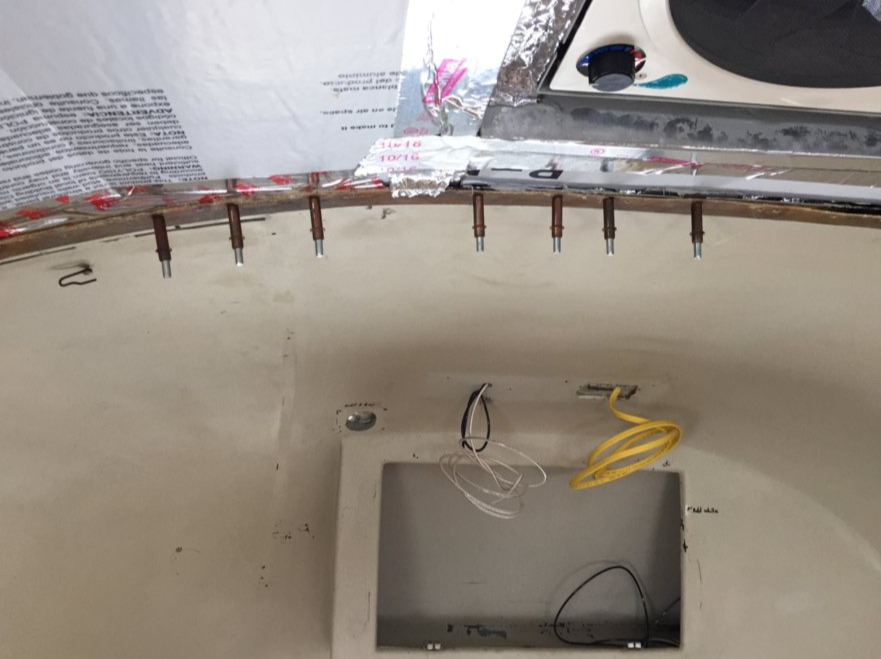
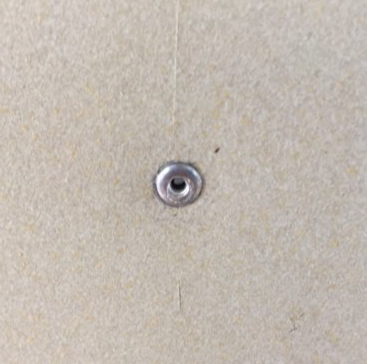
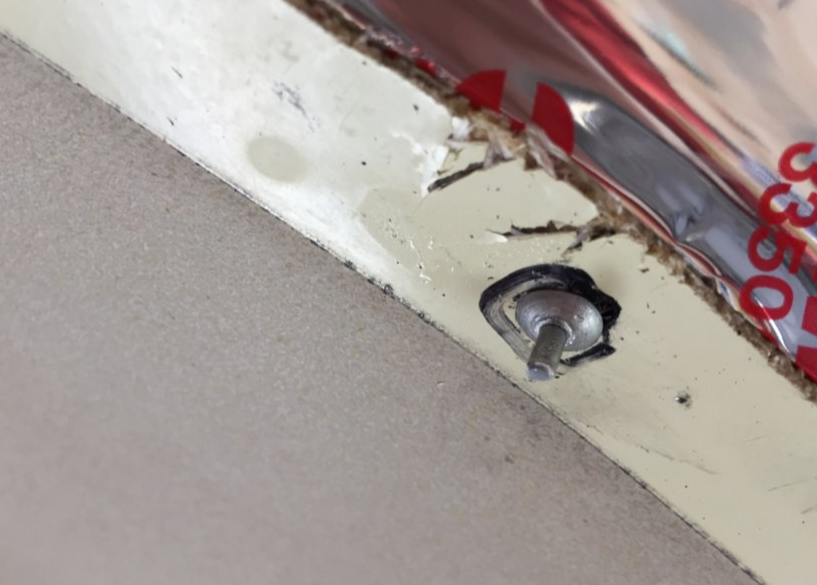
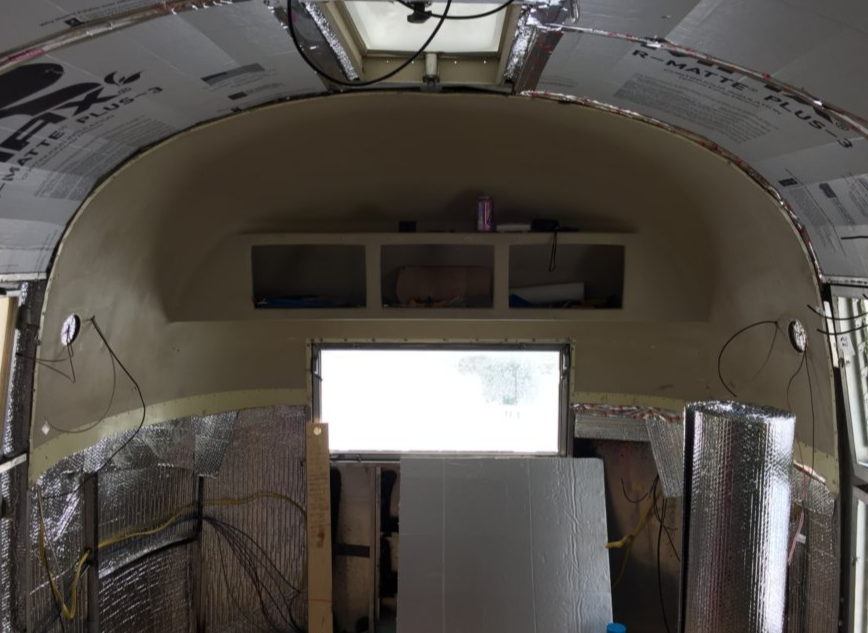
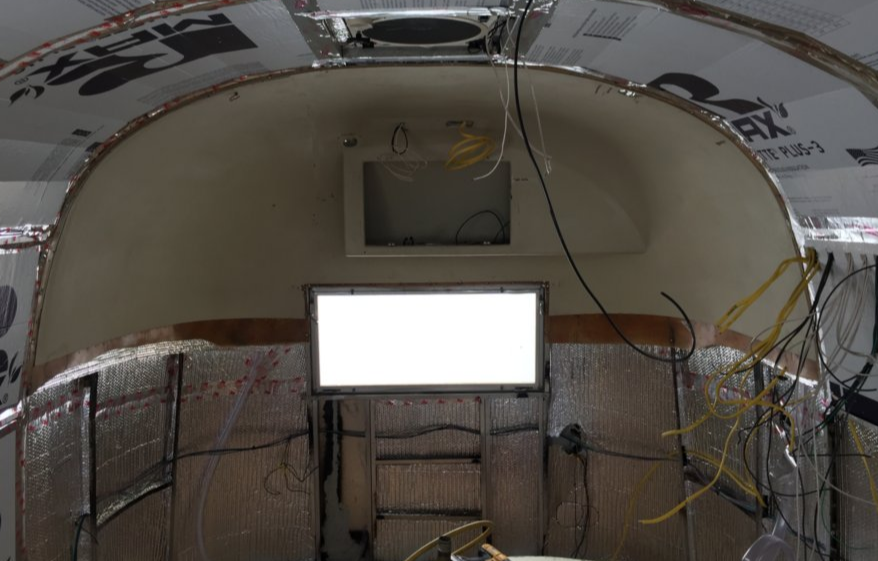
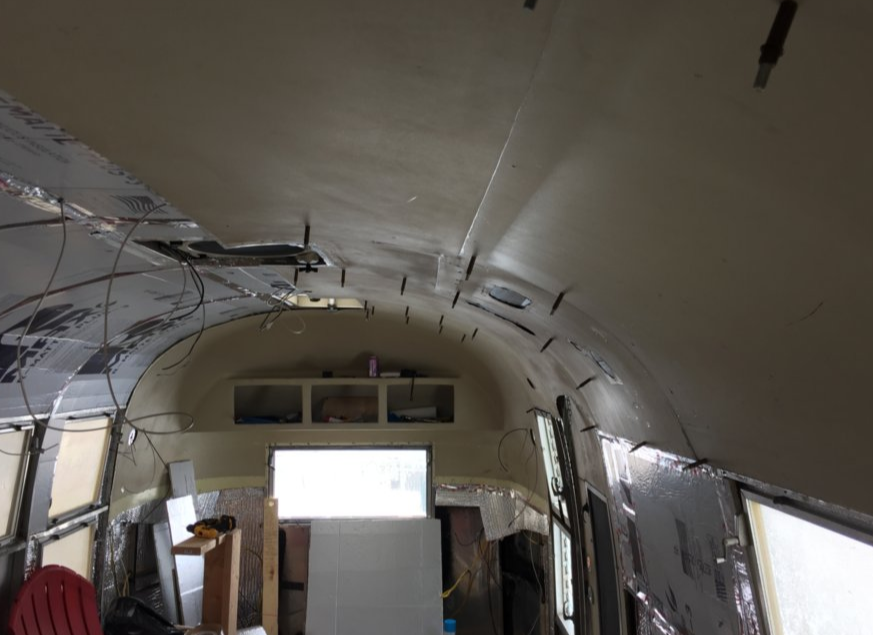
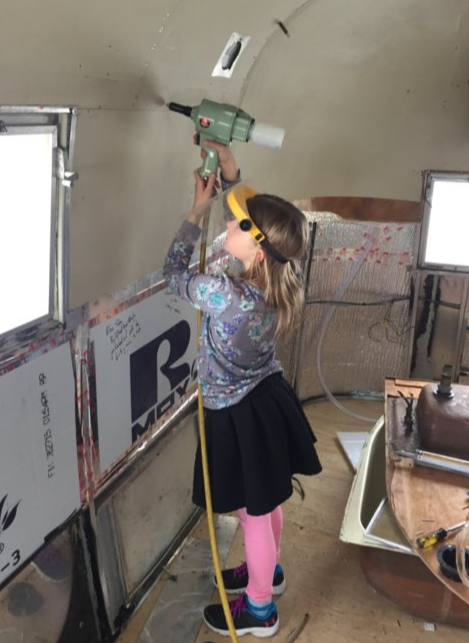
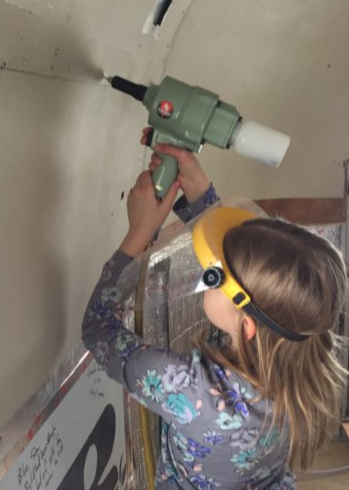
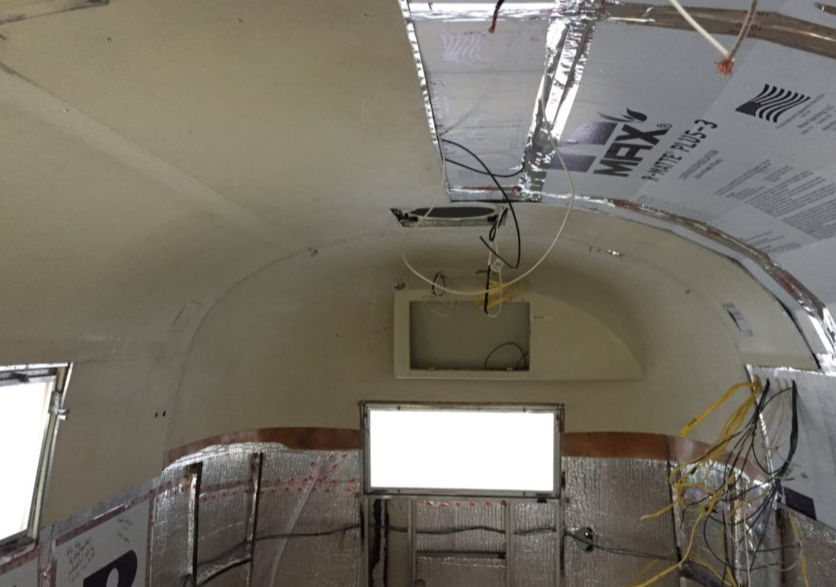
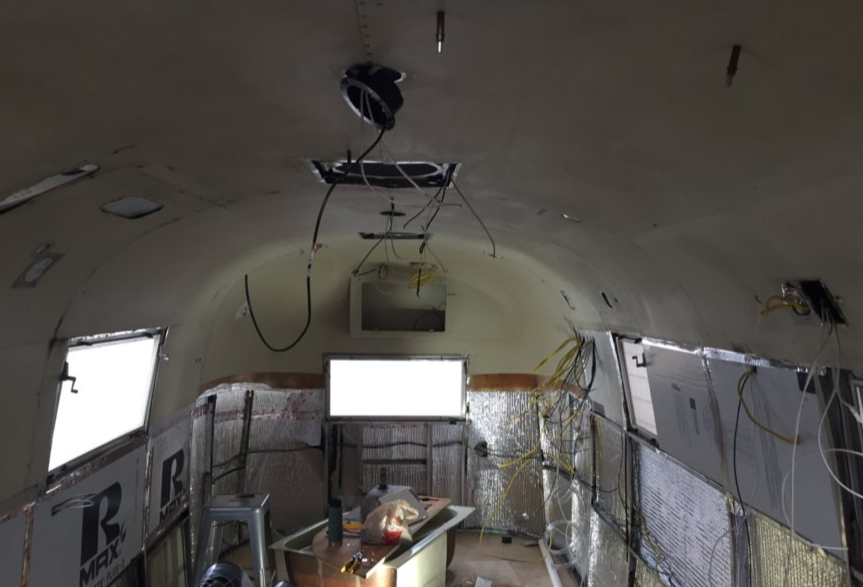
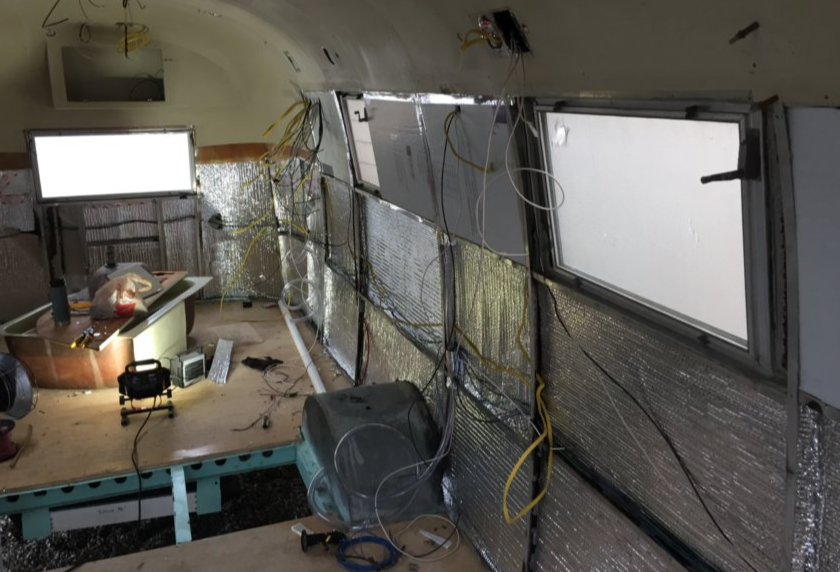
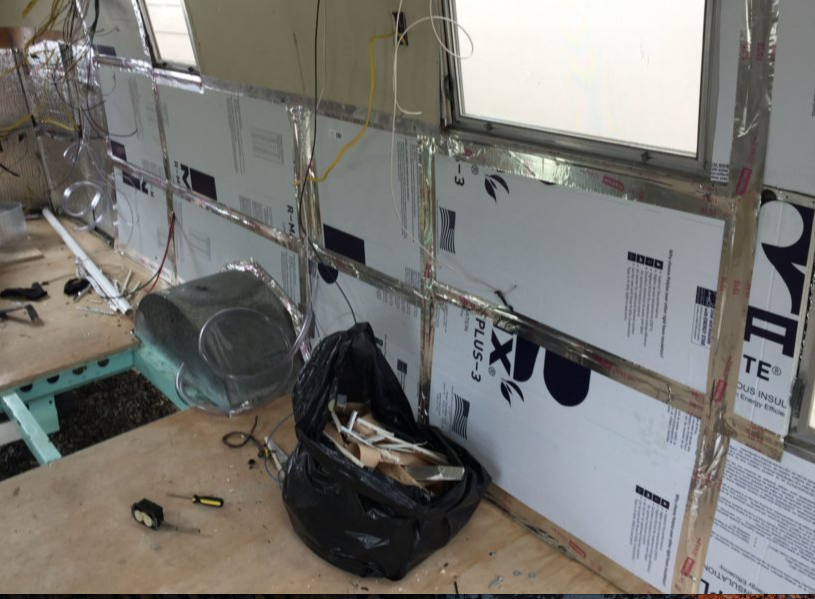
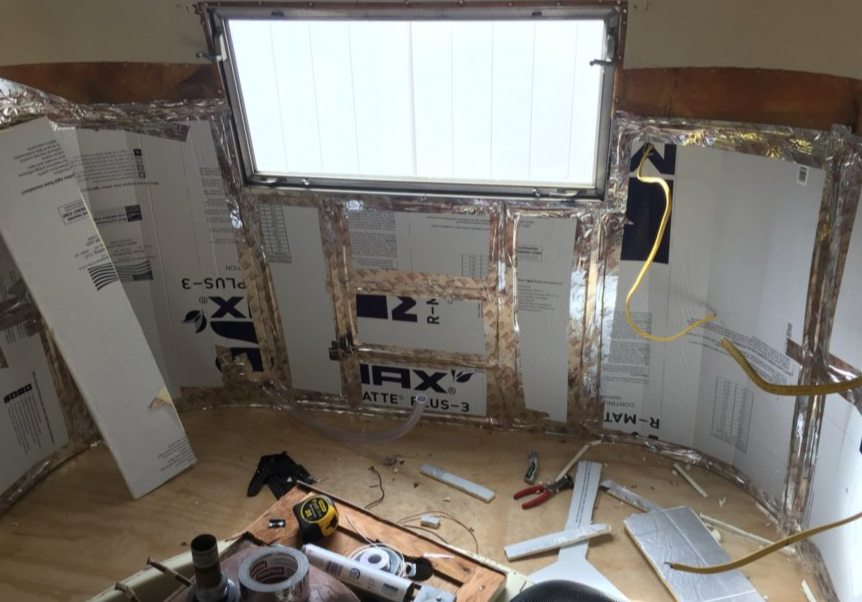
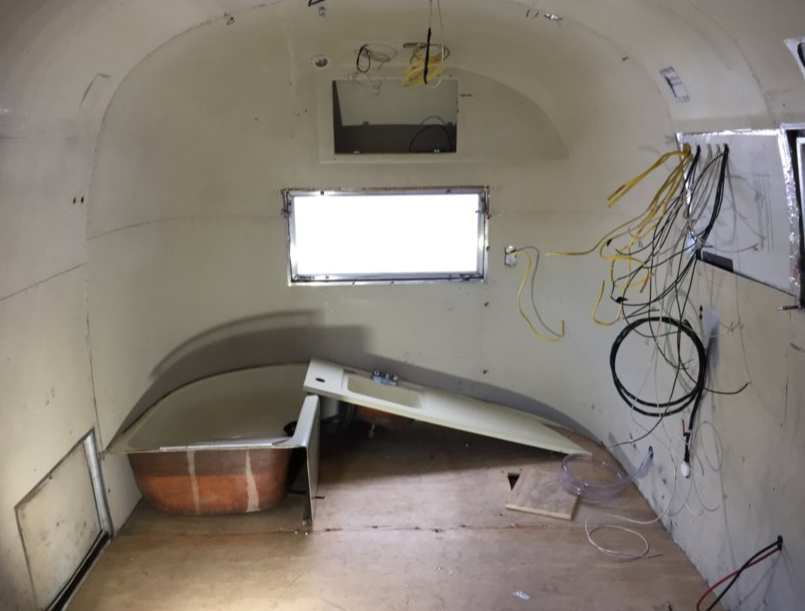
 Well, I'm home with a sick boy today and I figured its a good time to update my blog. As you can see above, the skins are in! Yay! It was a ton of work over this month. First, on a nice day I finished bolting the floor down. I bolted the u-channel in the walls to the floor and to the frame wherever possible. Then I used stainless steel screws and repeated the process. Unfortunately, I forgot to get pictures of the process, but I've posted pics before of the bolts. Next, I replaced the brake/running light sockets. They were all sparky and fiery when I hooked them up to power. I can assure you that "sparky and fiery" are not qualities you want in lights. I took pics: I forgot to get pics of them all lit up. Next time around. If you happen to read this because you are restoring an Airstream, know that there is an extra bulb/filament in the tail light assembly. I guess back in 1962, three filaments (in two bulbs) were required. One was the running light, one was the turn signal, and one was the brake light. In modern cars/trailers, the brake light flashes as the turn signal. (When you apply brakes with the turn signal on, both rear lights illuminate and one flashes.) So, I basically played with the filament combinations available until I got one that made the brightness levels about equal. I didn't really need to replace the dual-filament socket with a dual-filament socket, I just did. Next, I installed the socket for the shore power: This is the how electricity will enter the system. It is AC power- the same type as a standard household circuit. The difference in how the plug looks is that it accepts up to 30 amps. The typical household outlet is 15 amps. The difference in outlet/plug means that Eisley can accept more power in than is available through a normal outlet. Think of it like a garden hose versus a firehose (though not so extreme). You can get a ton more water into your system if you're feeding it with a firehose. Just for reference, I think the input into most houses is 200 amps, which gets distributed through your home's electrical panel. Eisley will have a 30 amp distribution panel in the rear closet. Eventually, a converter will take AC power and charge the batteries. Next came the rather labor-intensive and tedious task of finishing the foam board insulation and taping the seams. Finally, it came together with riveting the interior skin back on. You may have noticed that the pics are all from the rear of the trailer. The front skin under the window of the trailer isn't installed yet because there's some buck rivets that I need to install from the outside. But Eisley is ready to roll . . . all the way to the shop to have a new axel installed. More on that next time.
0 Comments
Your comment will be posted after it is approved.
Leave a Reply. |
AuthorI'm not an Airstream Jedi, yet. Airstream Jedi would have sounded presumptuous, like I know what I'm doing. That couldn't be further from the truth. Padawan is a title I can hope to live up to. Favorite Links:Knots Per Hour
My friend Mike is building an airplane. Check it out. Archives
August 2018
Categories |


 RSS Feed
